Create sign up page
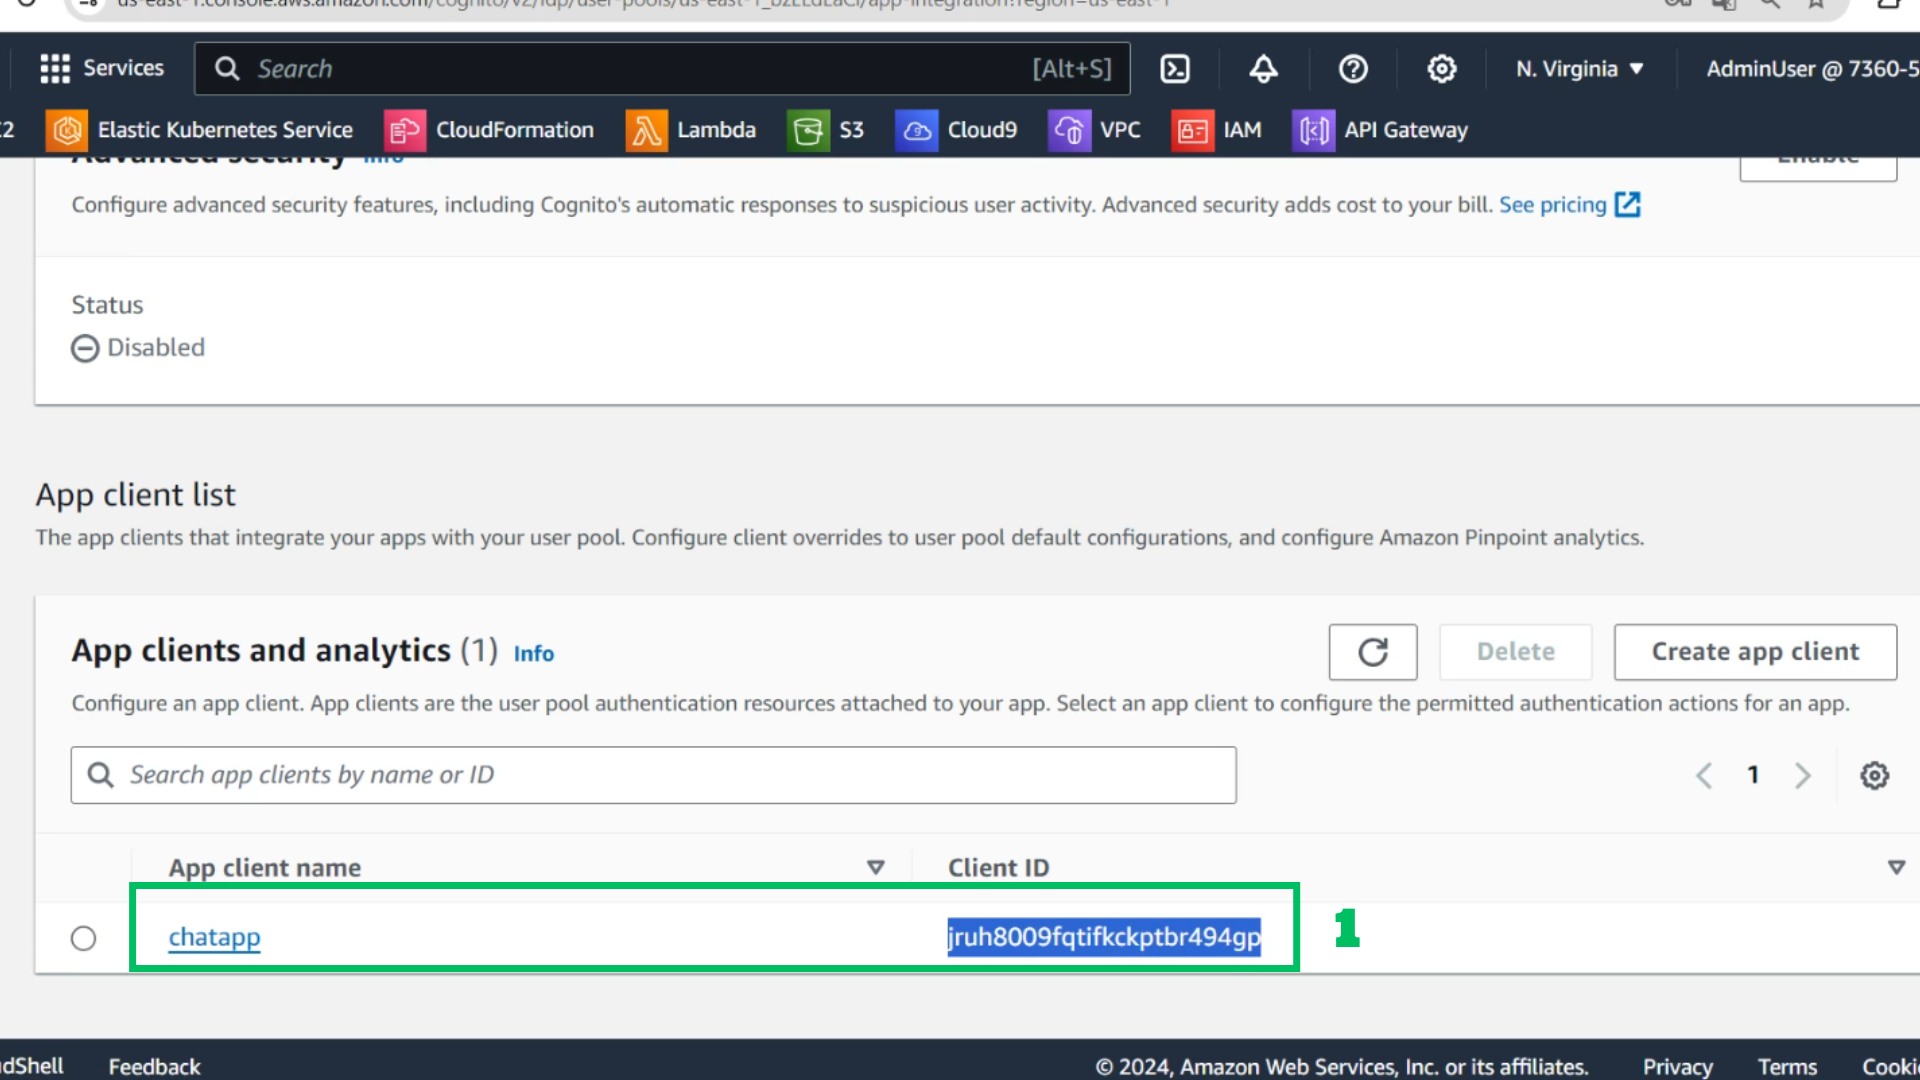
- At User Pool
- Go to App client and copy ClienID
- Change information
var poolData = {
    UserPoolId: 'us-east-1_bzELdEaCl',
    ClientId: 'jruh8009fqtifkckptbr494gp'
};
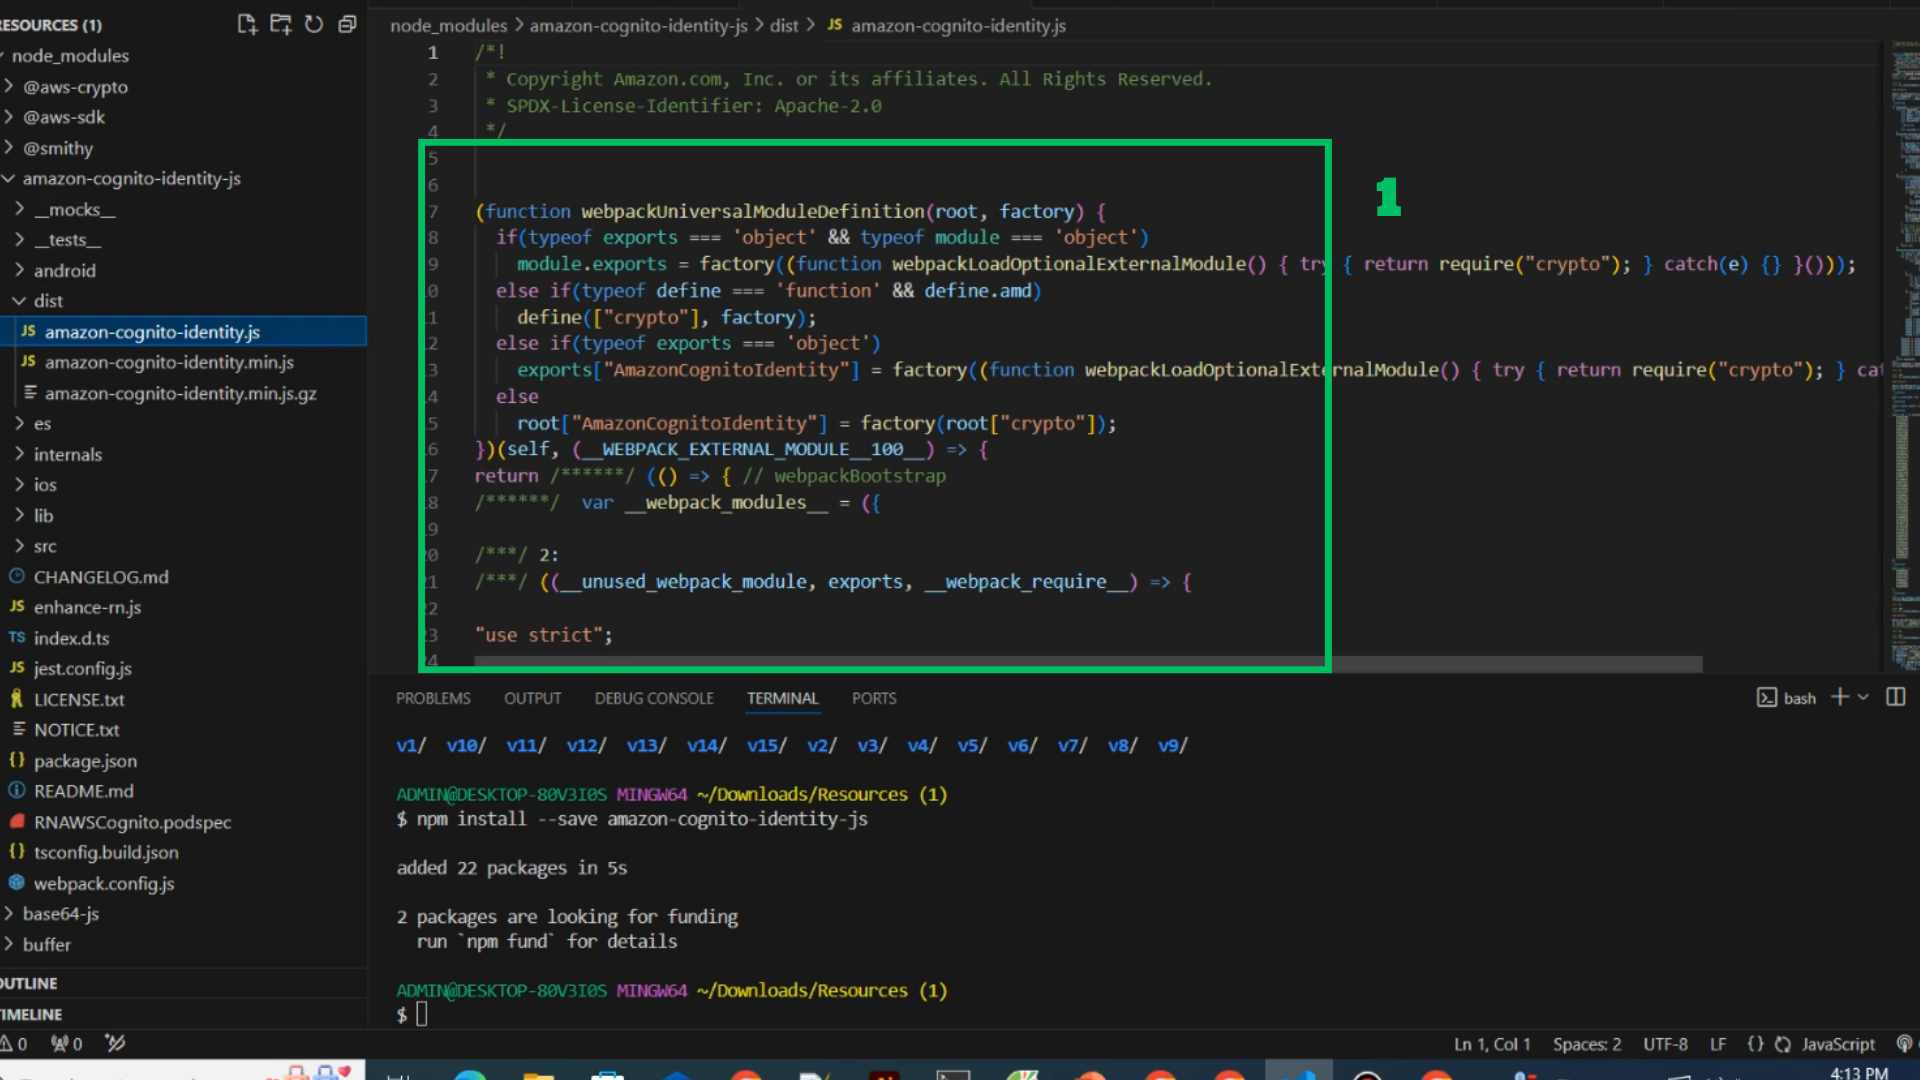
- Prepare amazon-cognito-identity.js for this project
- Steps
- With available file
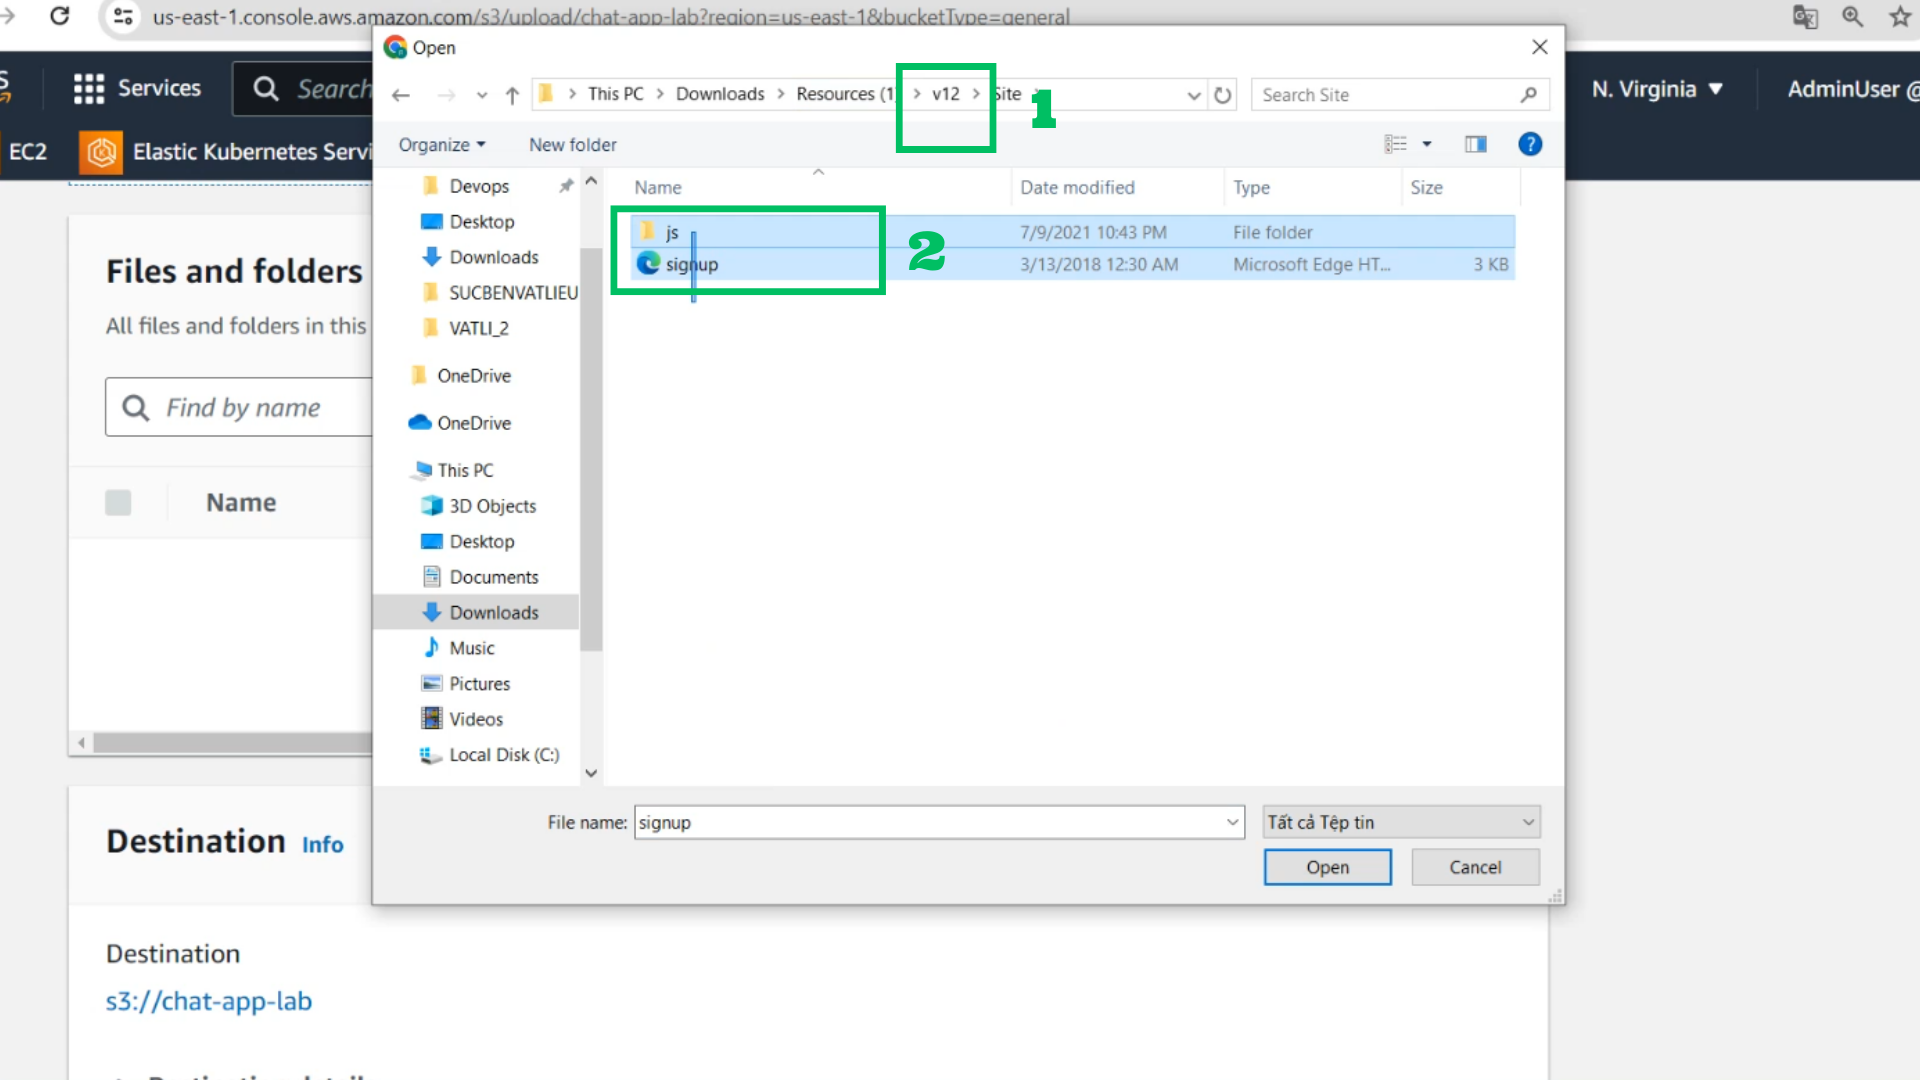
- At S3 Bucket
- Choose Upload
- Choose Add files
- Choose amazon-cognito-identity.js and drop it to upload

- Choose all in folder site in v12 and drop it to upload
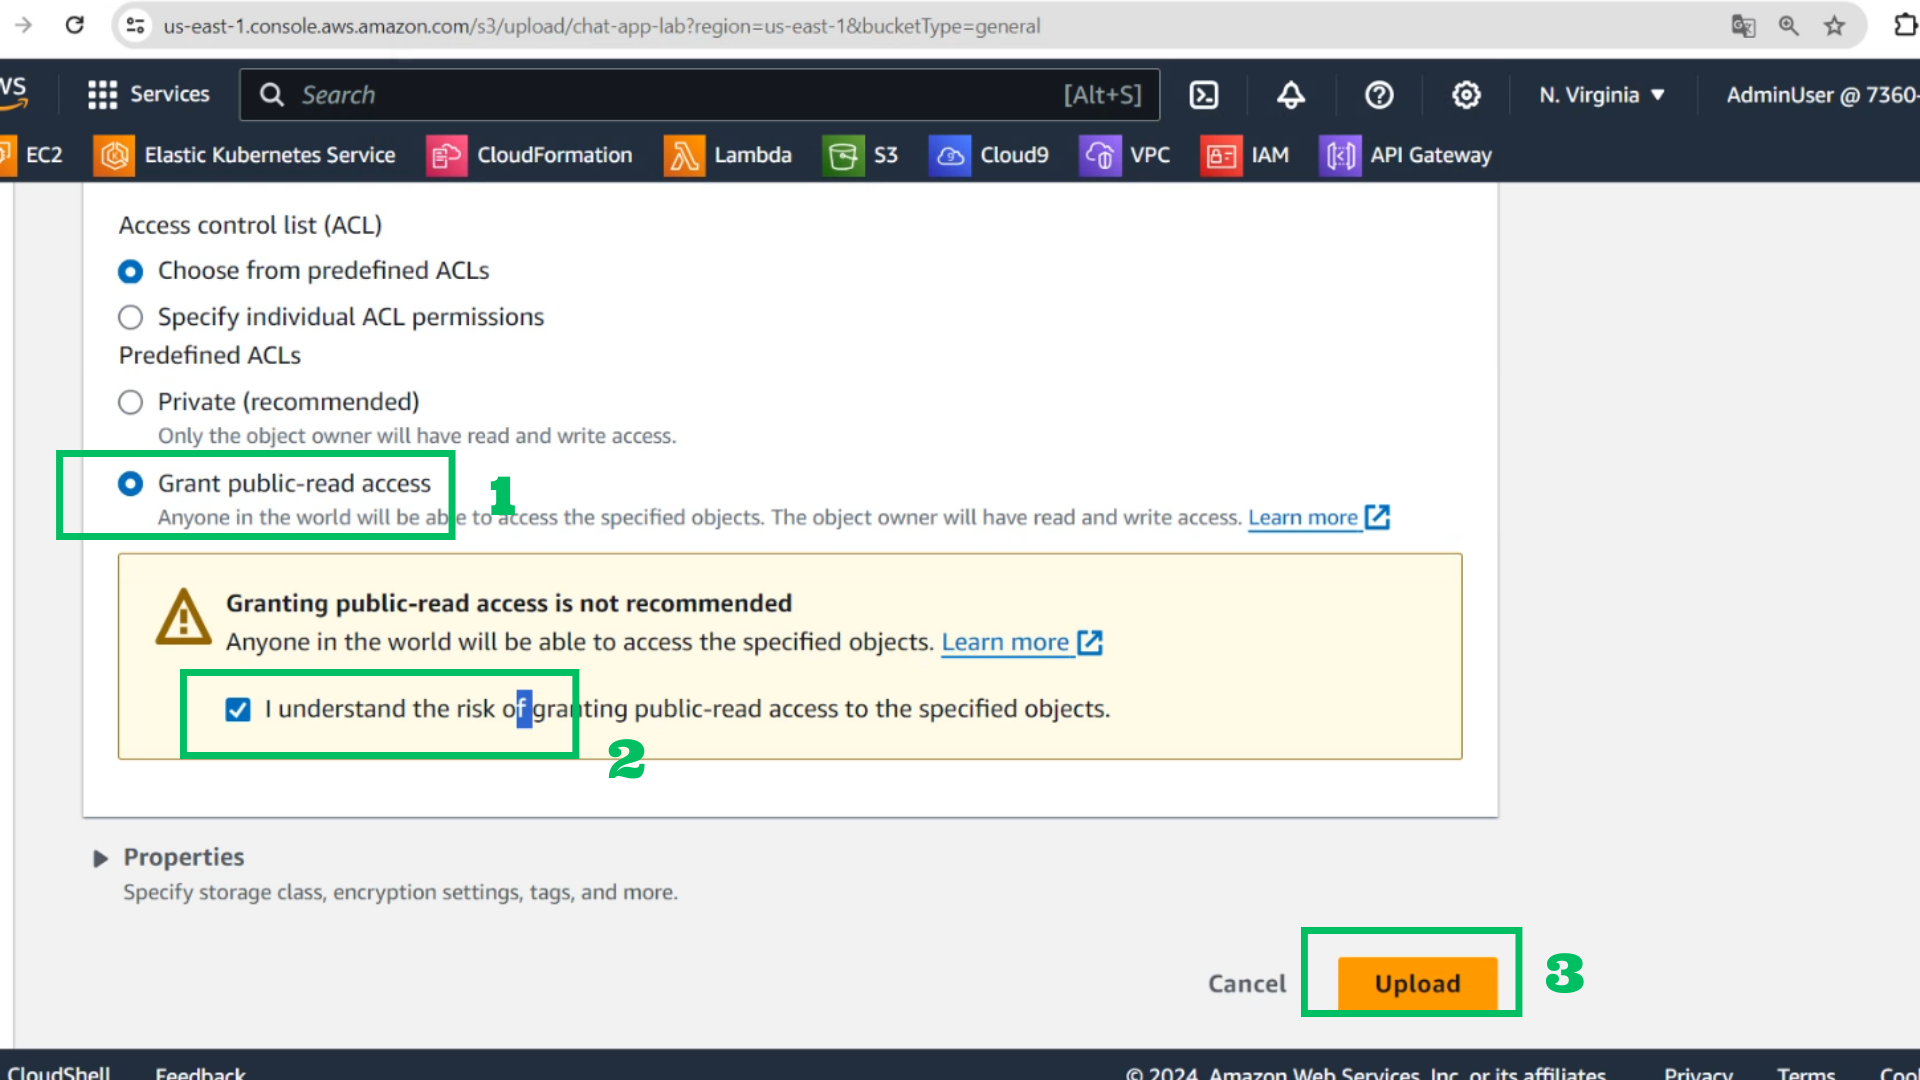
- Grant public-read access
- Choose I understand
- Choose Upload
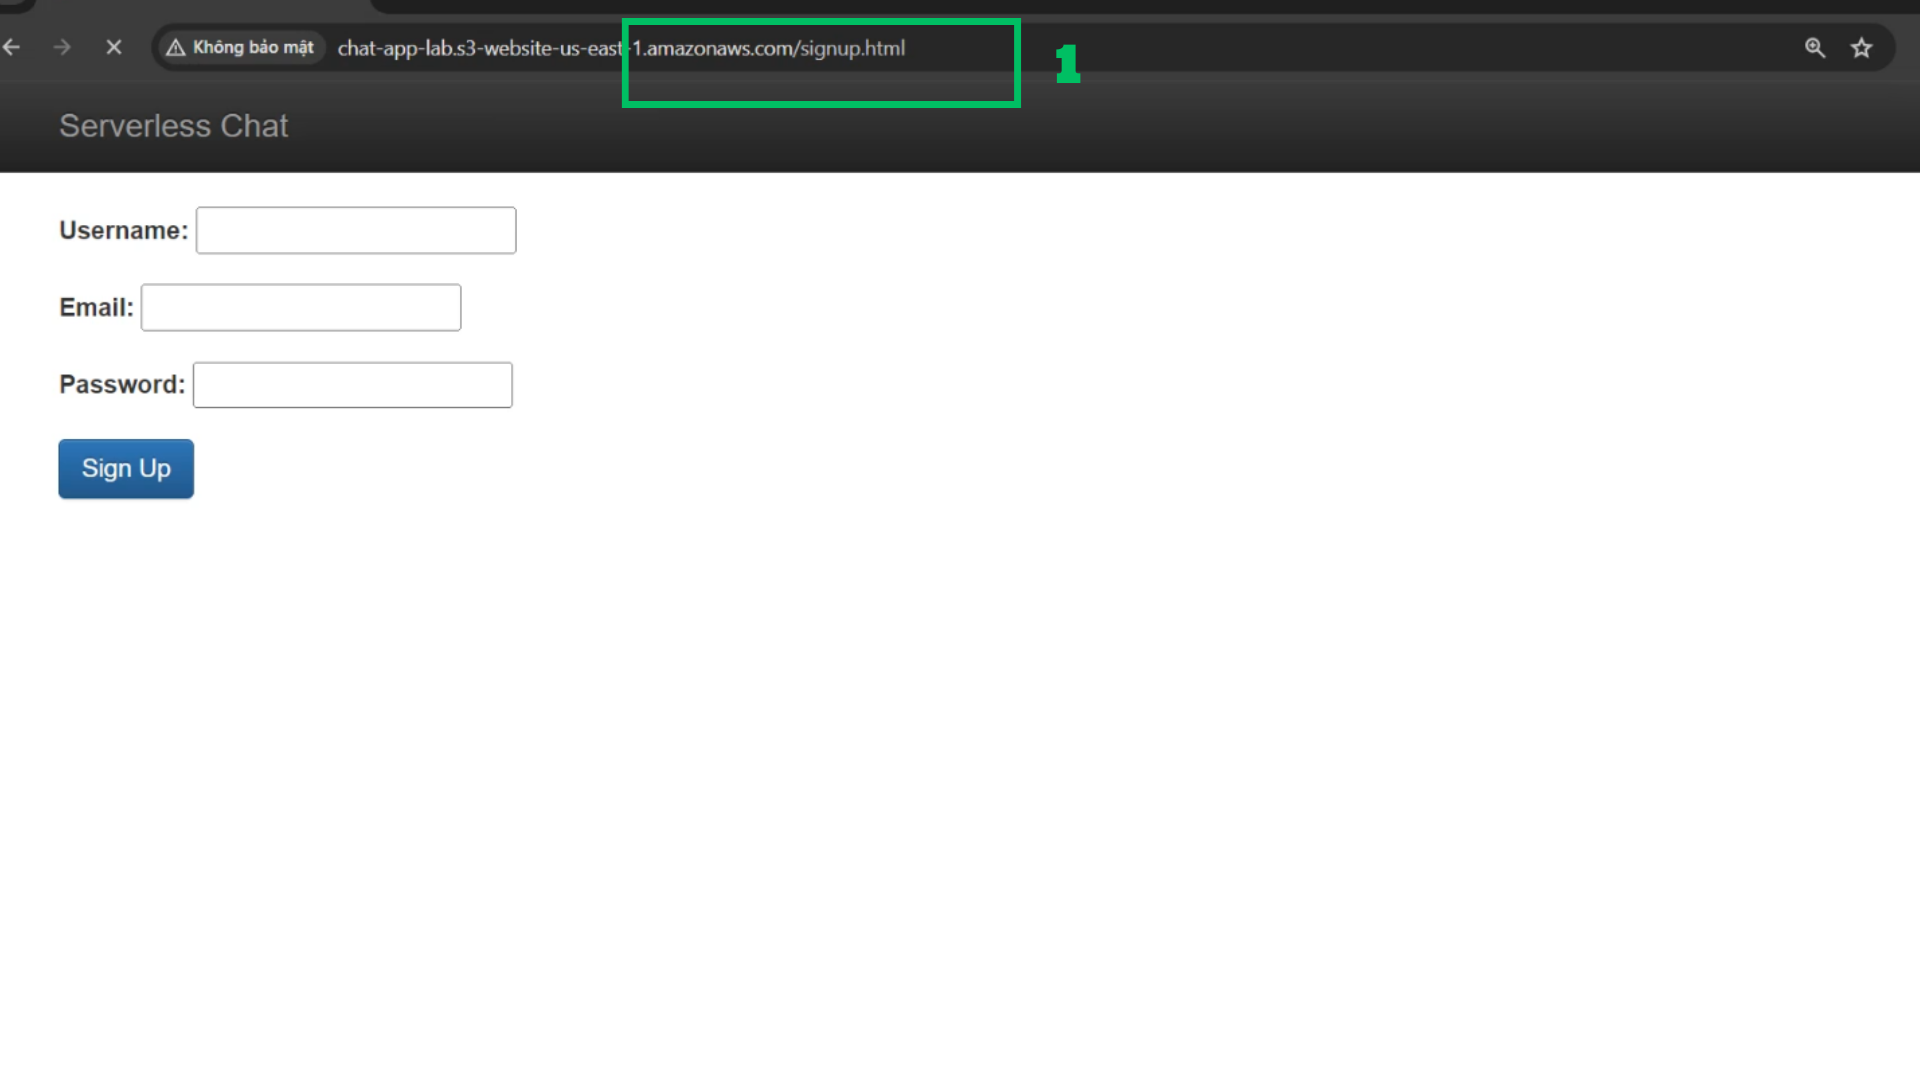
- Check with browser
- Access ../signup.html
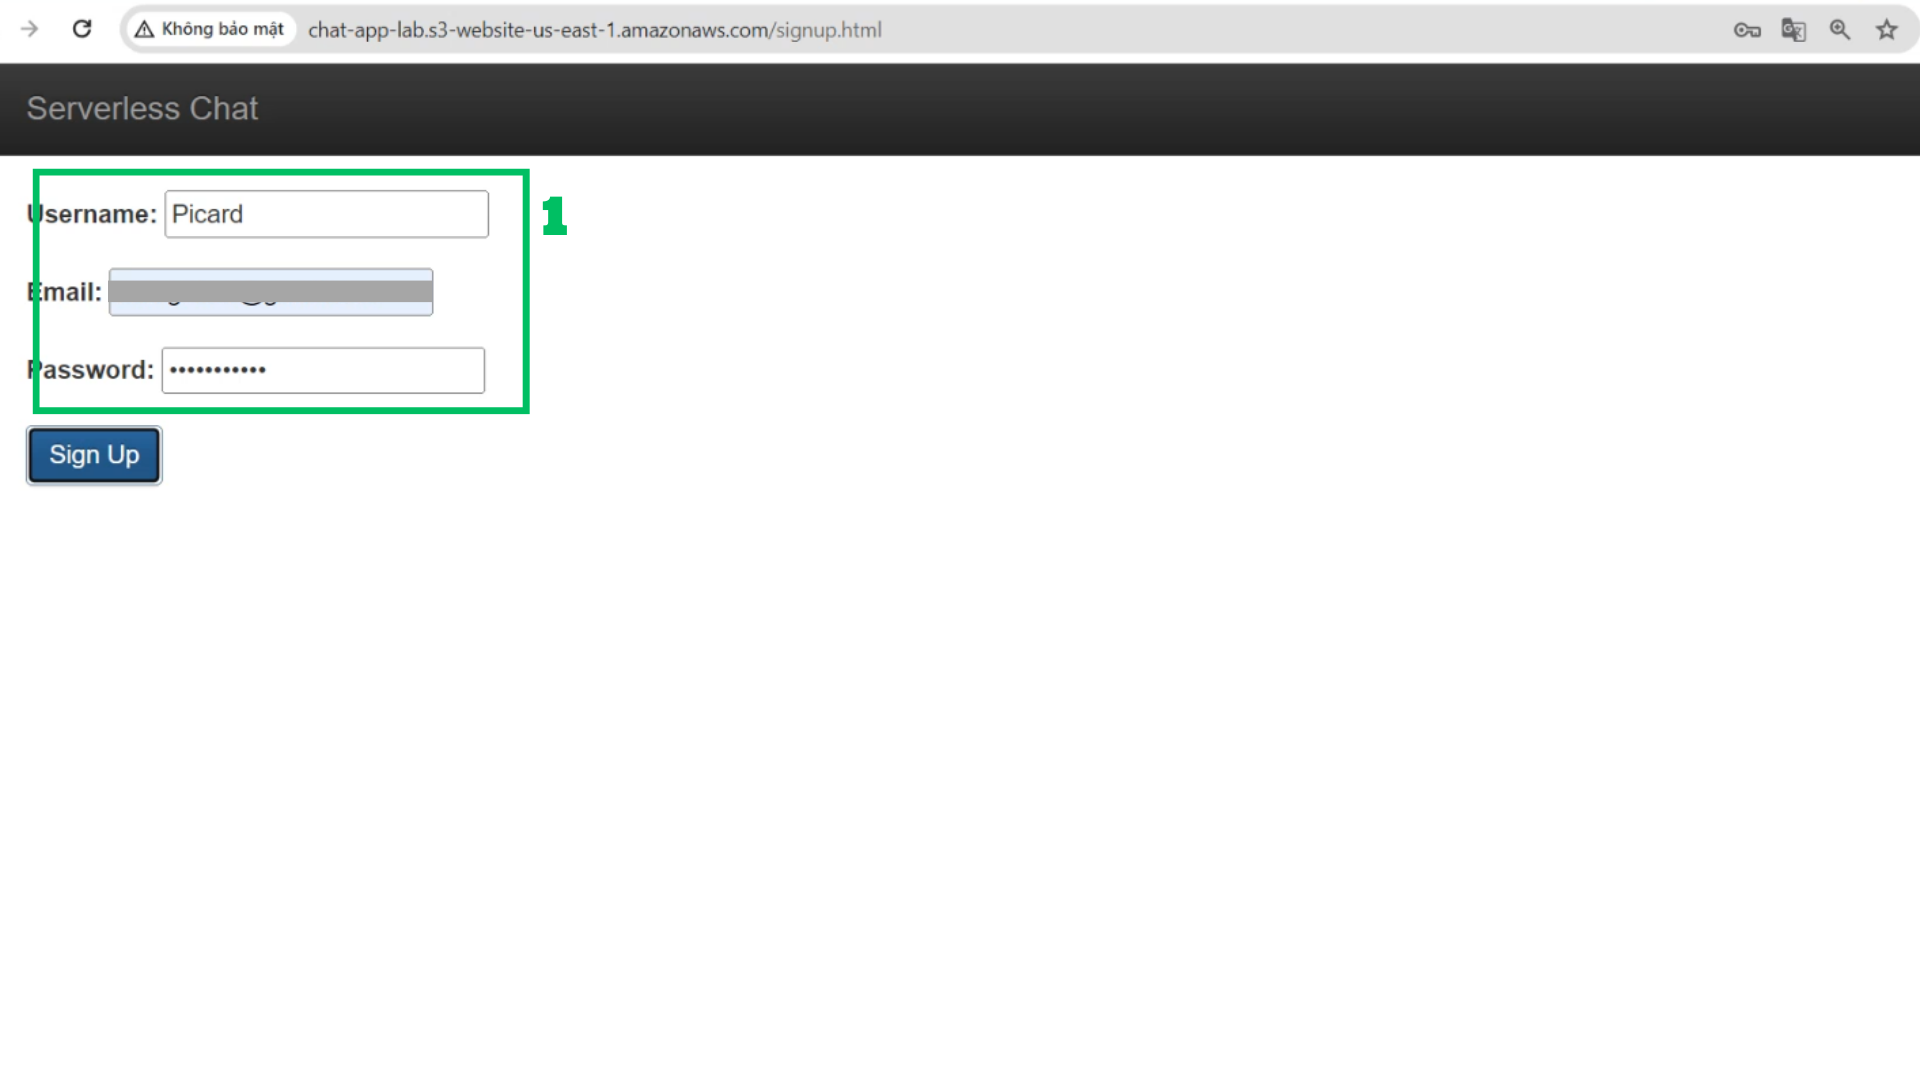
- Type necessary information and Choose sign up
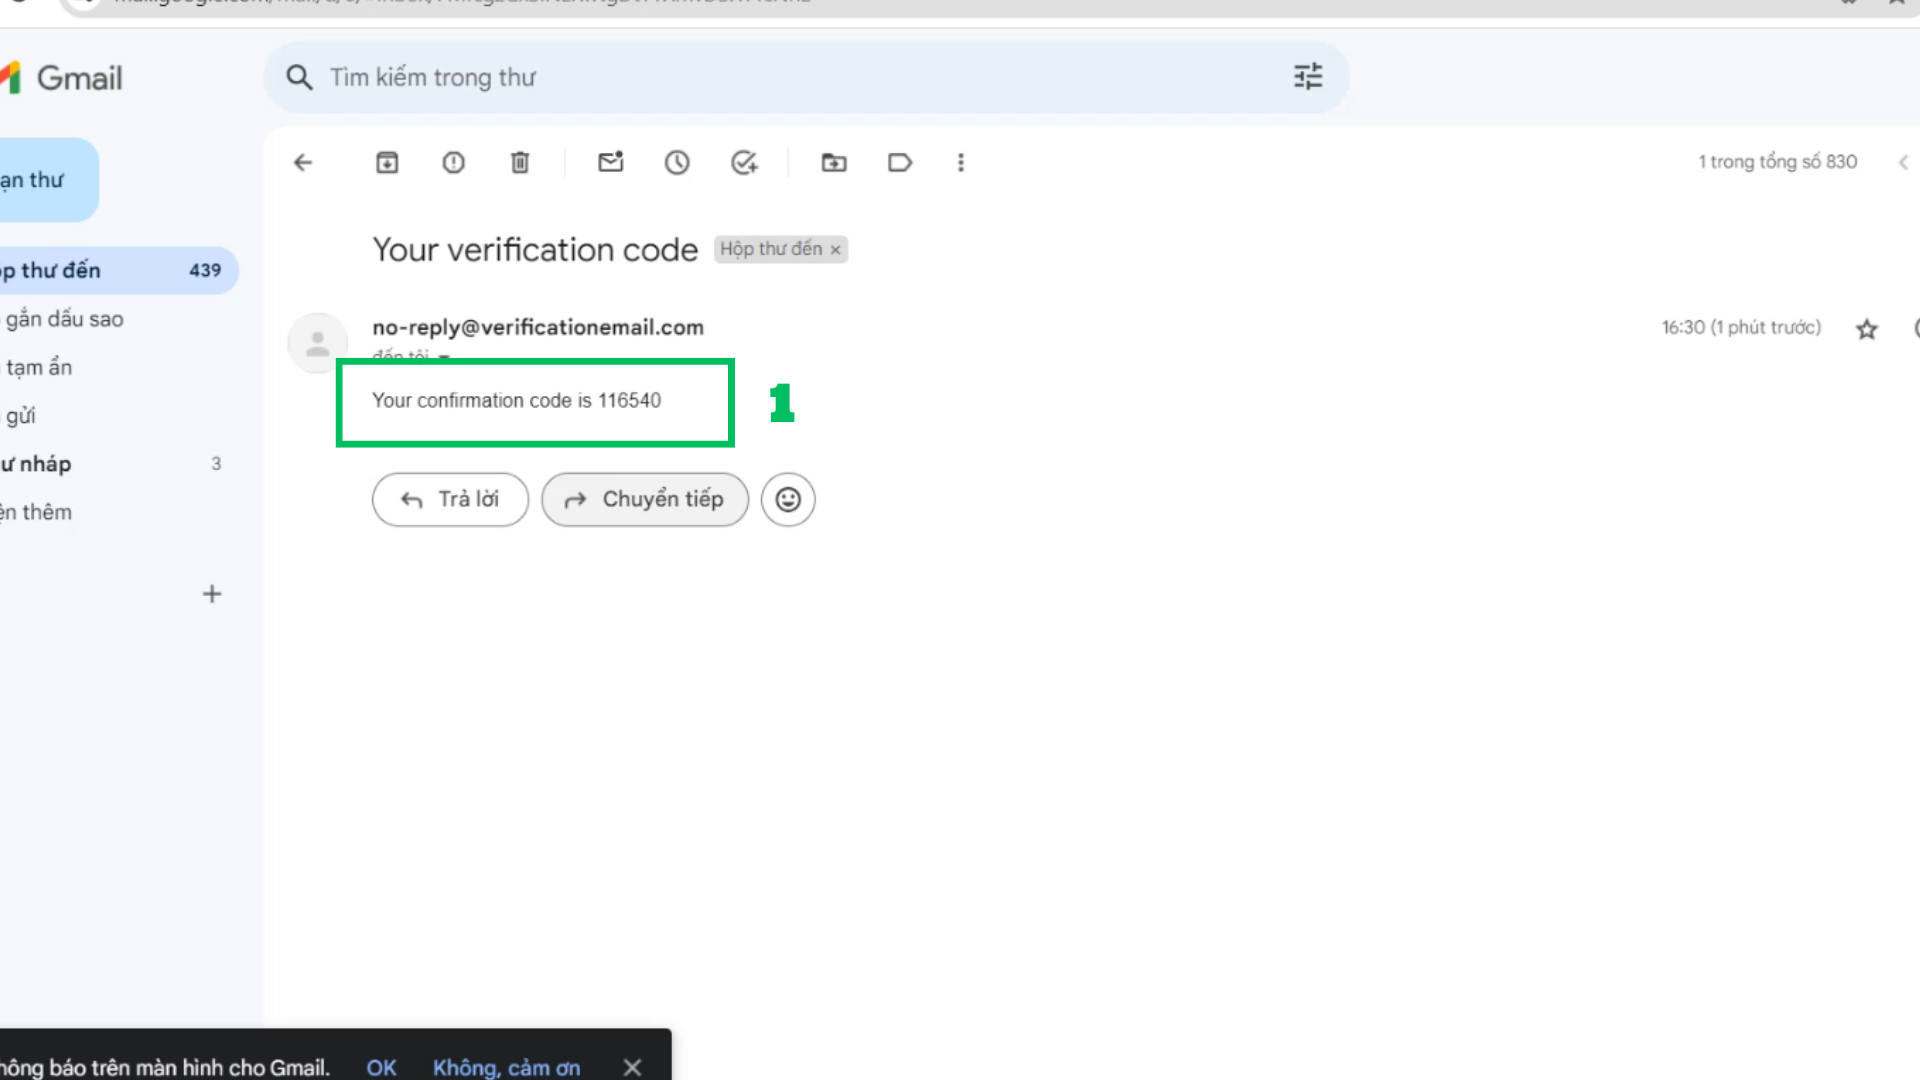
- Check email
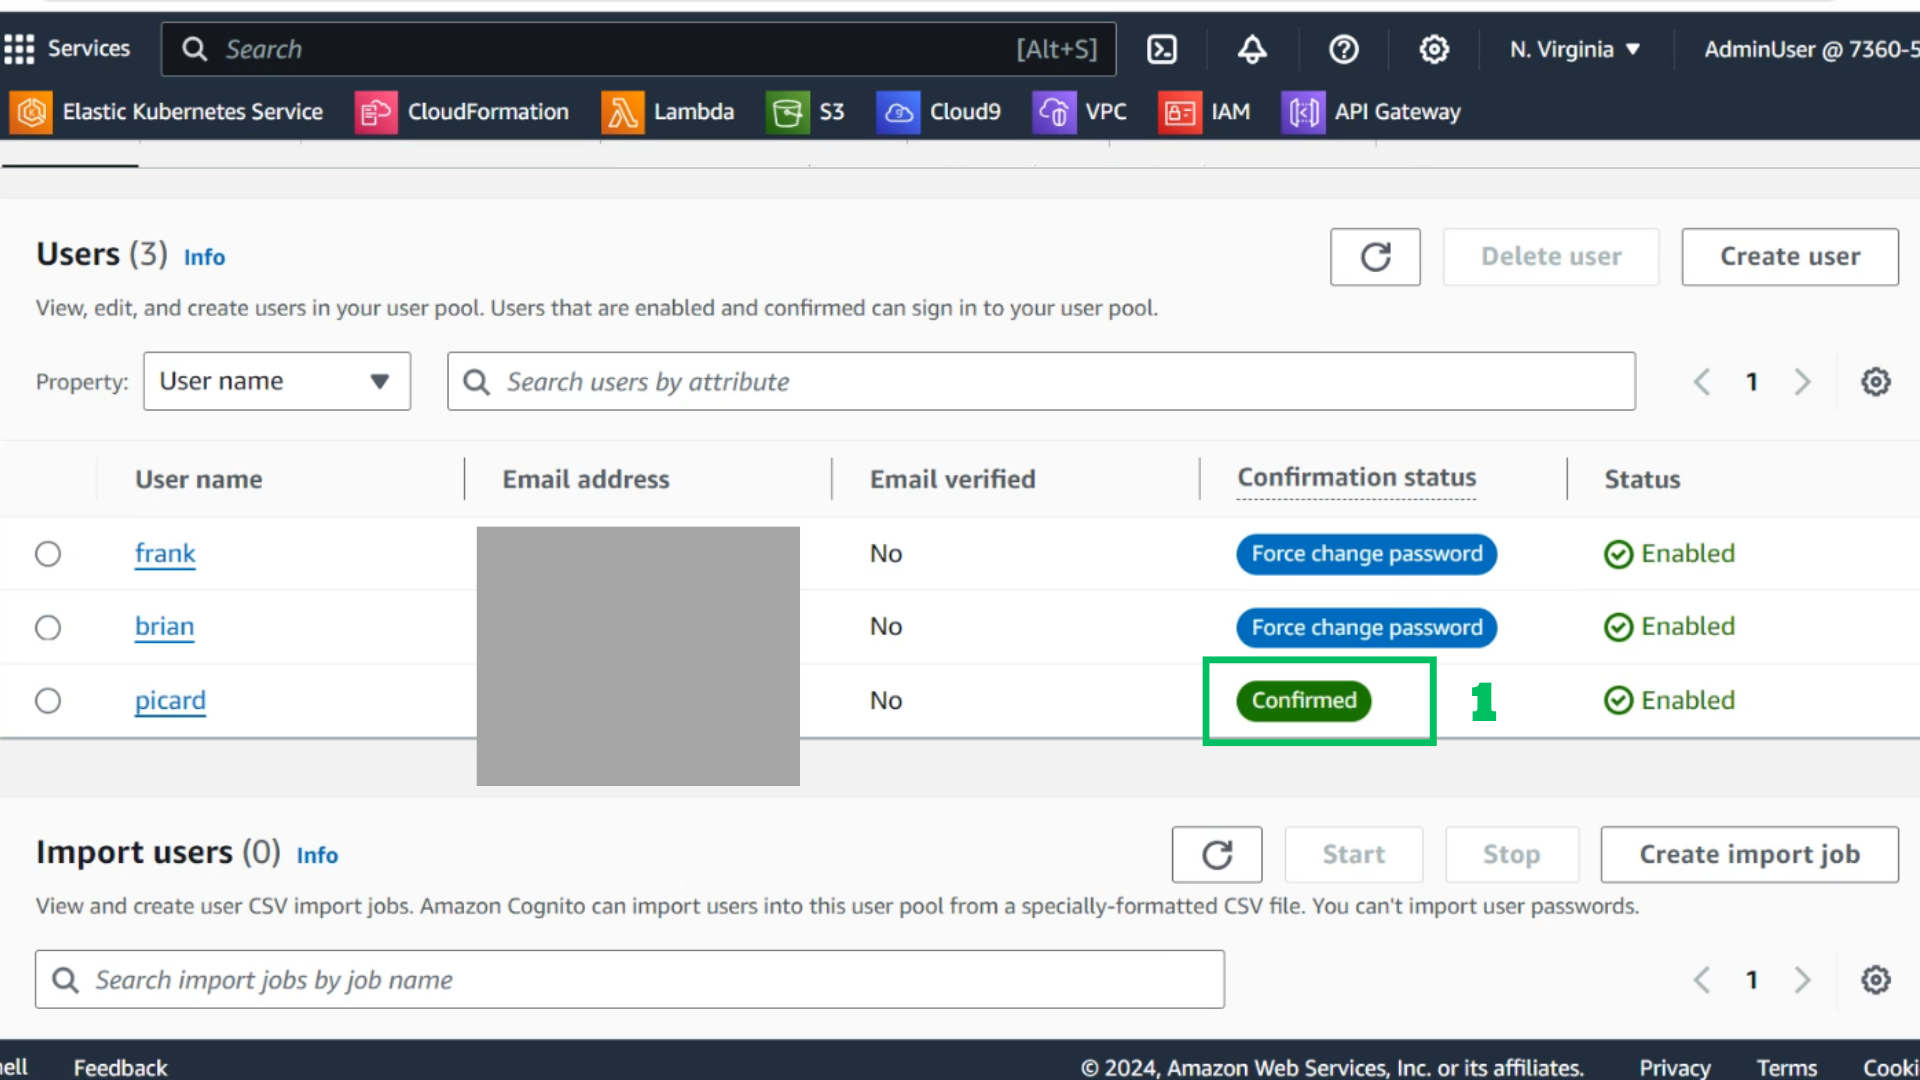
- Check user in Chat-Pool
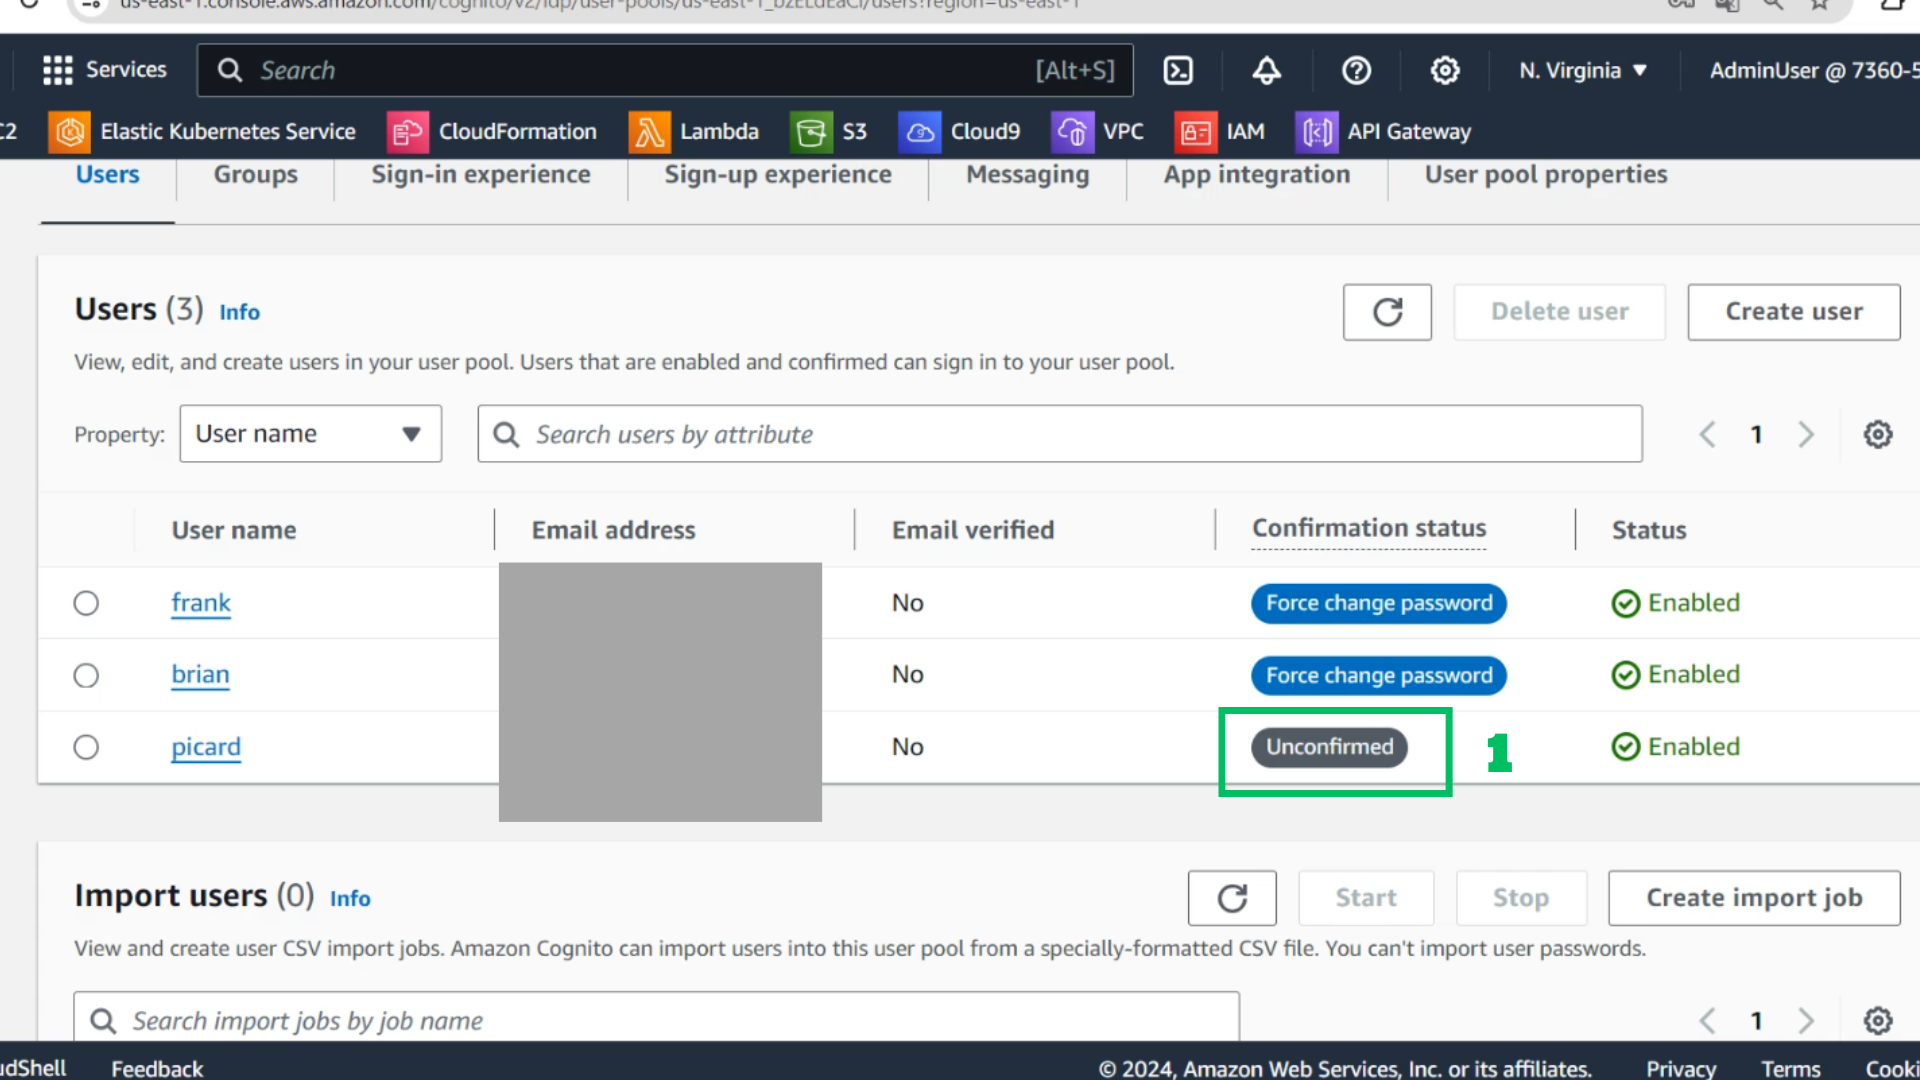
- Choose username has just created
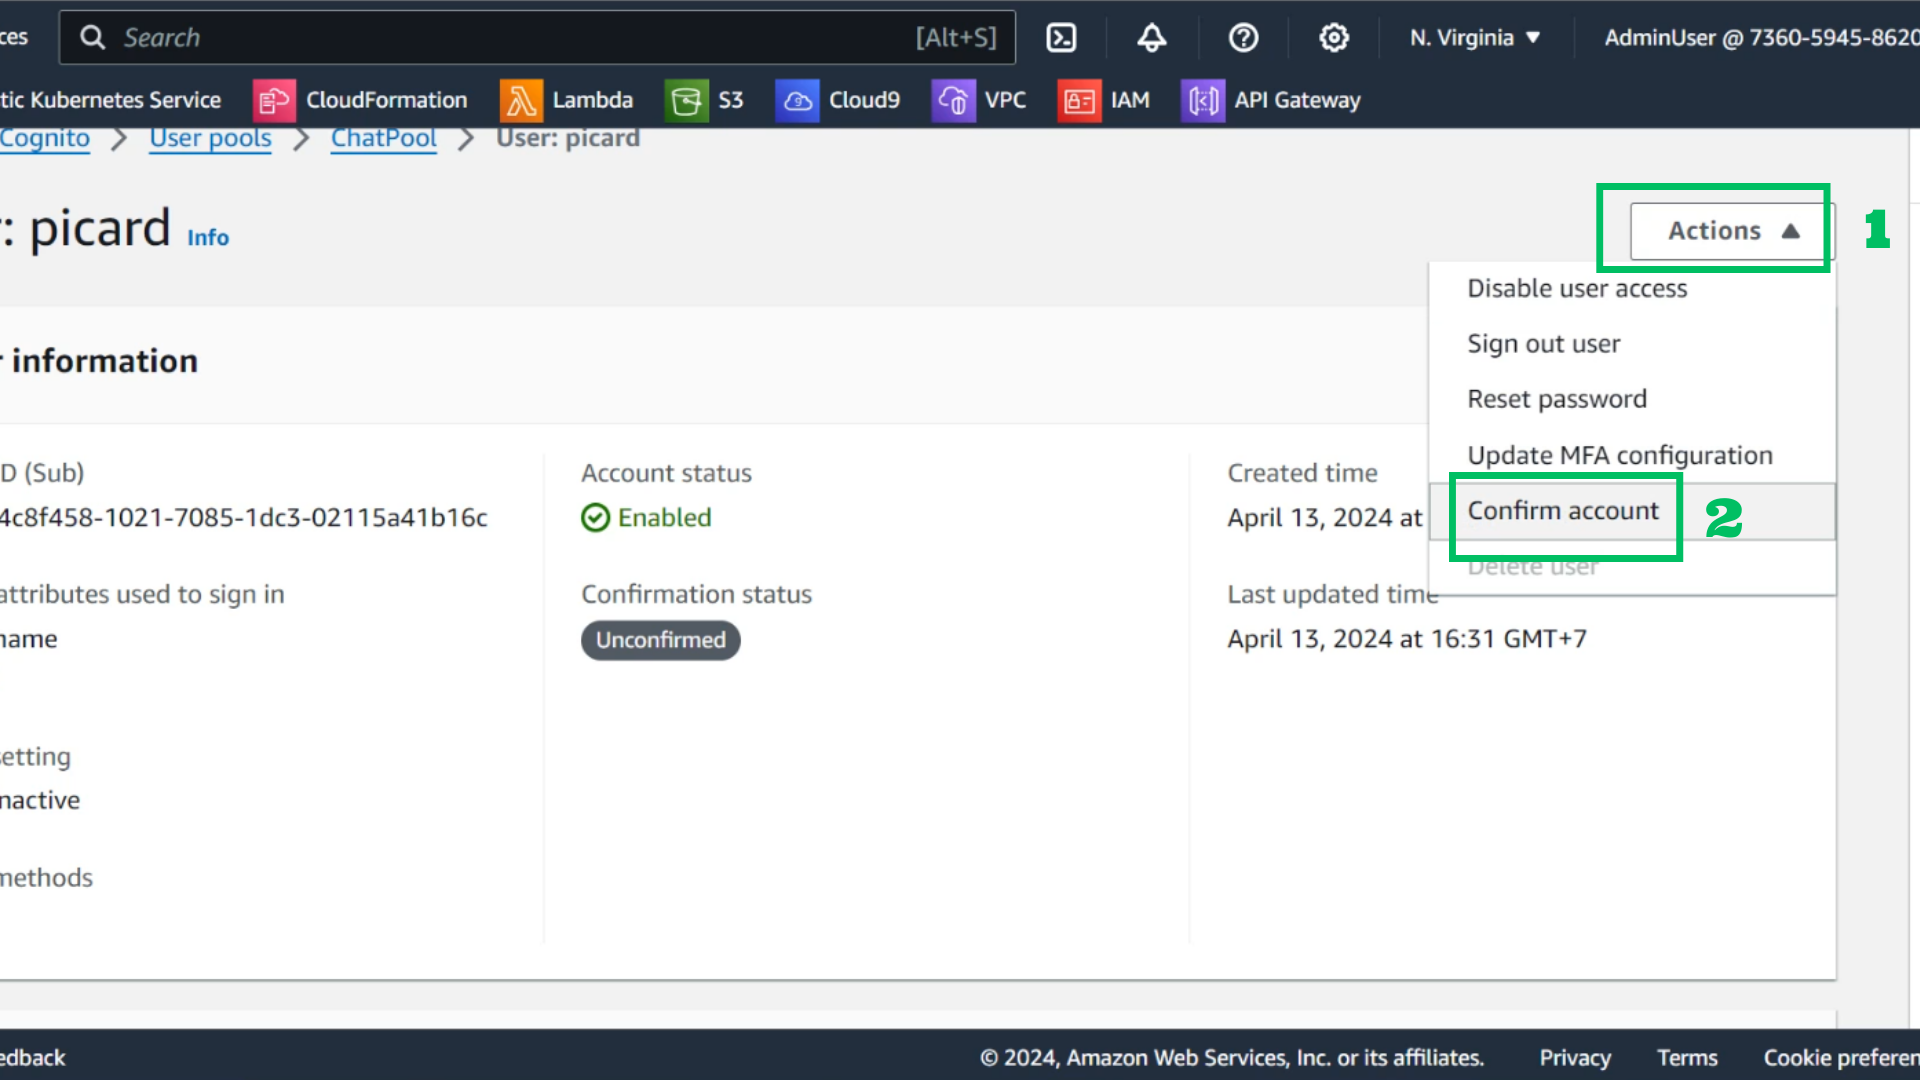
- Choose Actions
- Choose Confirm account
- Choose Confirm
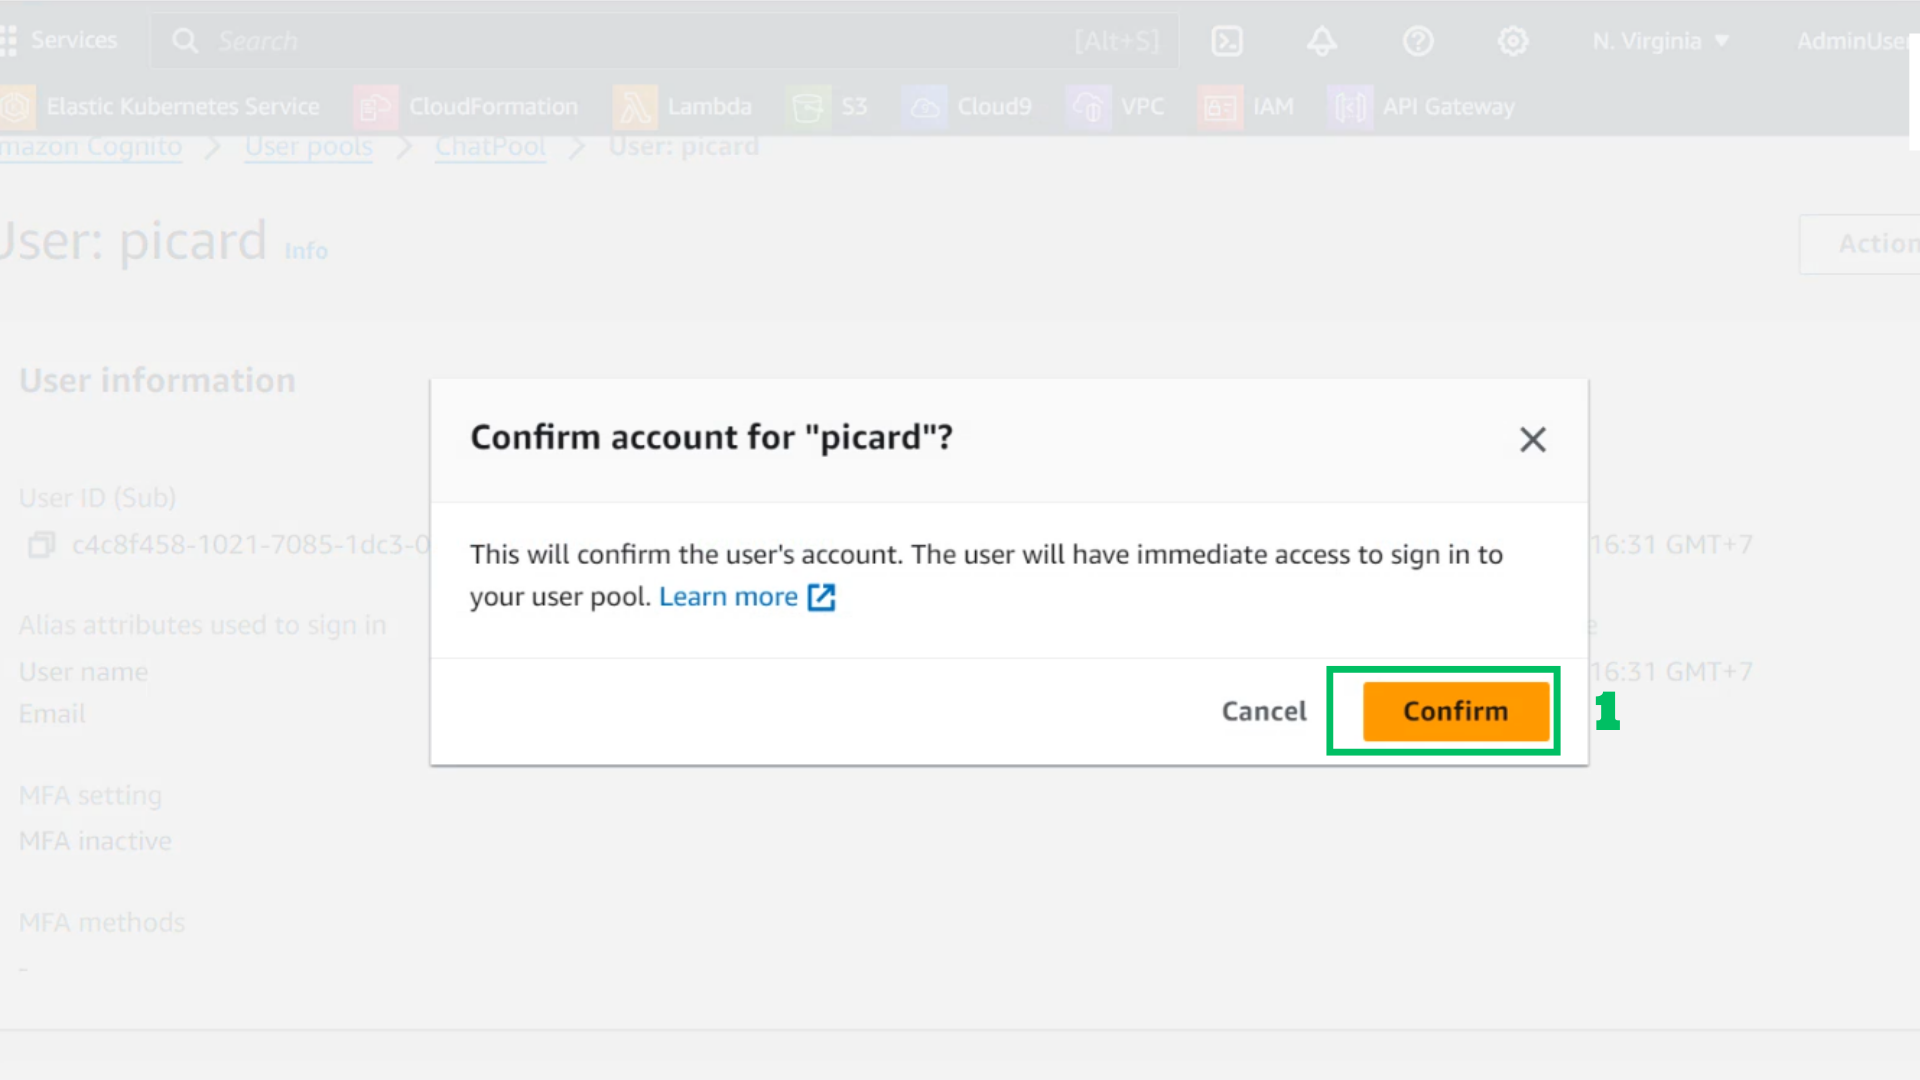
- Check user is confirmed