Create a user pool
- At AWS Console
- Choose Cognito
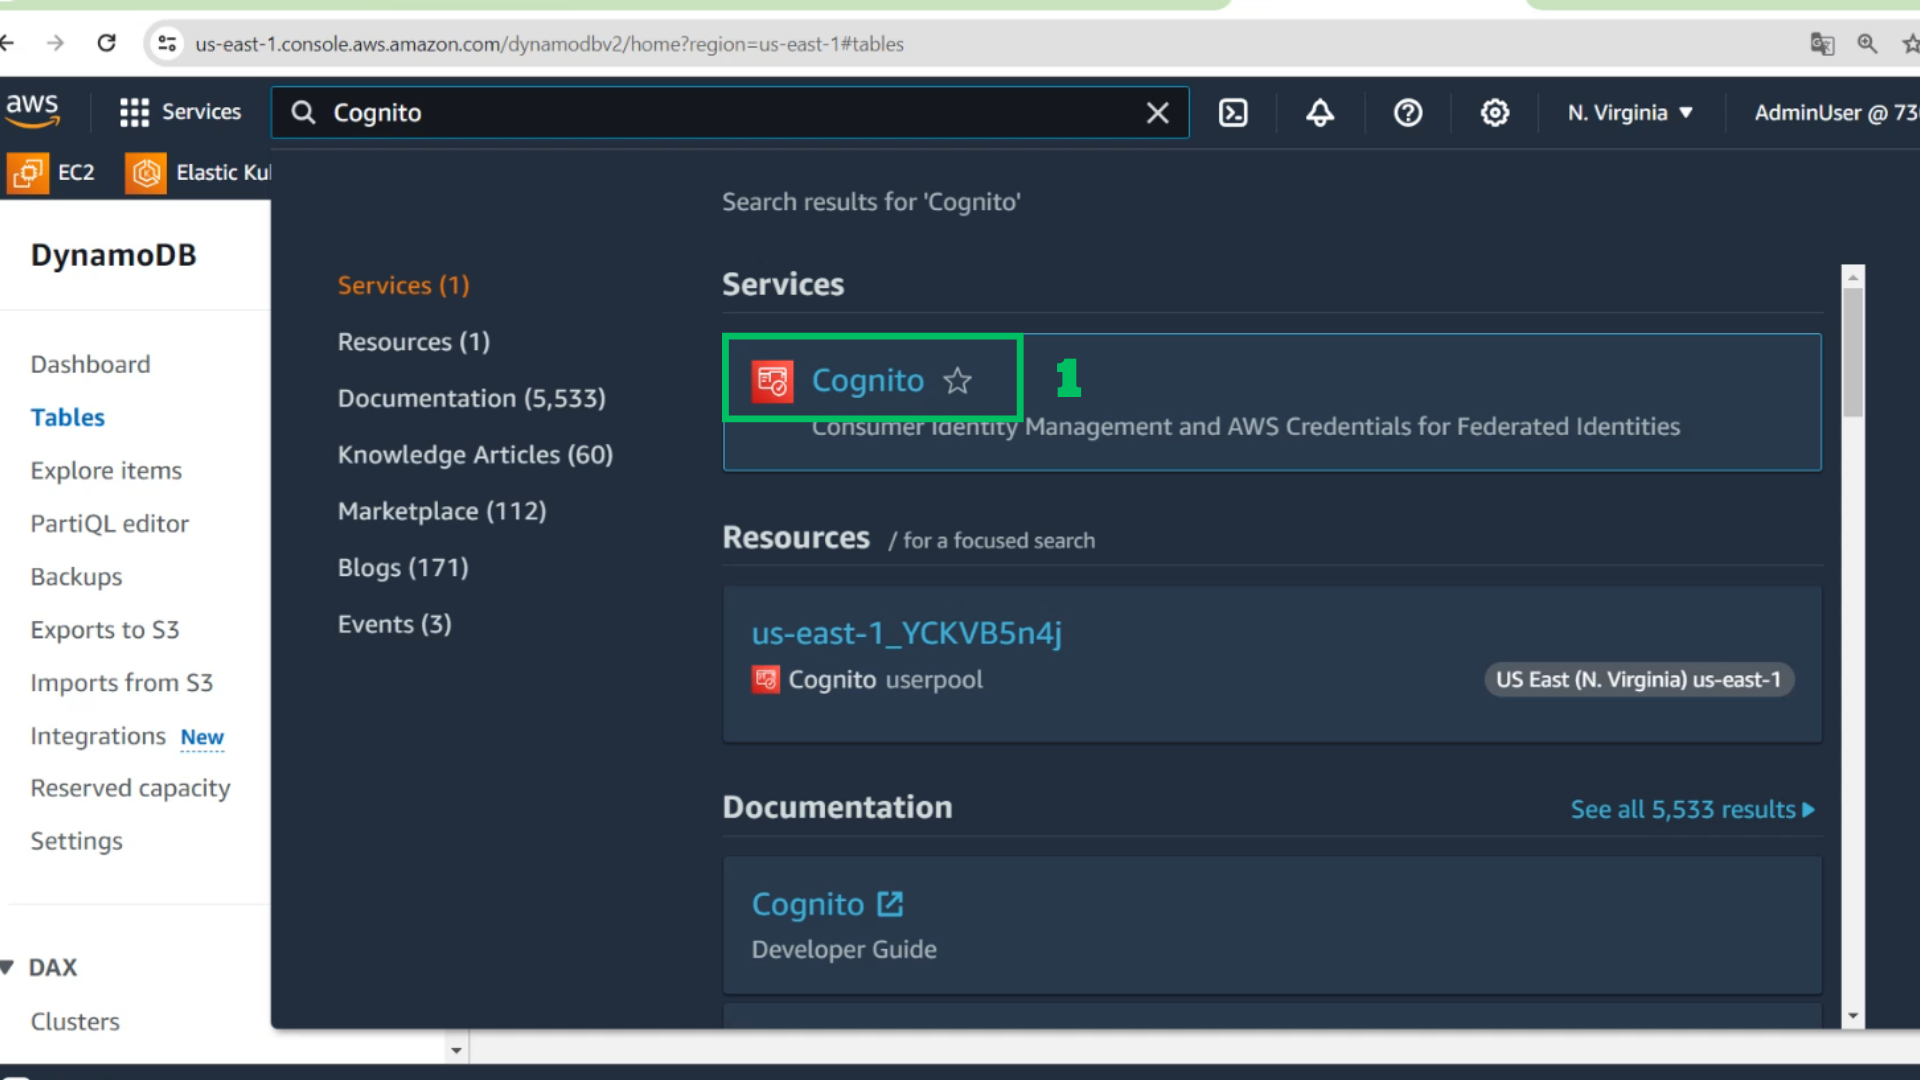
- At Cognito interface
- Choose Create user pool

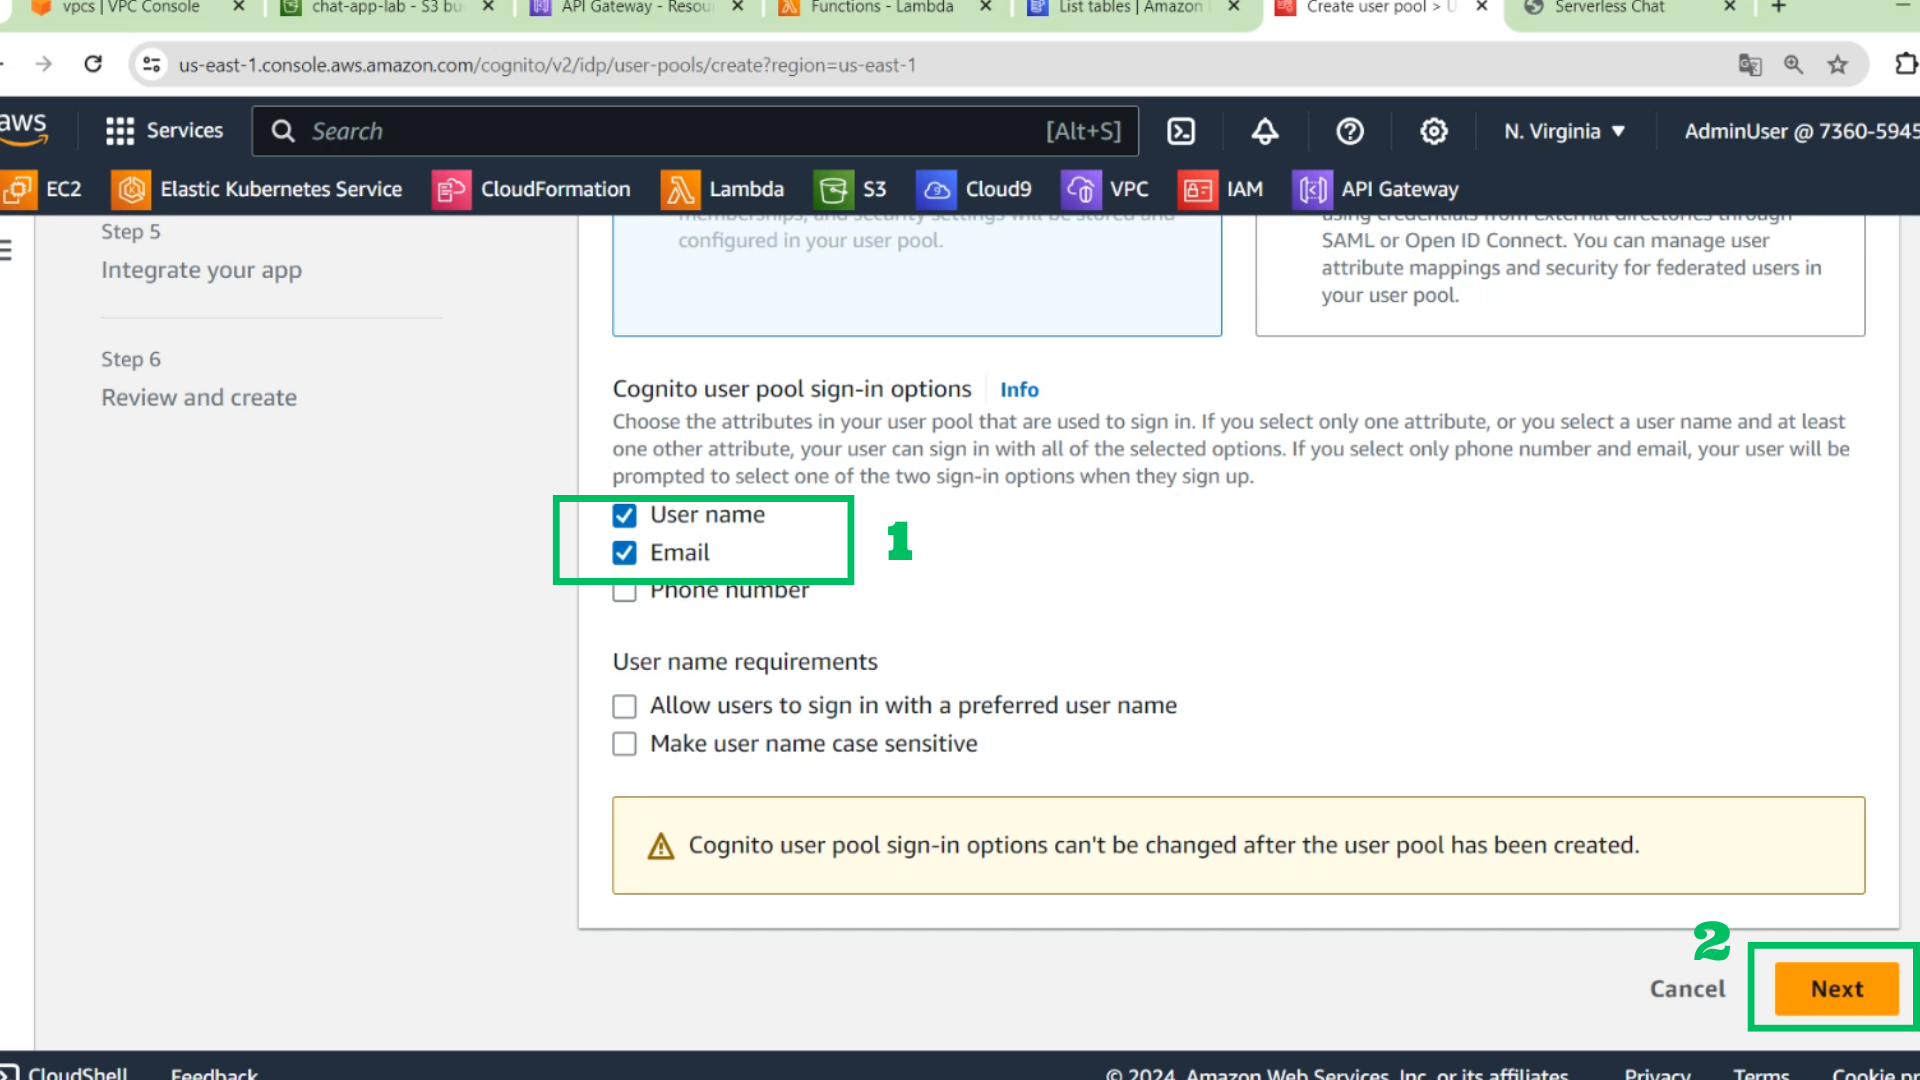
- Choose User name
- Choose Email
- Choose Next
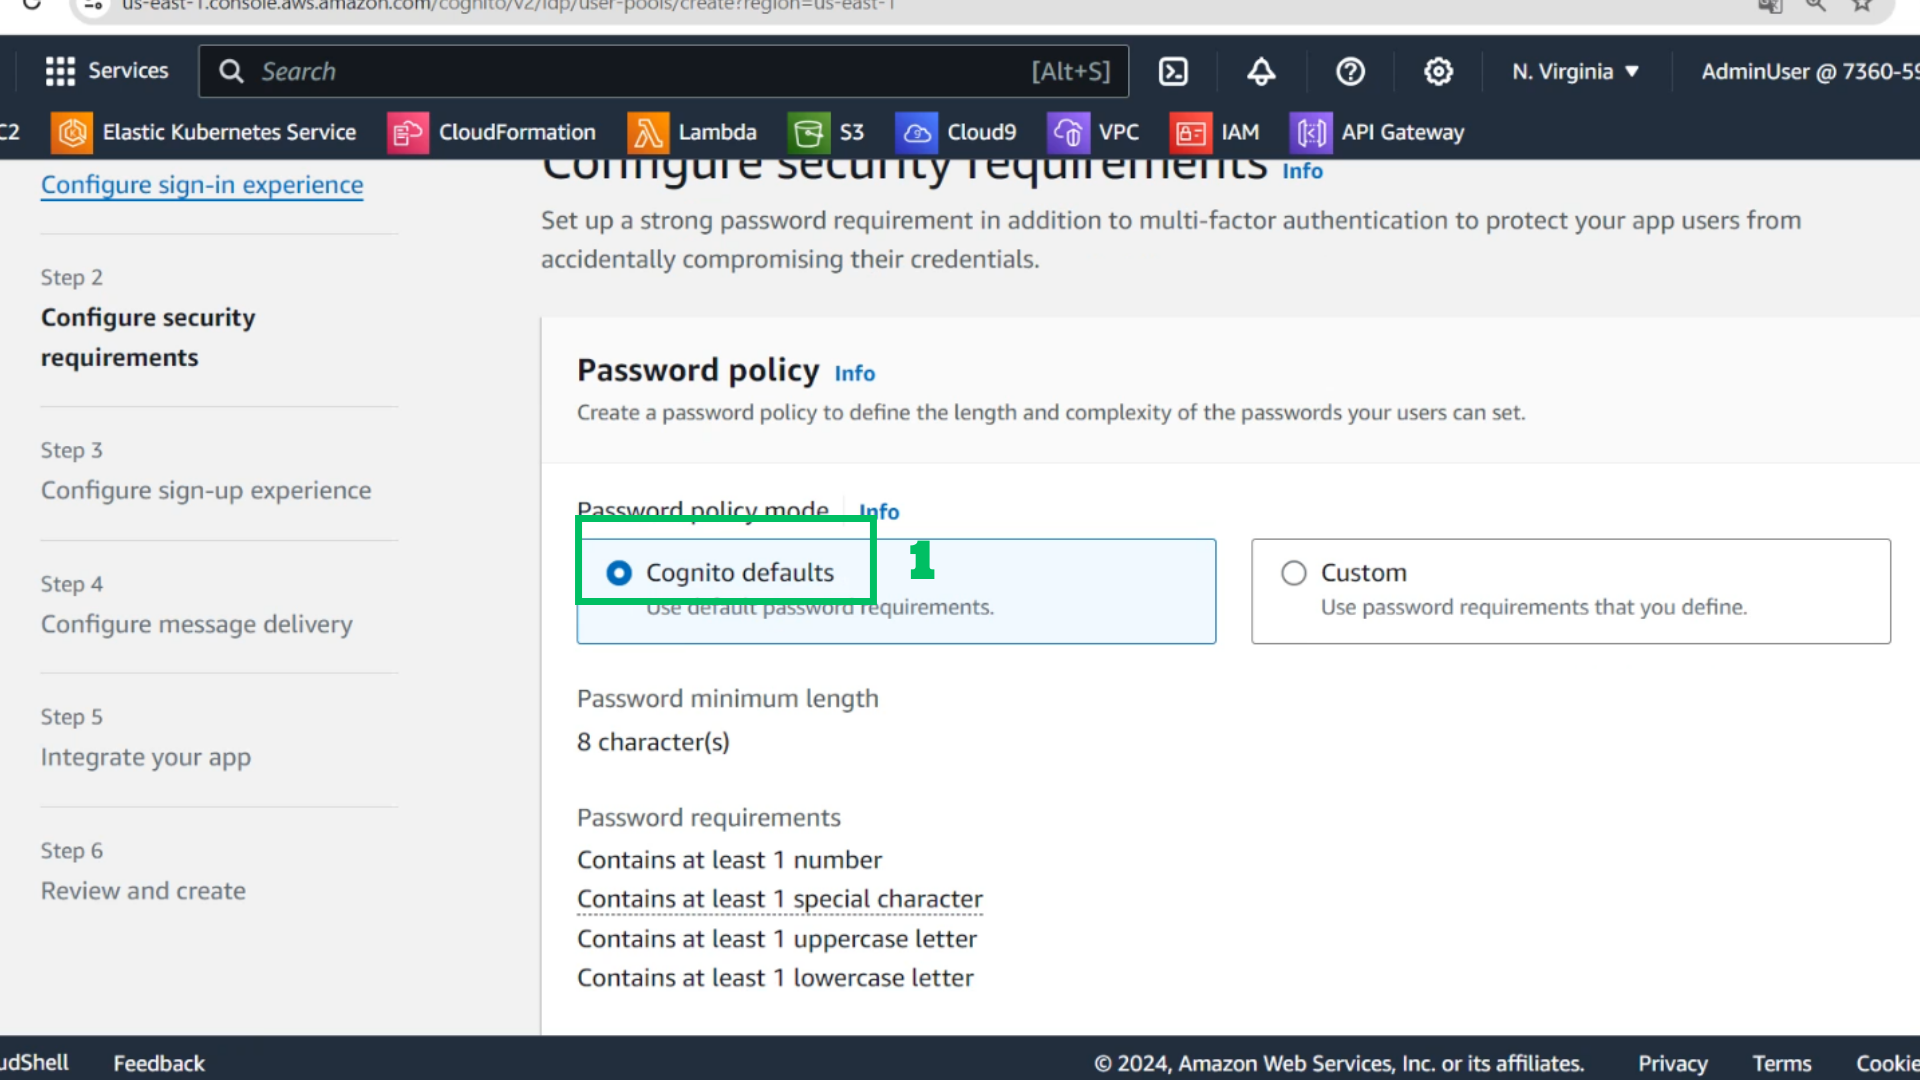
- Choose Cognito default
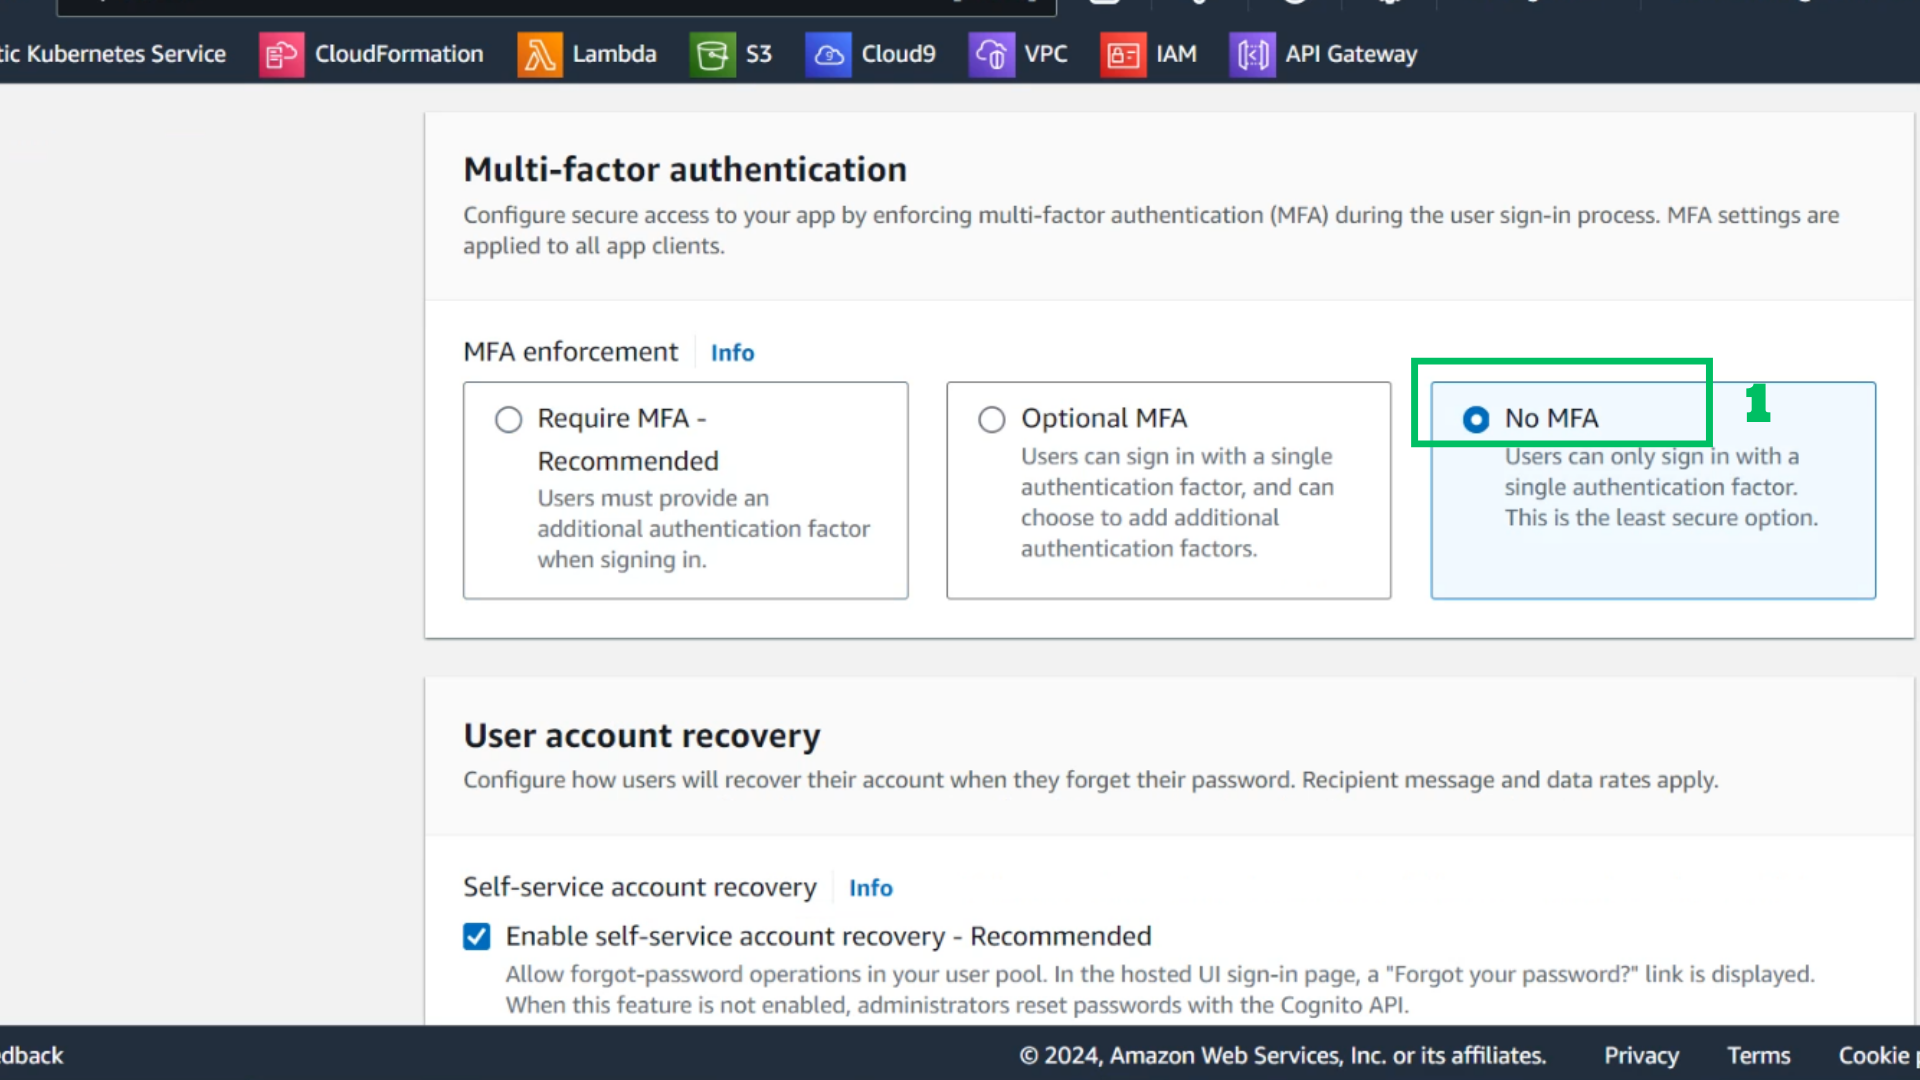
- Choose No MFA for this project
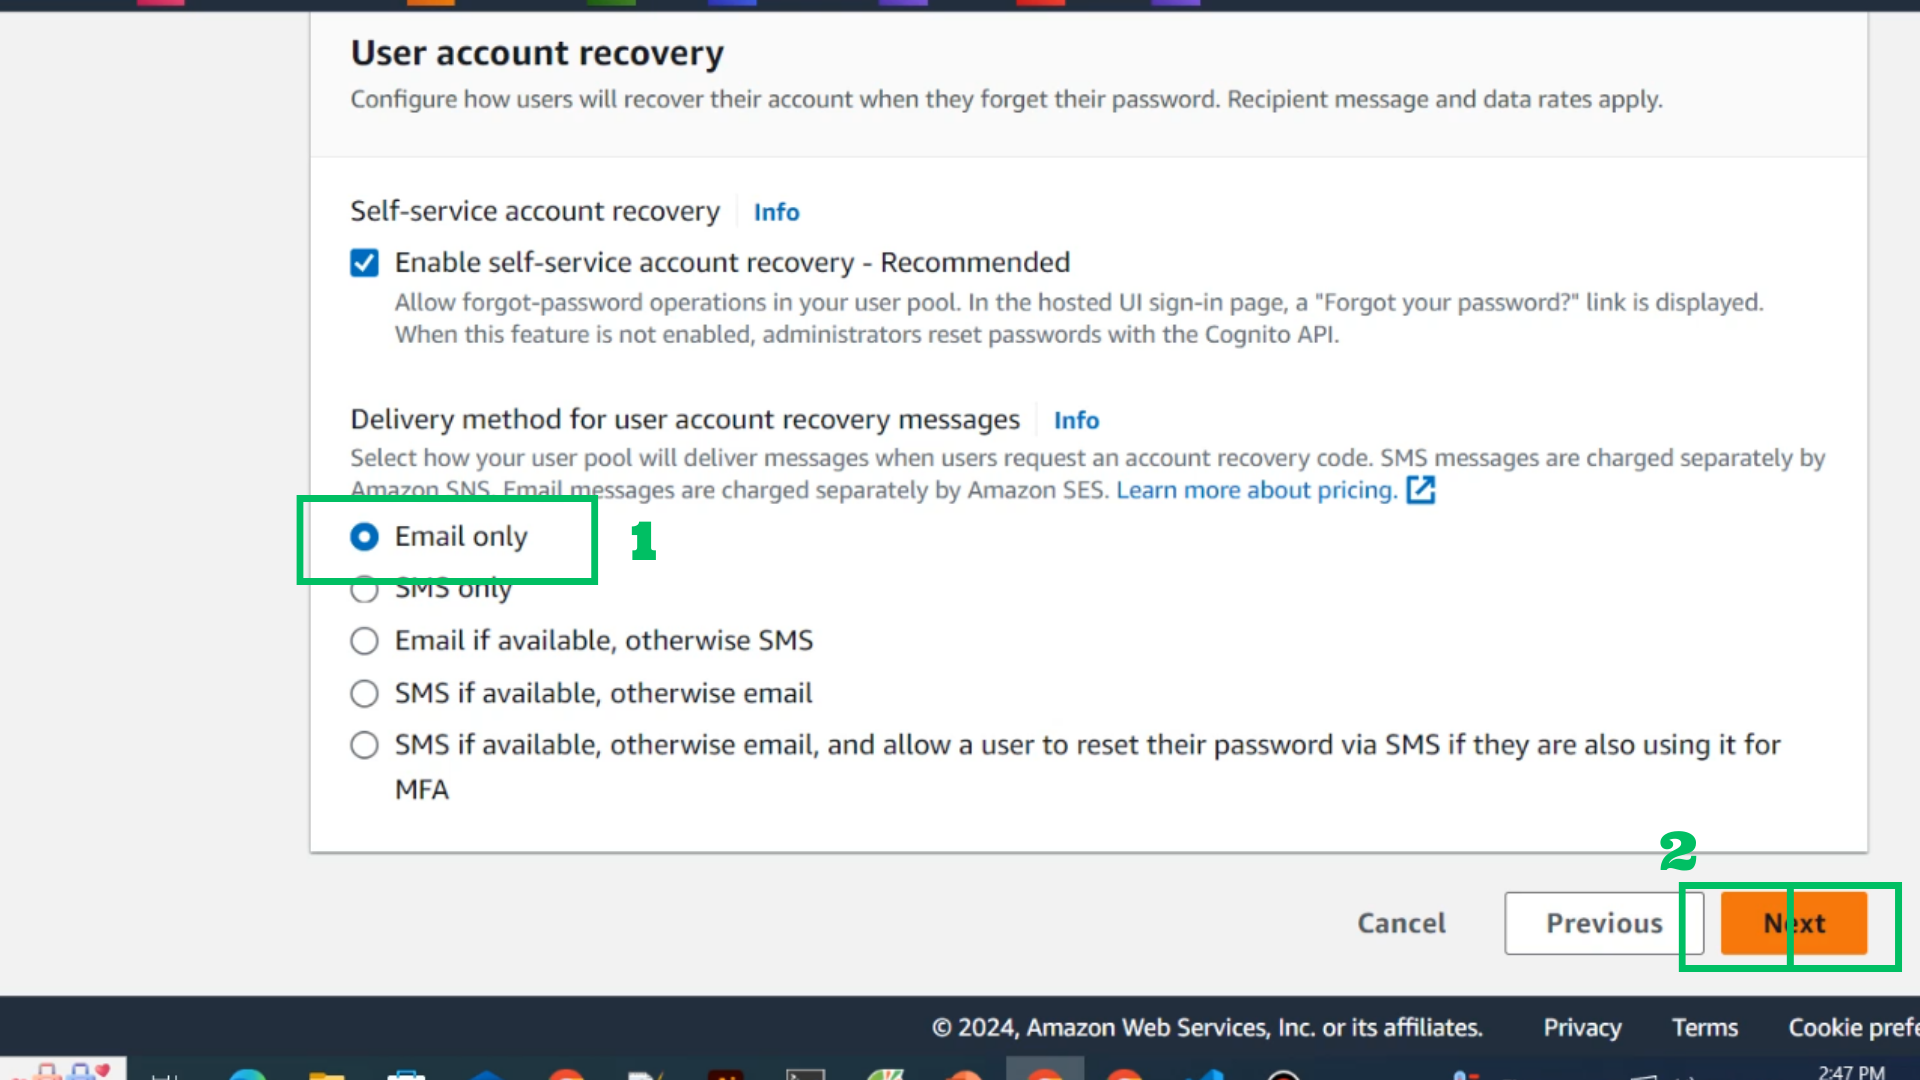
- Choose Email Only
- Choose Next
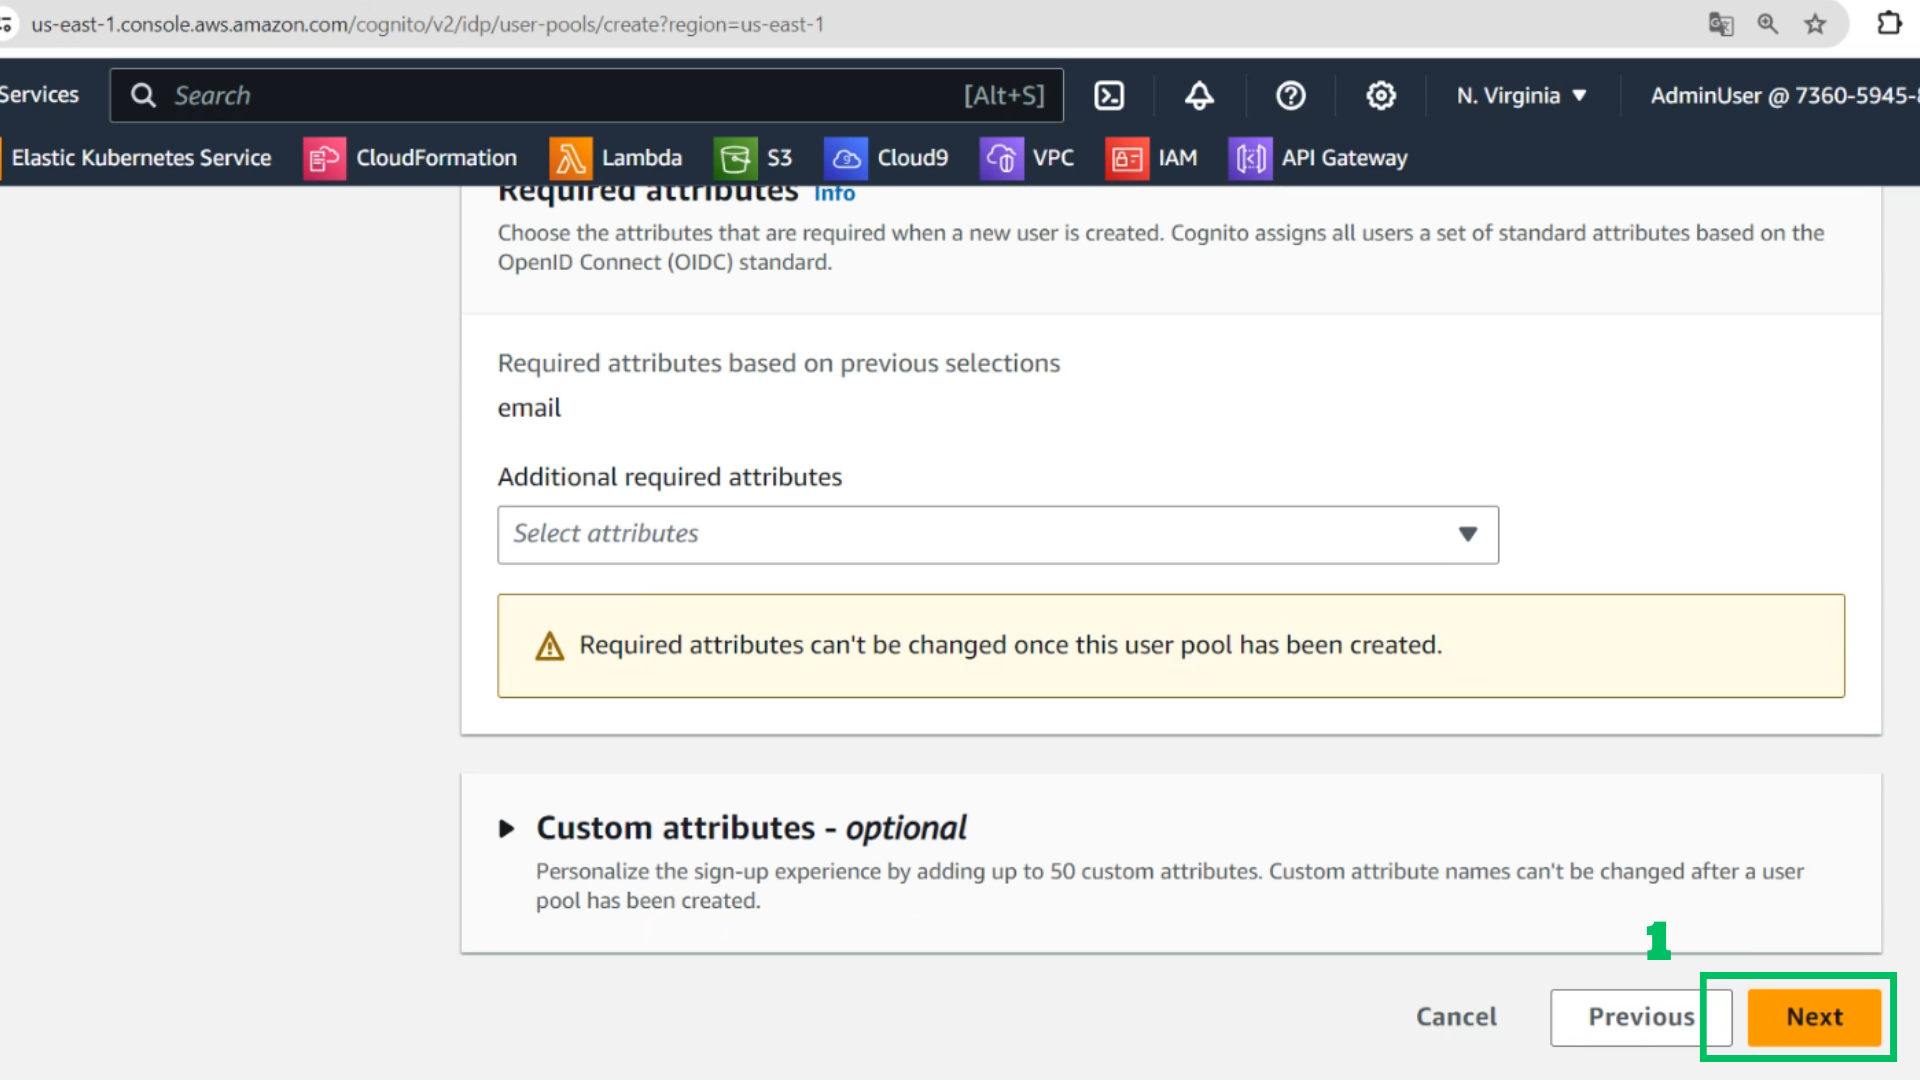
- Choose Next
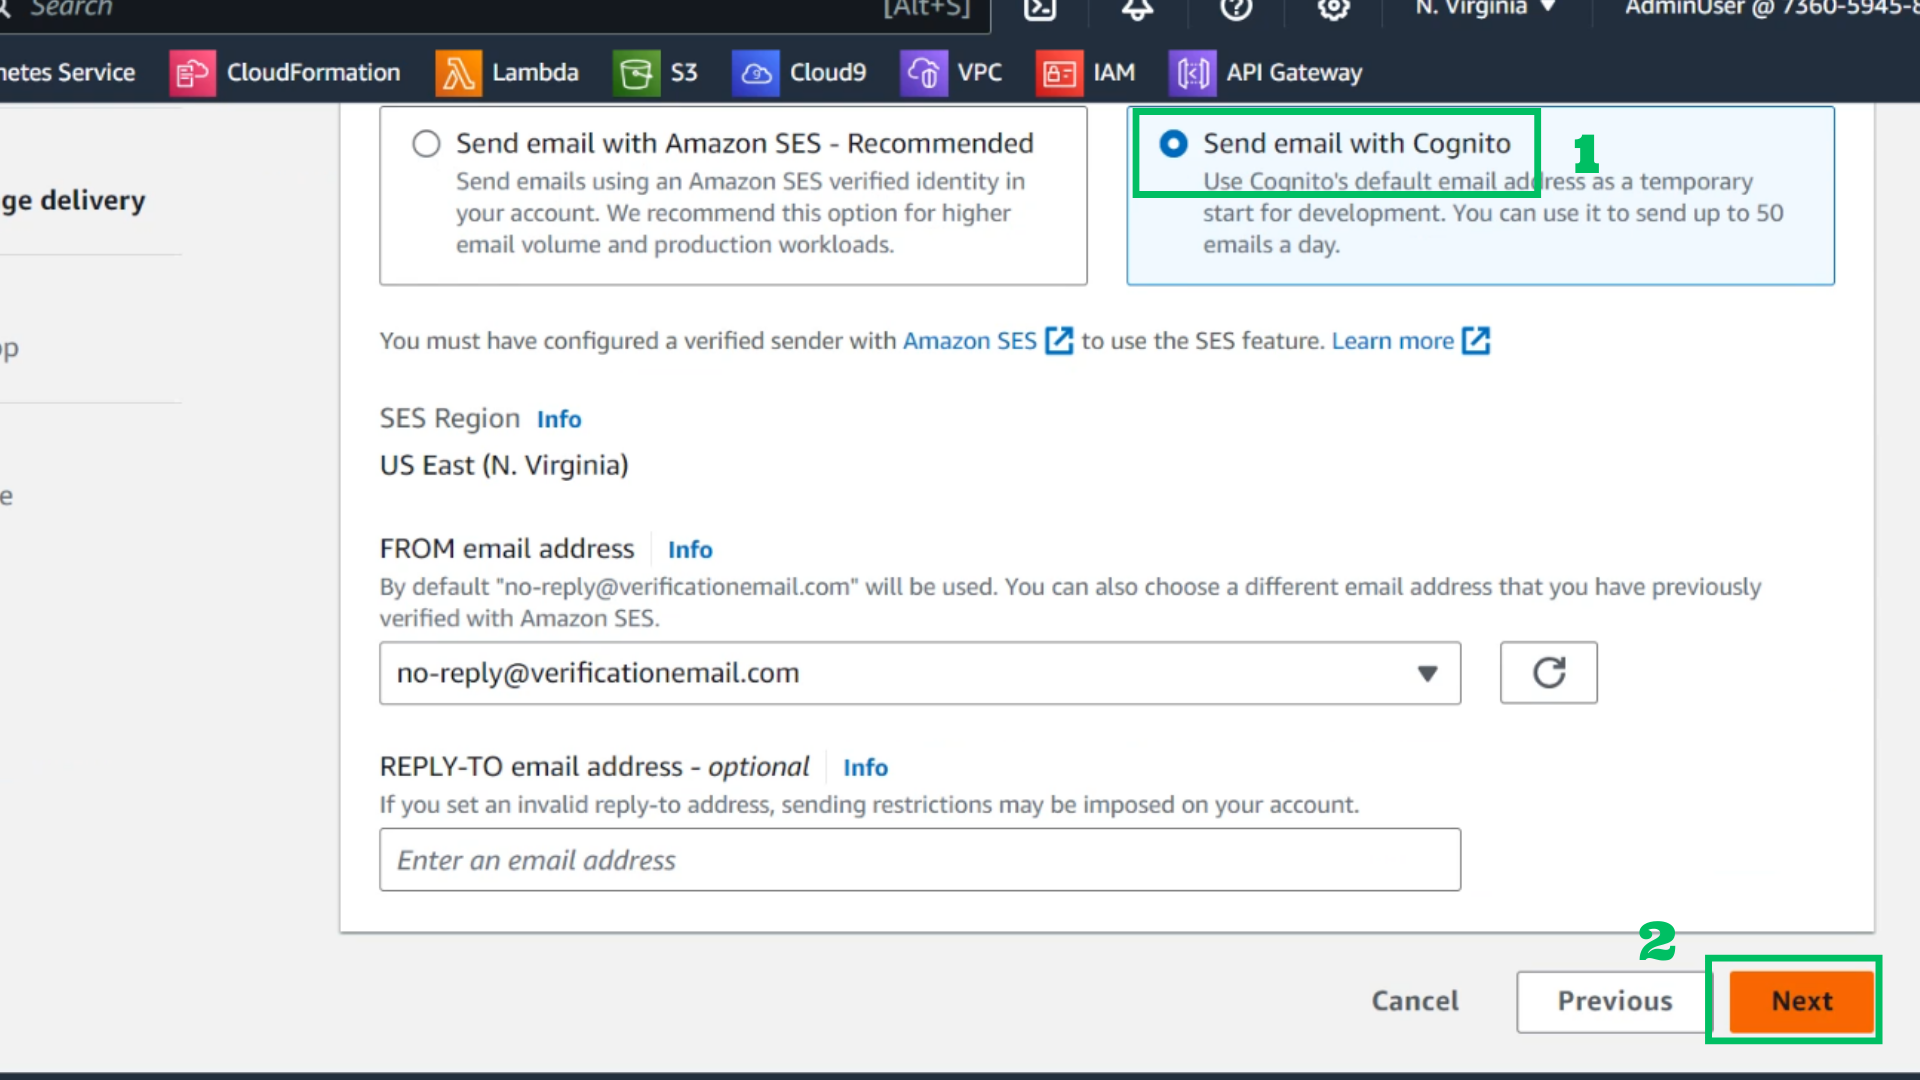
- Choose Send email with Cognito
- Choose Next
- User pool name: ChatPool

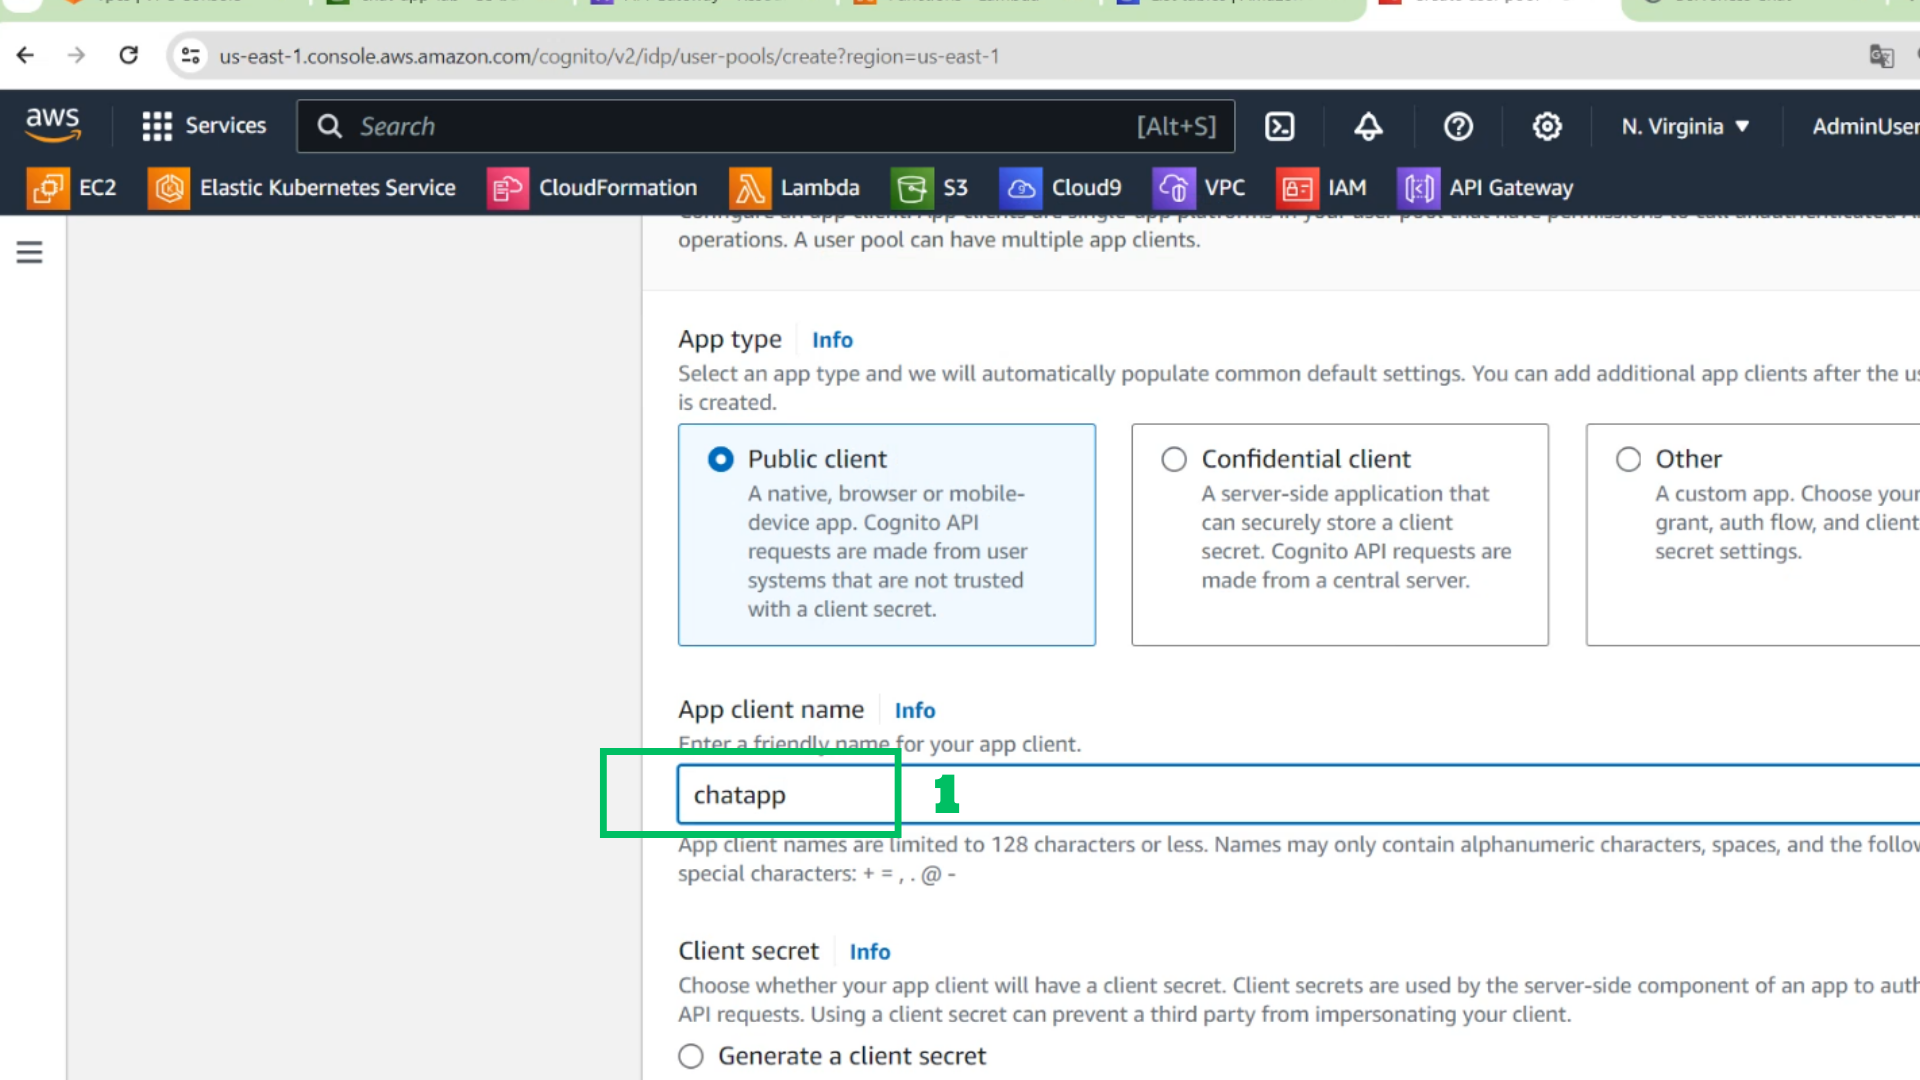
- App client name: chatapp
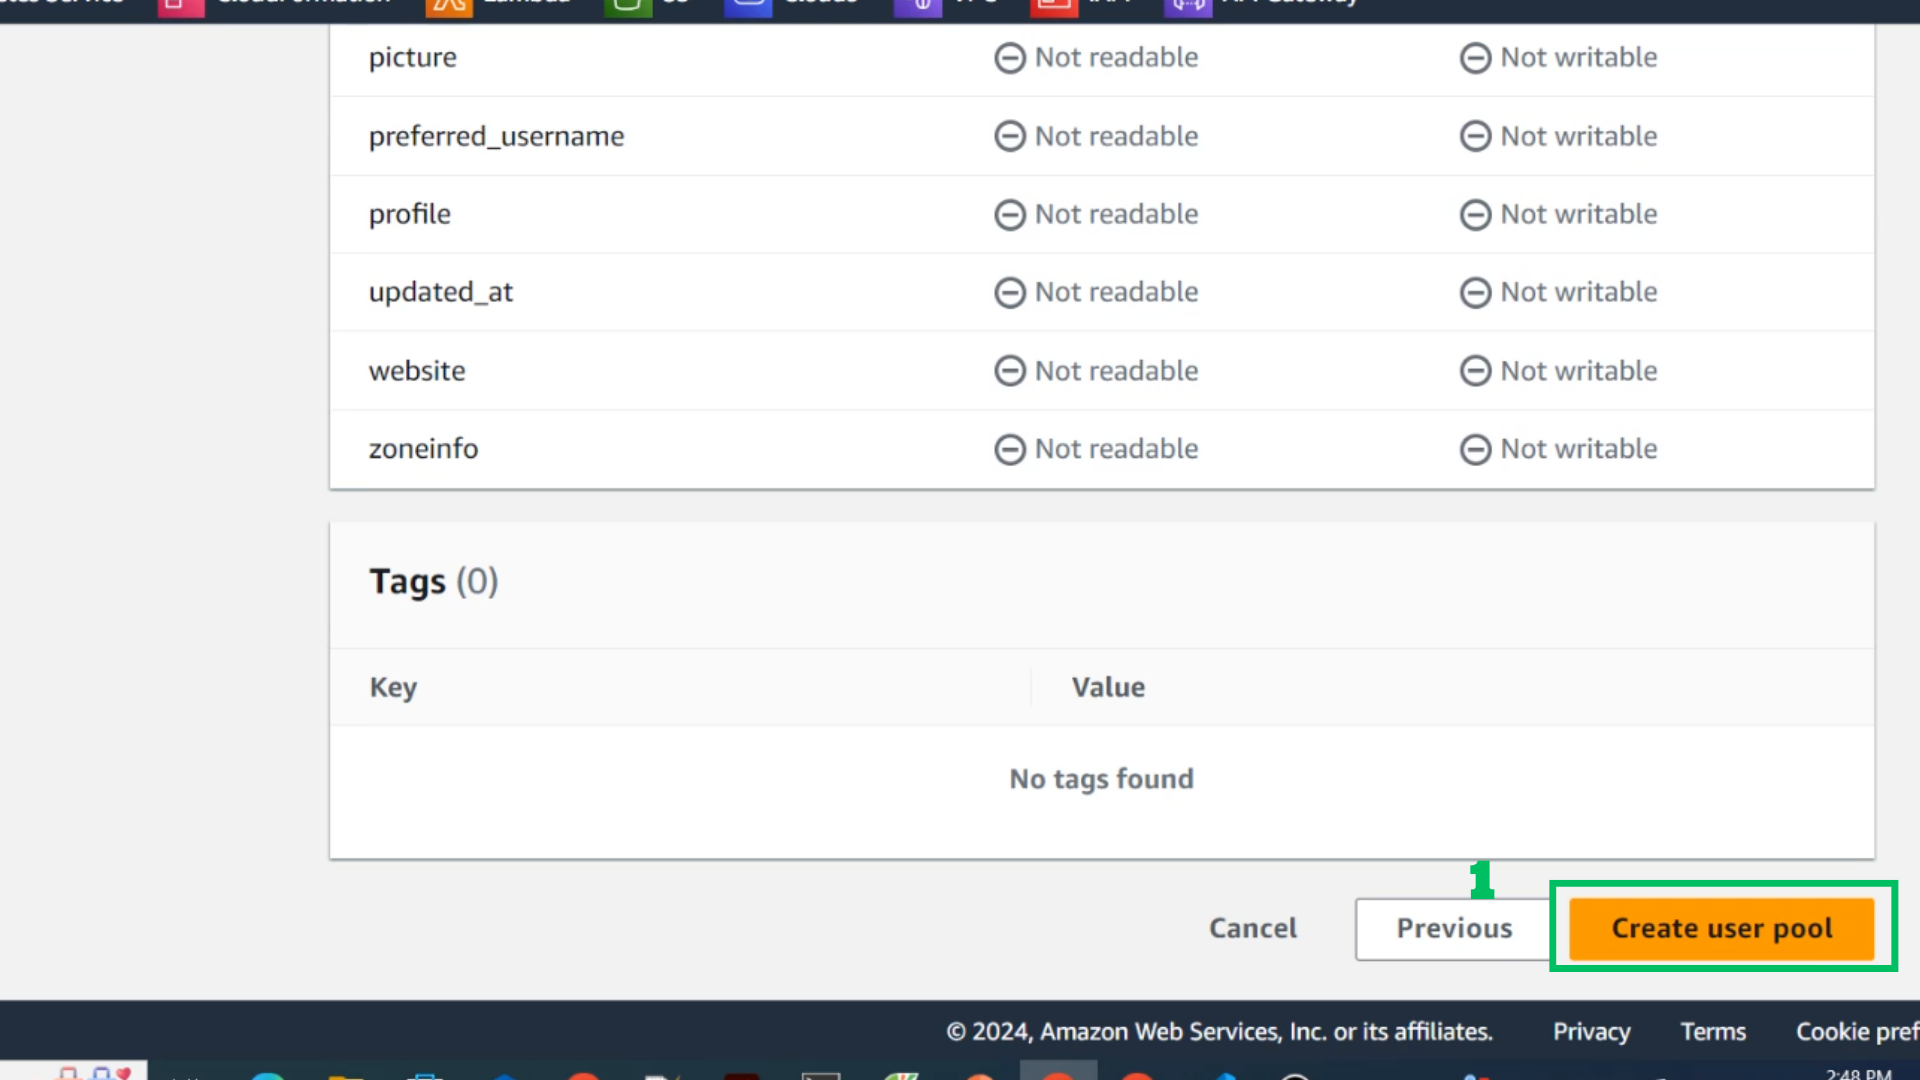
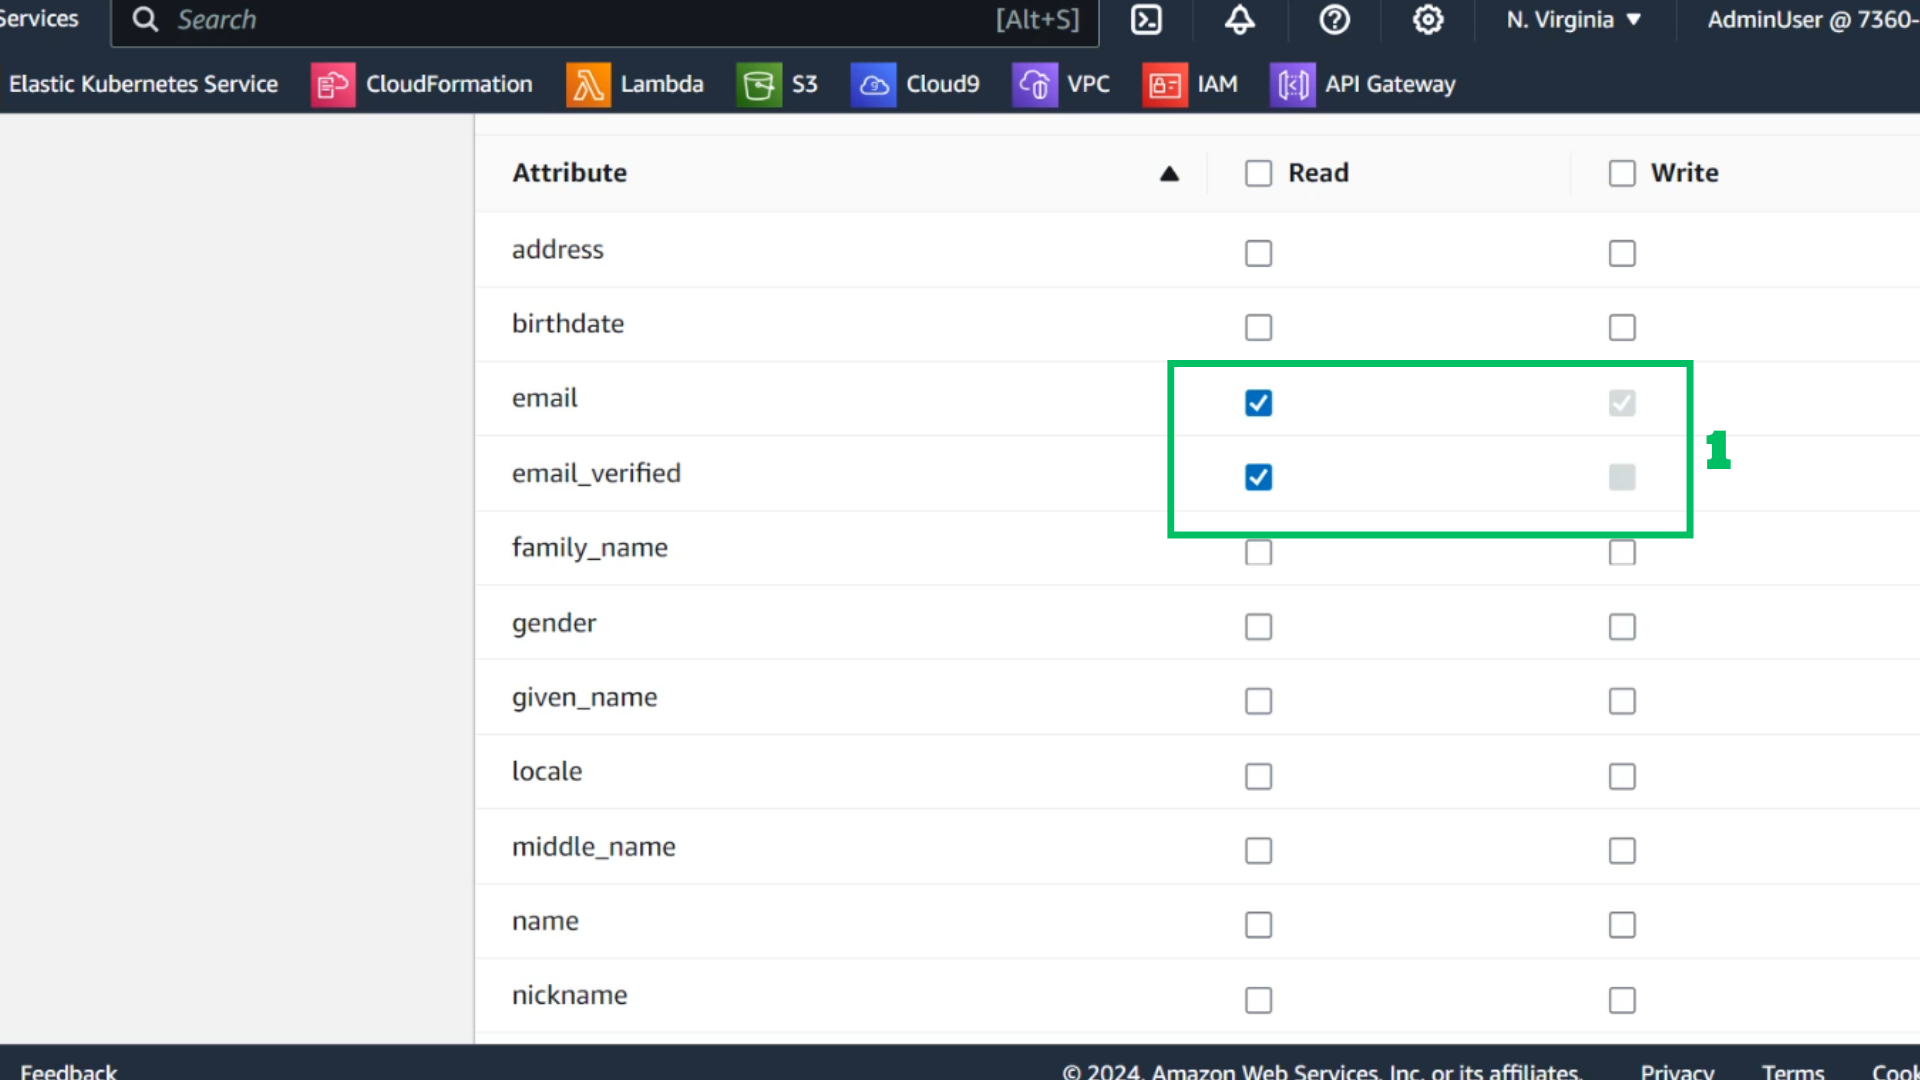
- Only choose Read permission: email, email_verified
- Choose Create user pool