Setup the website
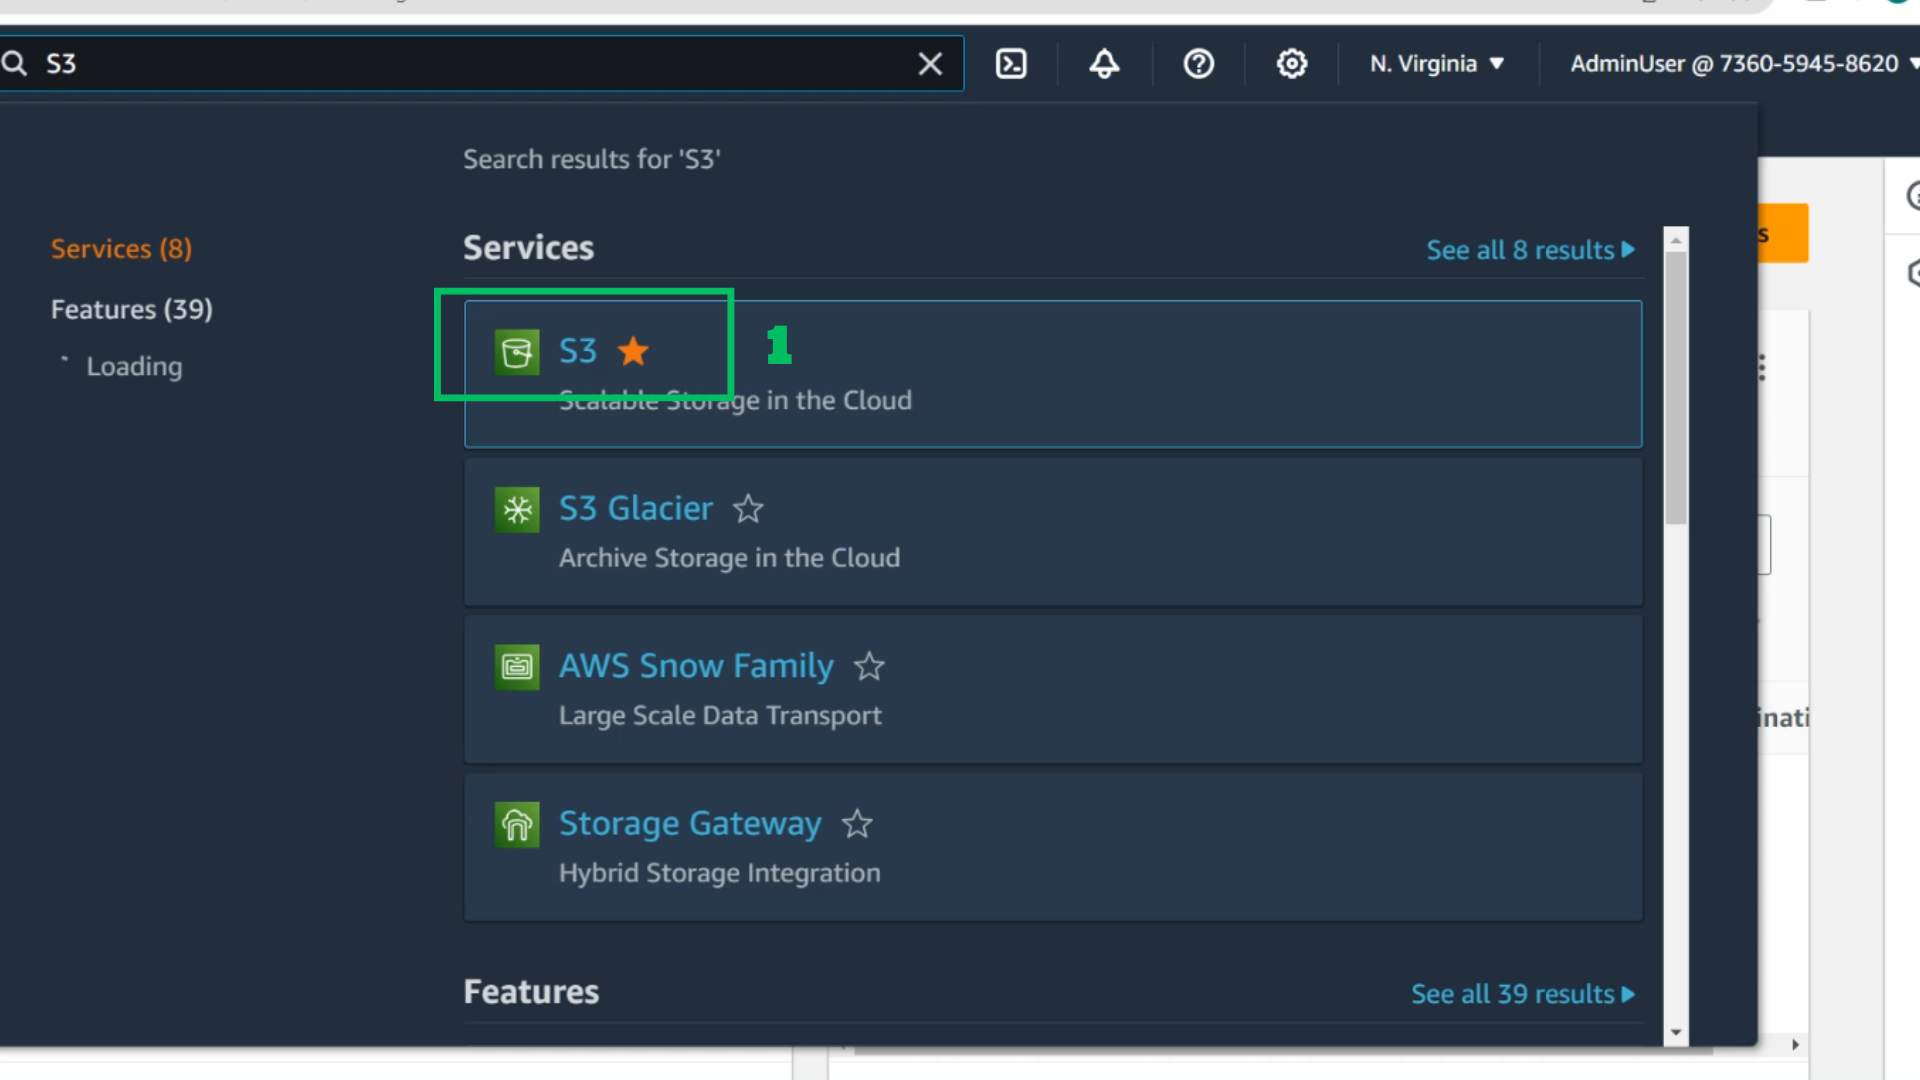
- Access AWS Console Management
- Locate and choose S3
- Choose Create Bucket
- In the S3 Interface
- Bucket name: chat-app-lab

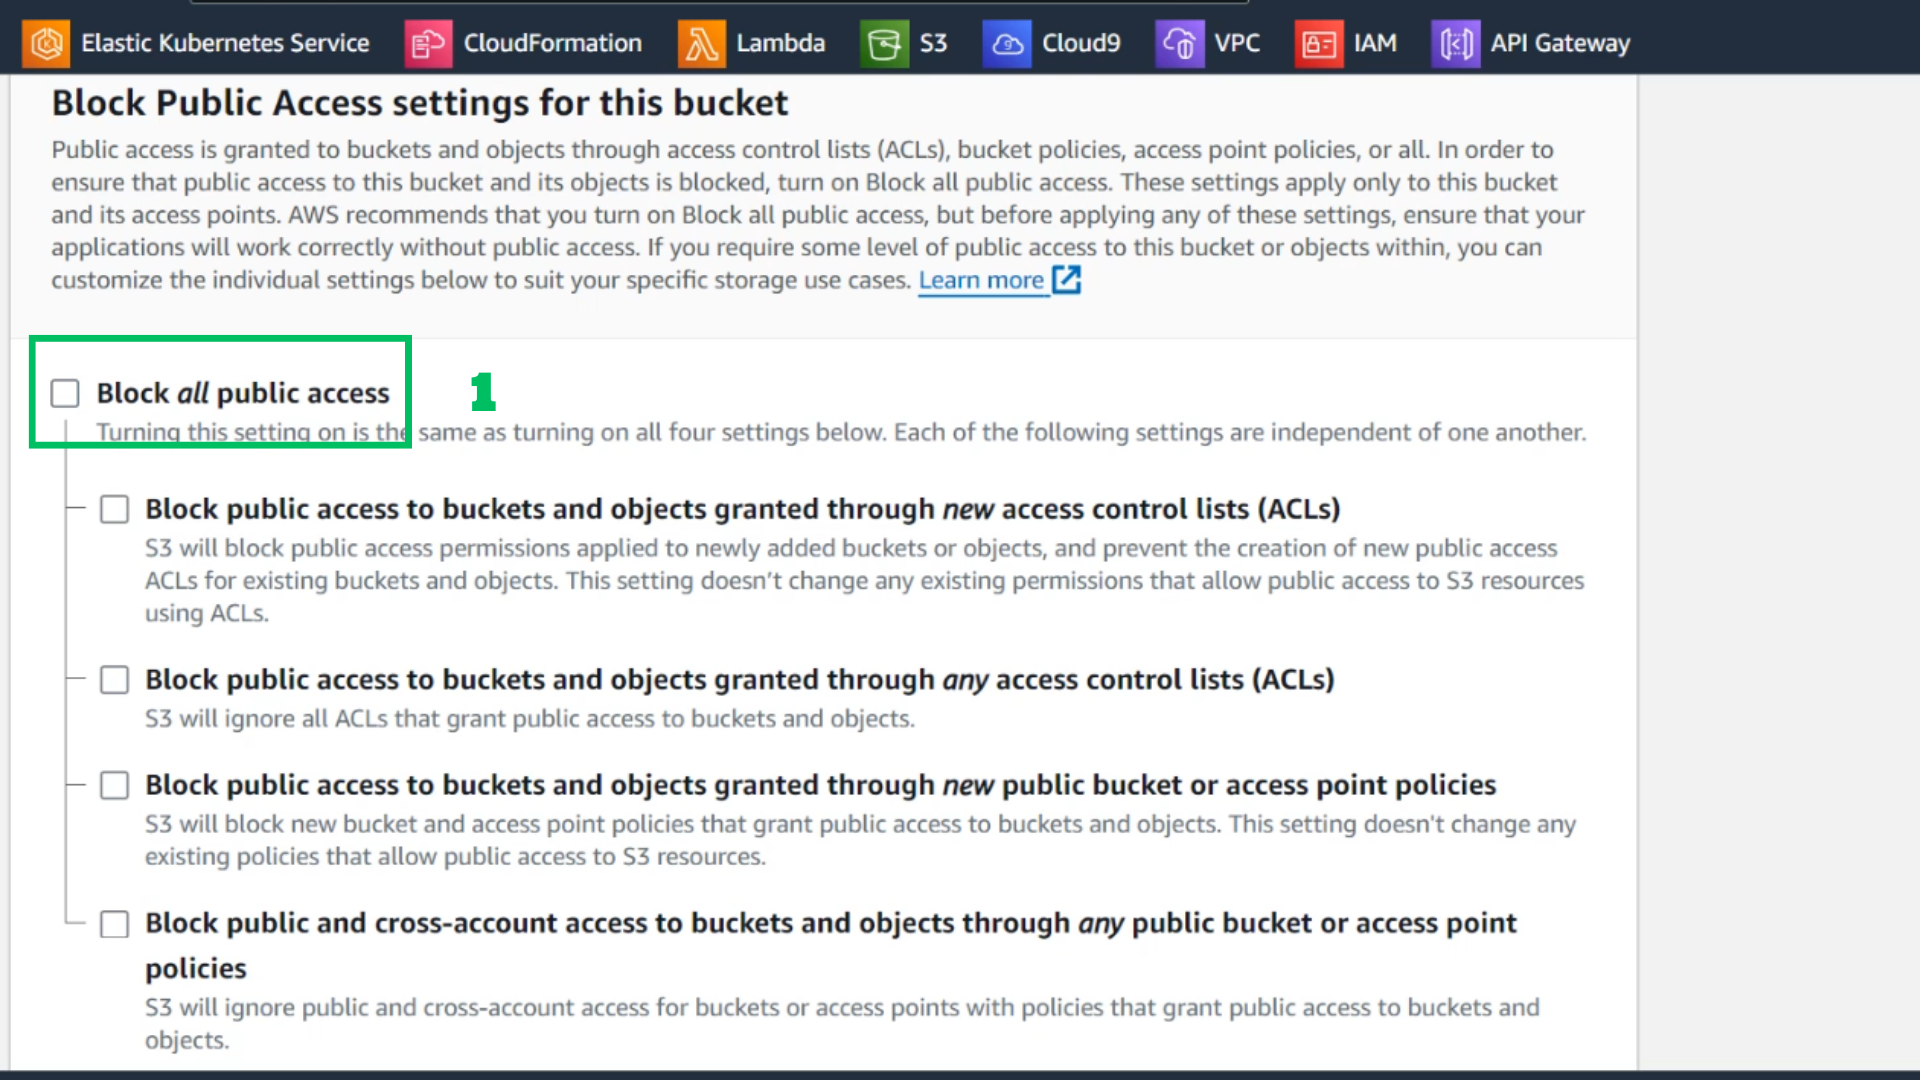
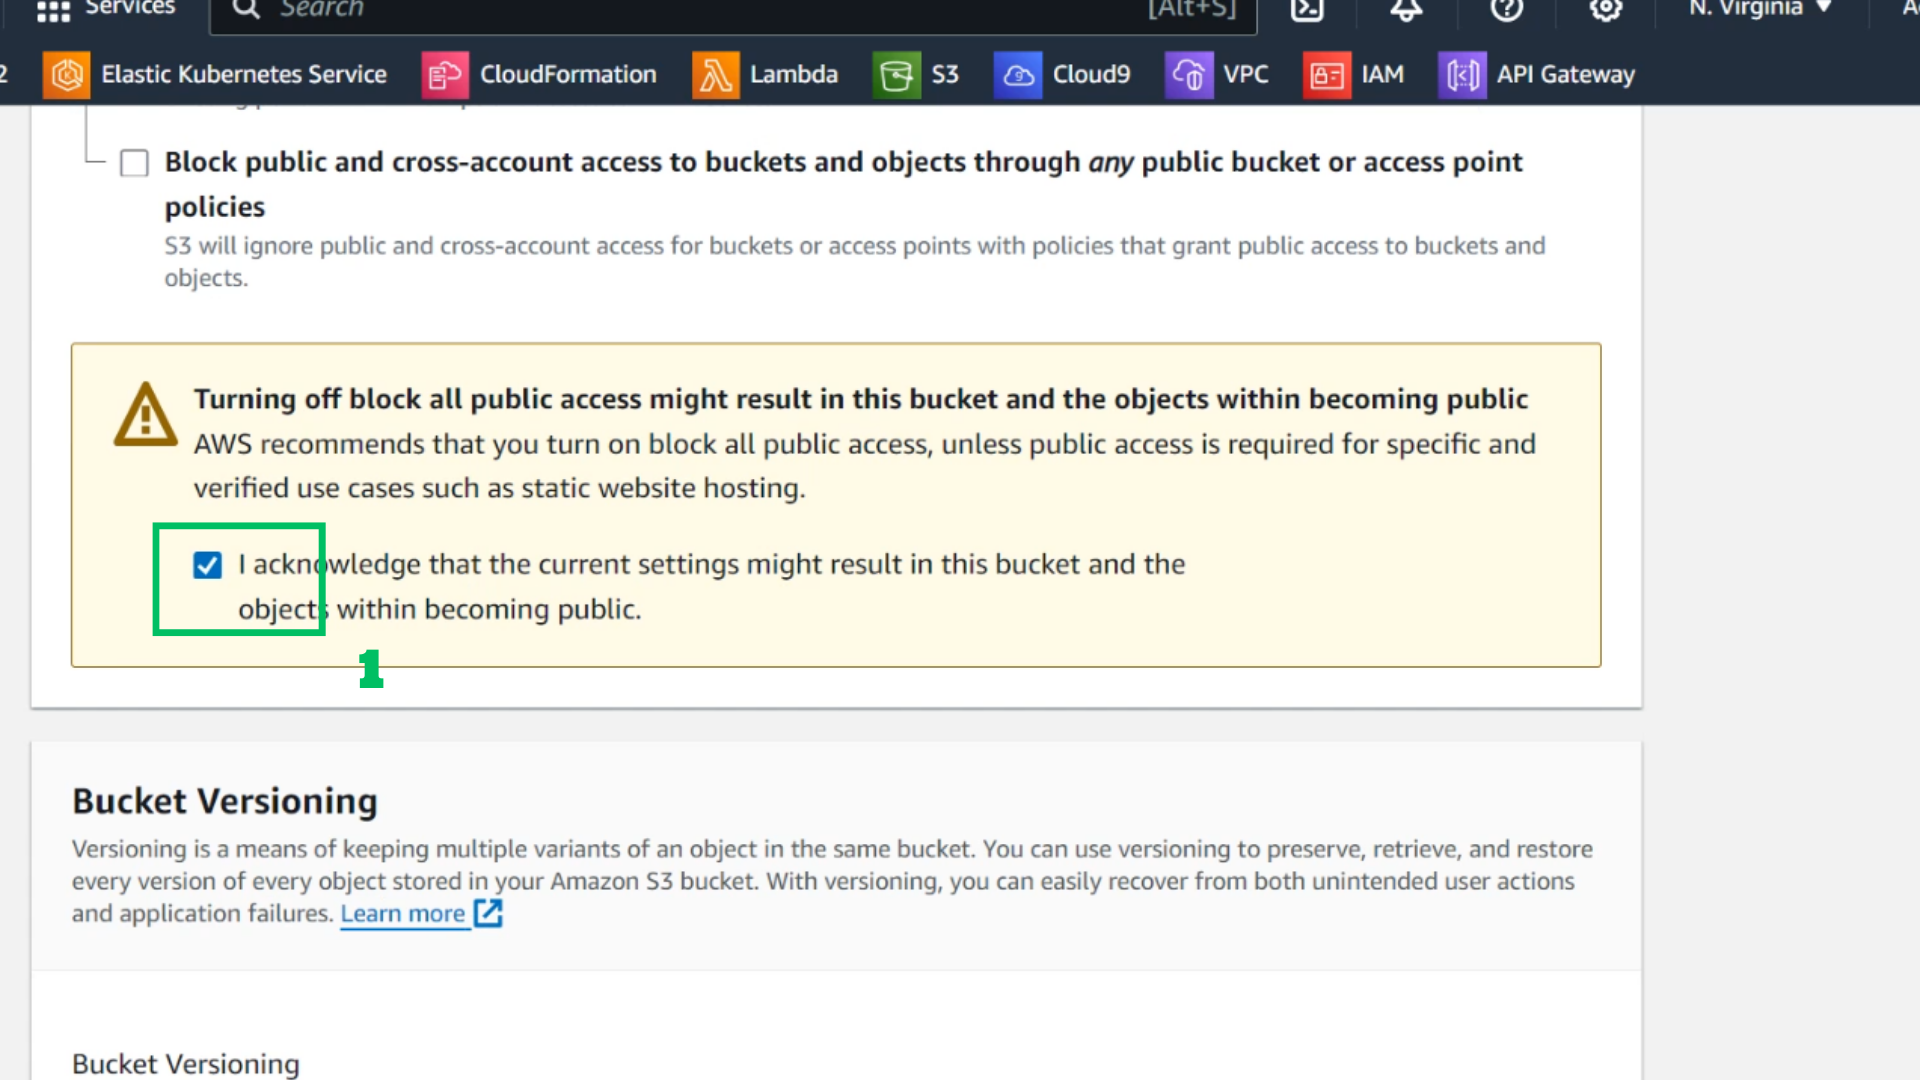
- Untick Block all public access
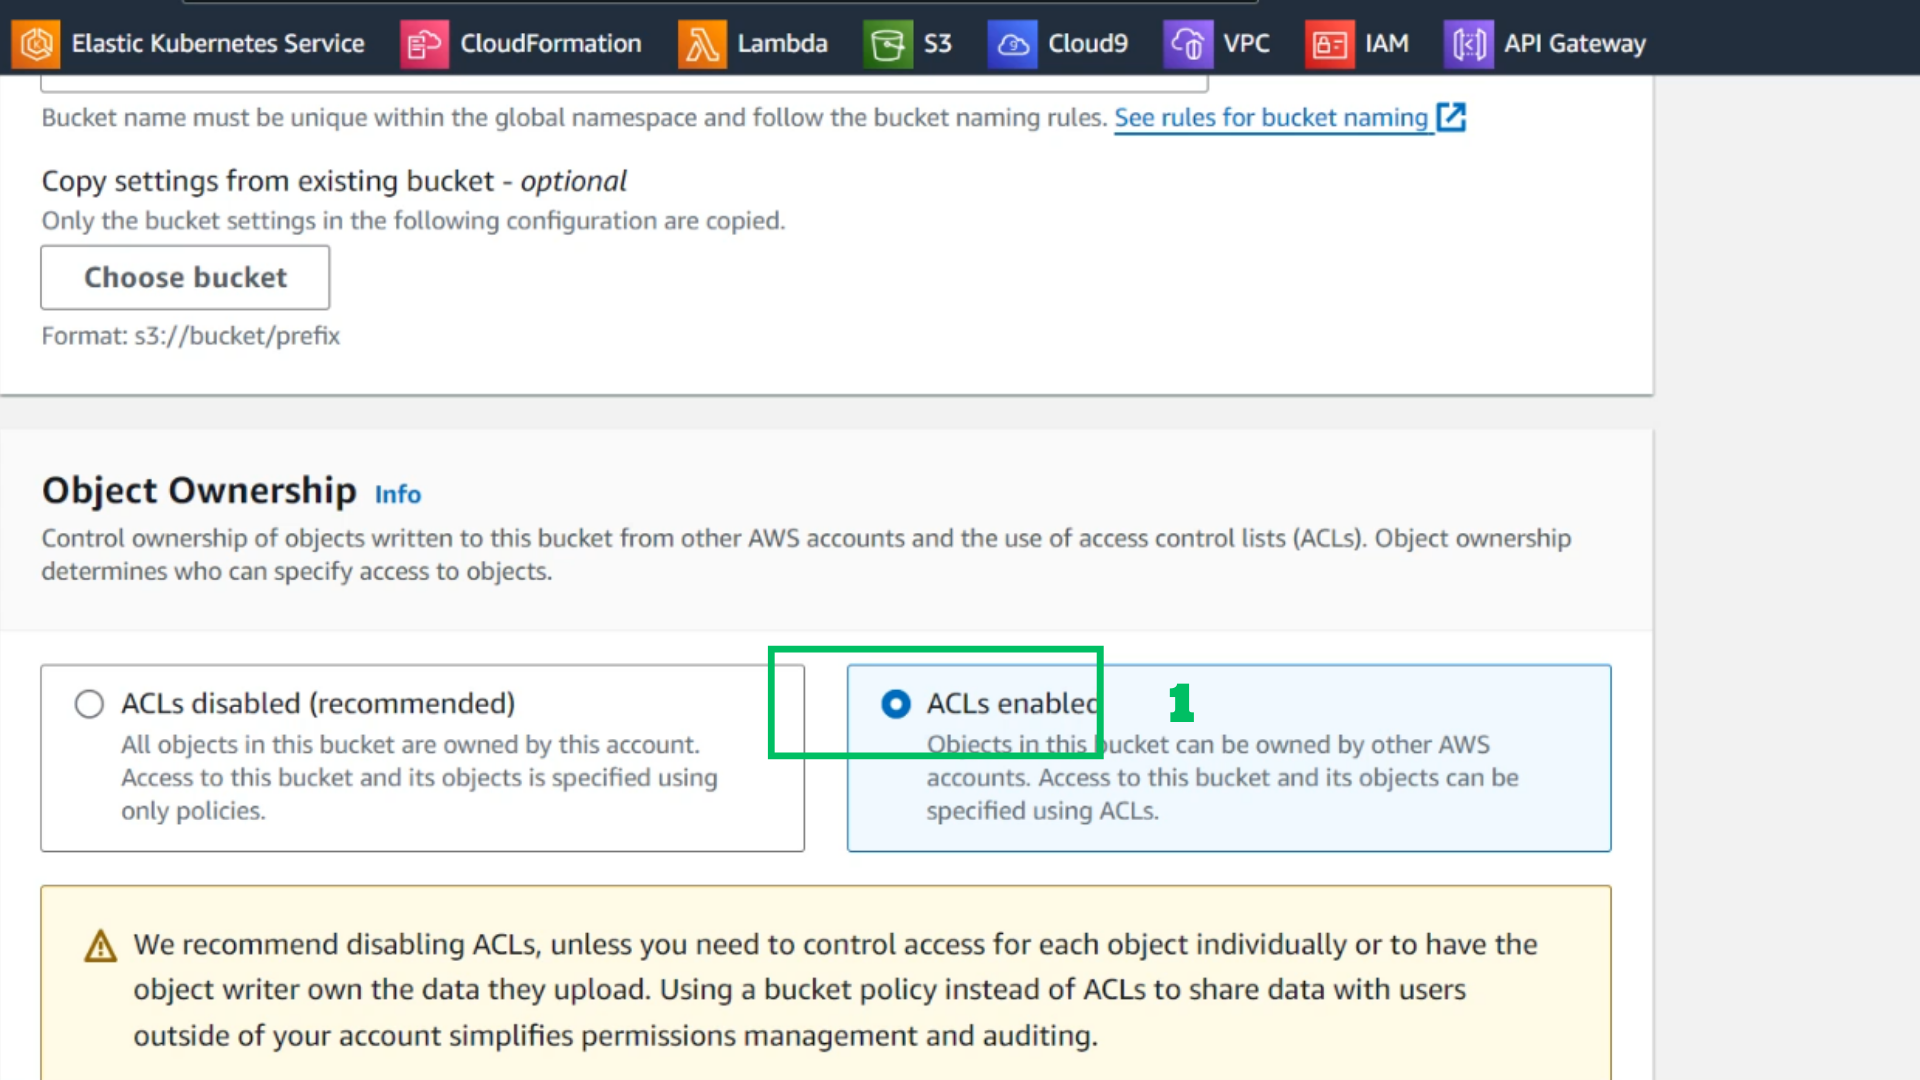
- Choose ACLs enabled
- Tick I acknowledge …
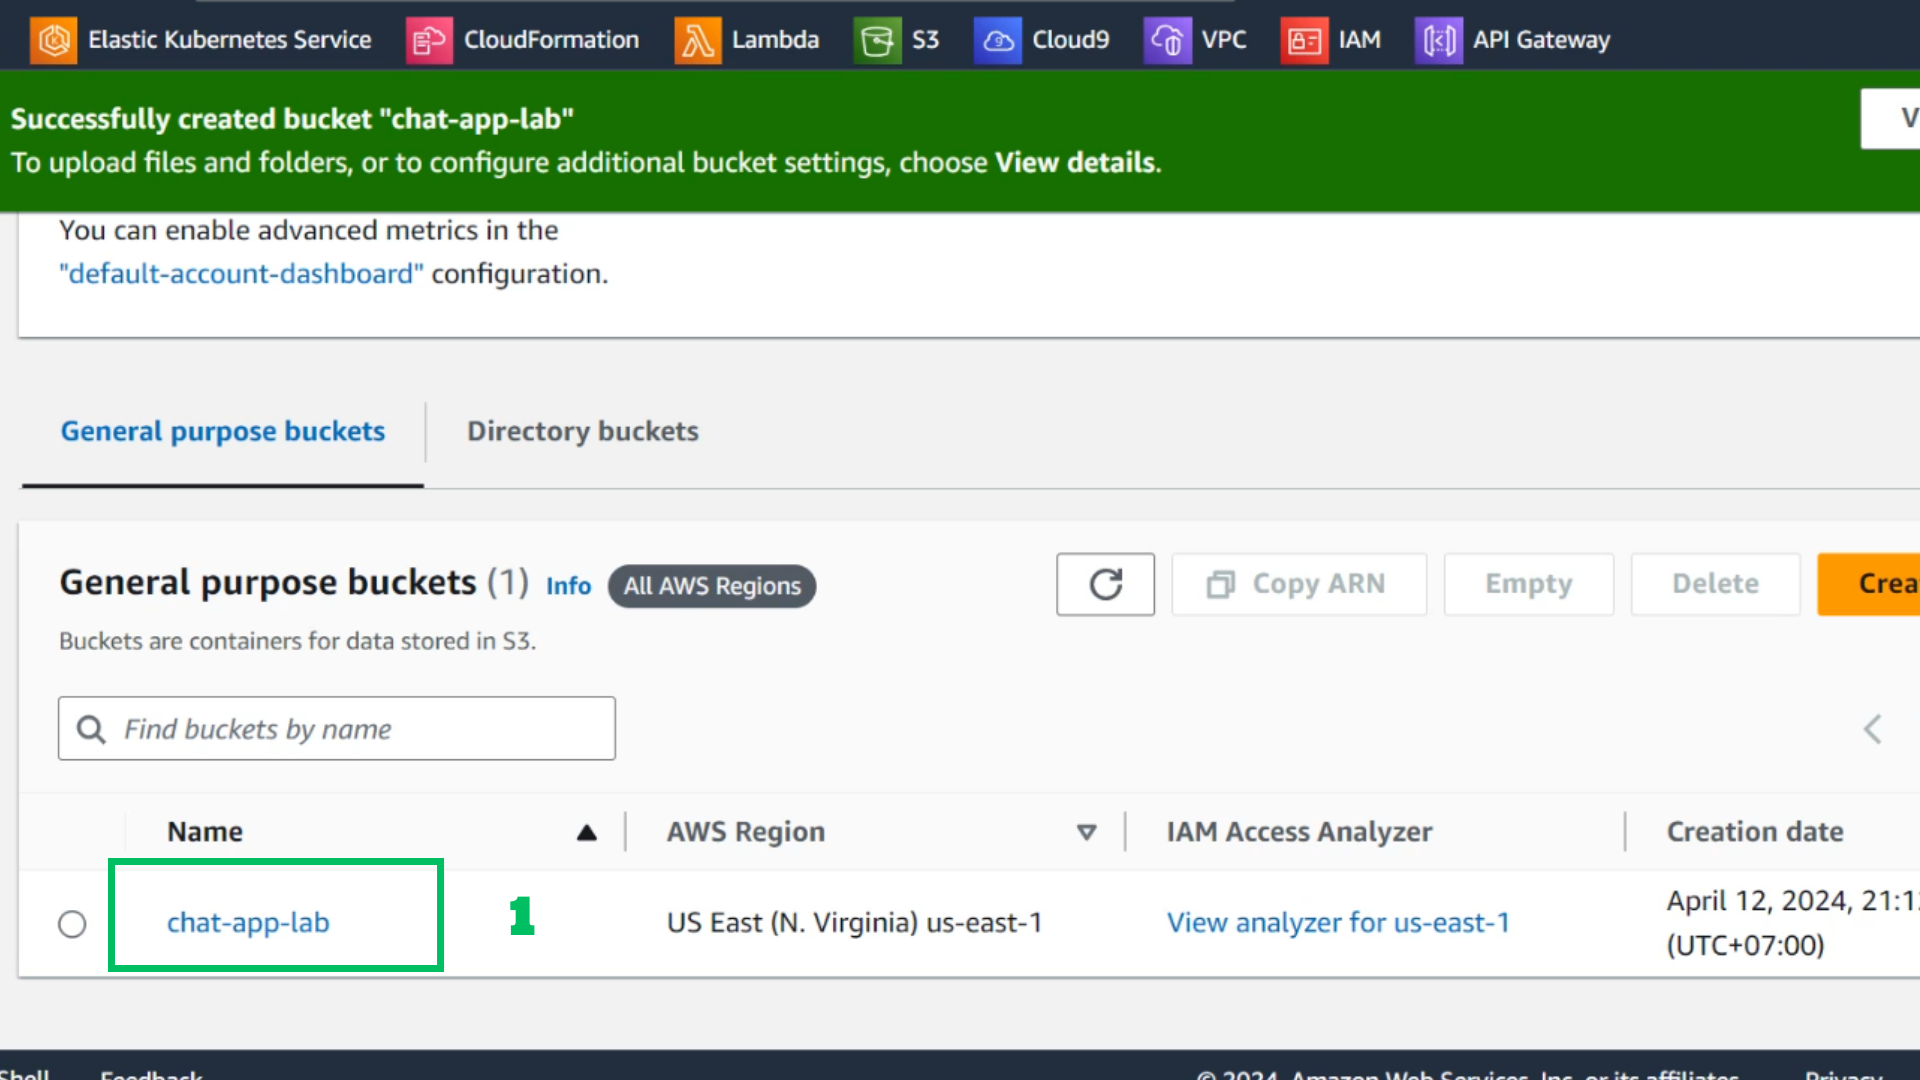
- Choose Create bucket

- After creating the bucket
- Choose: chat-app-lab
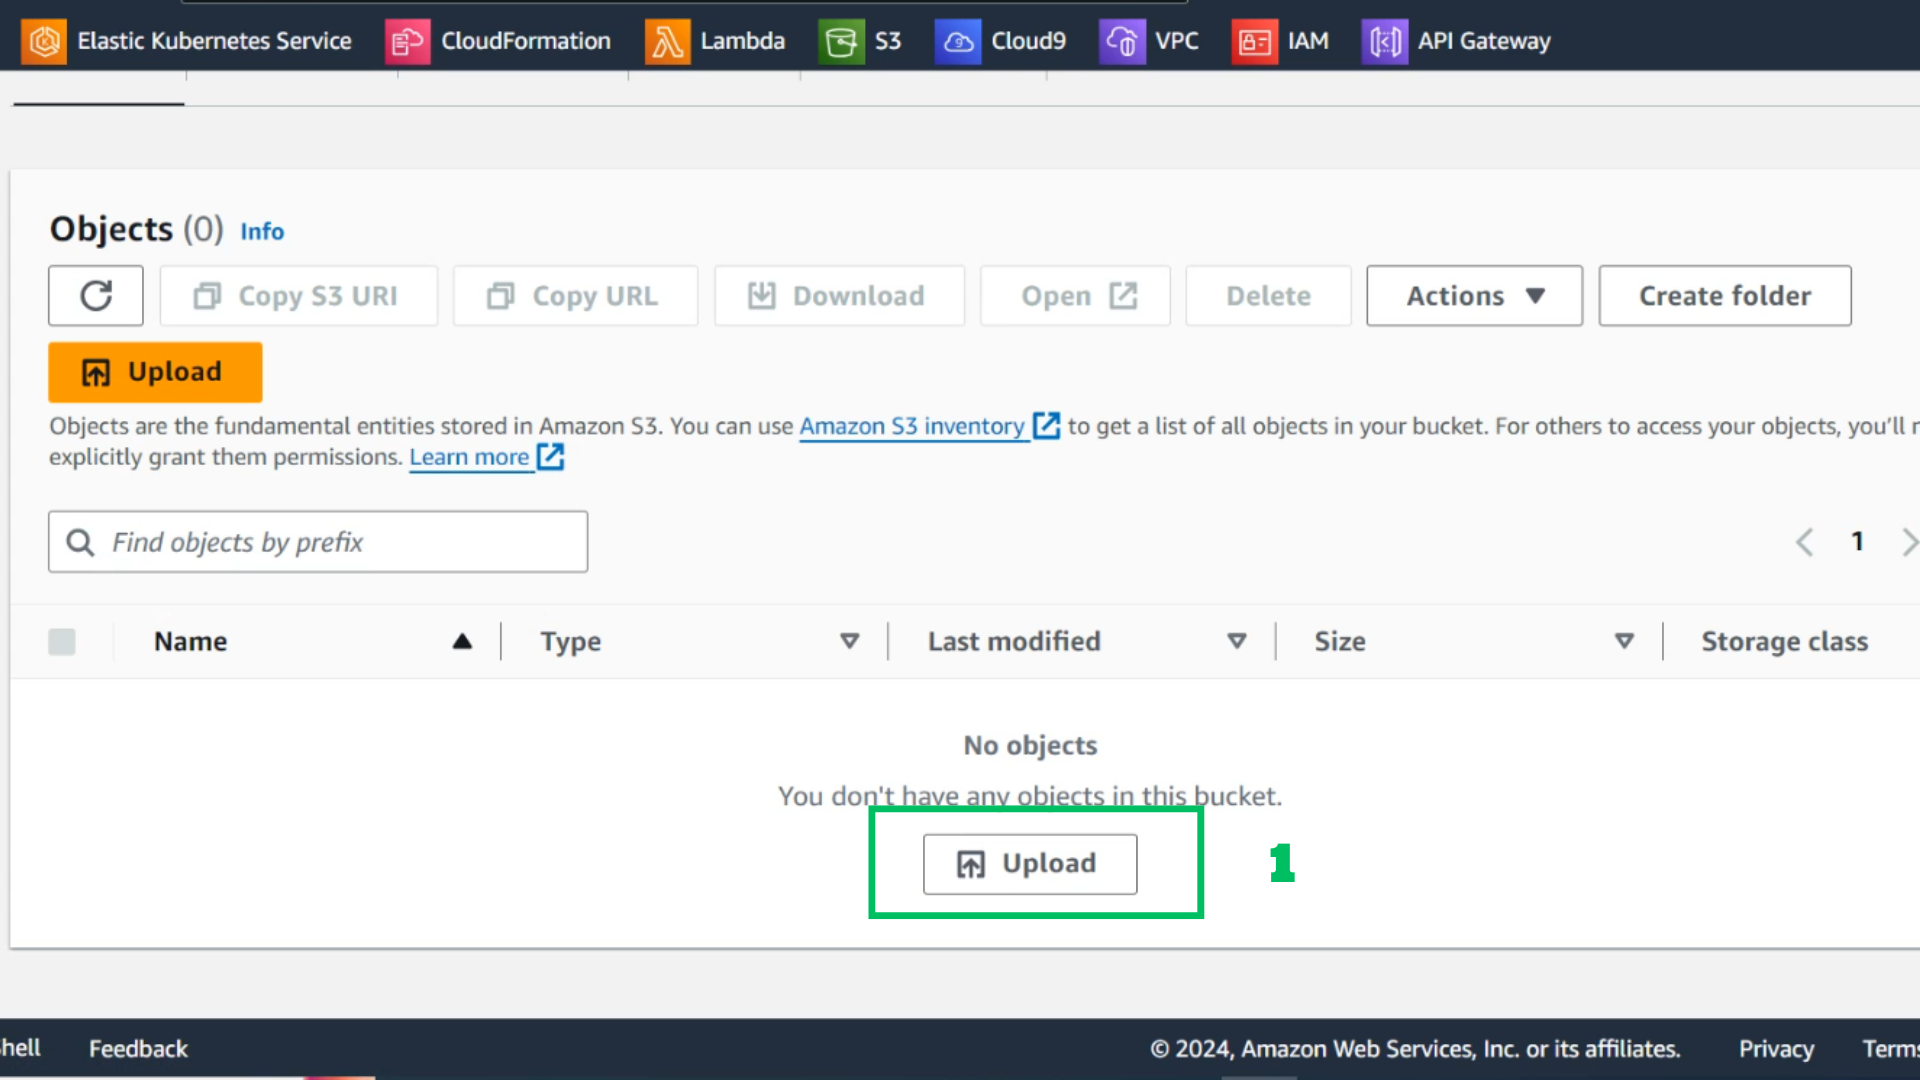
- Choose Upload
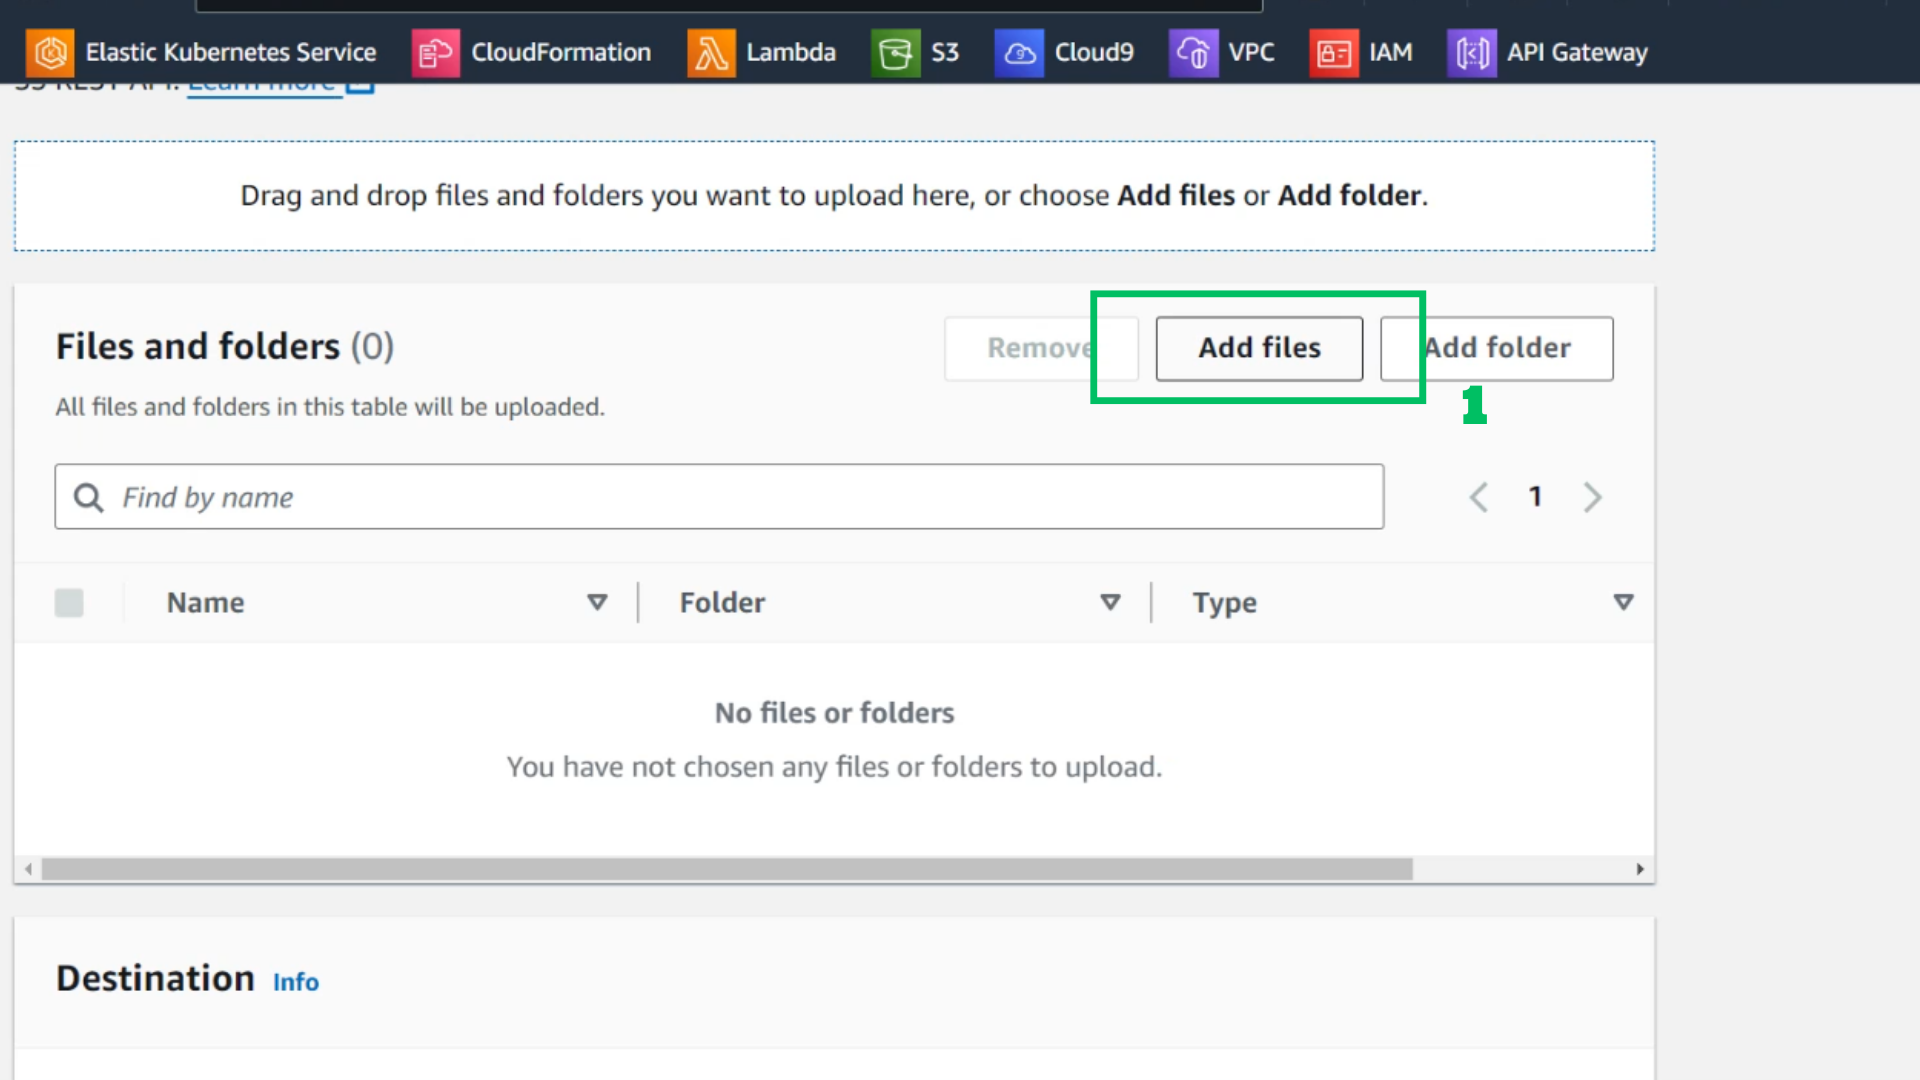
- Choose Add files
- With the downloaded folder, go to v1 to copy the original files to S3
- Select all then drag and drop
- Choose Upload

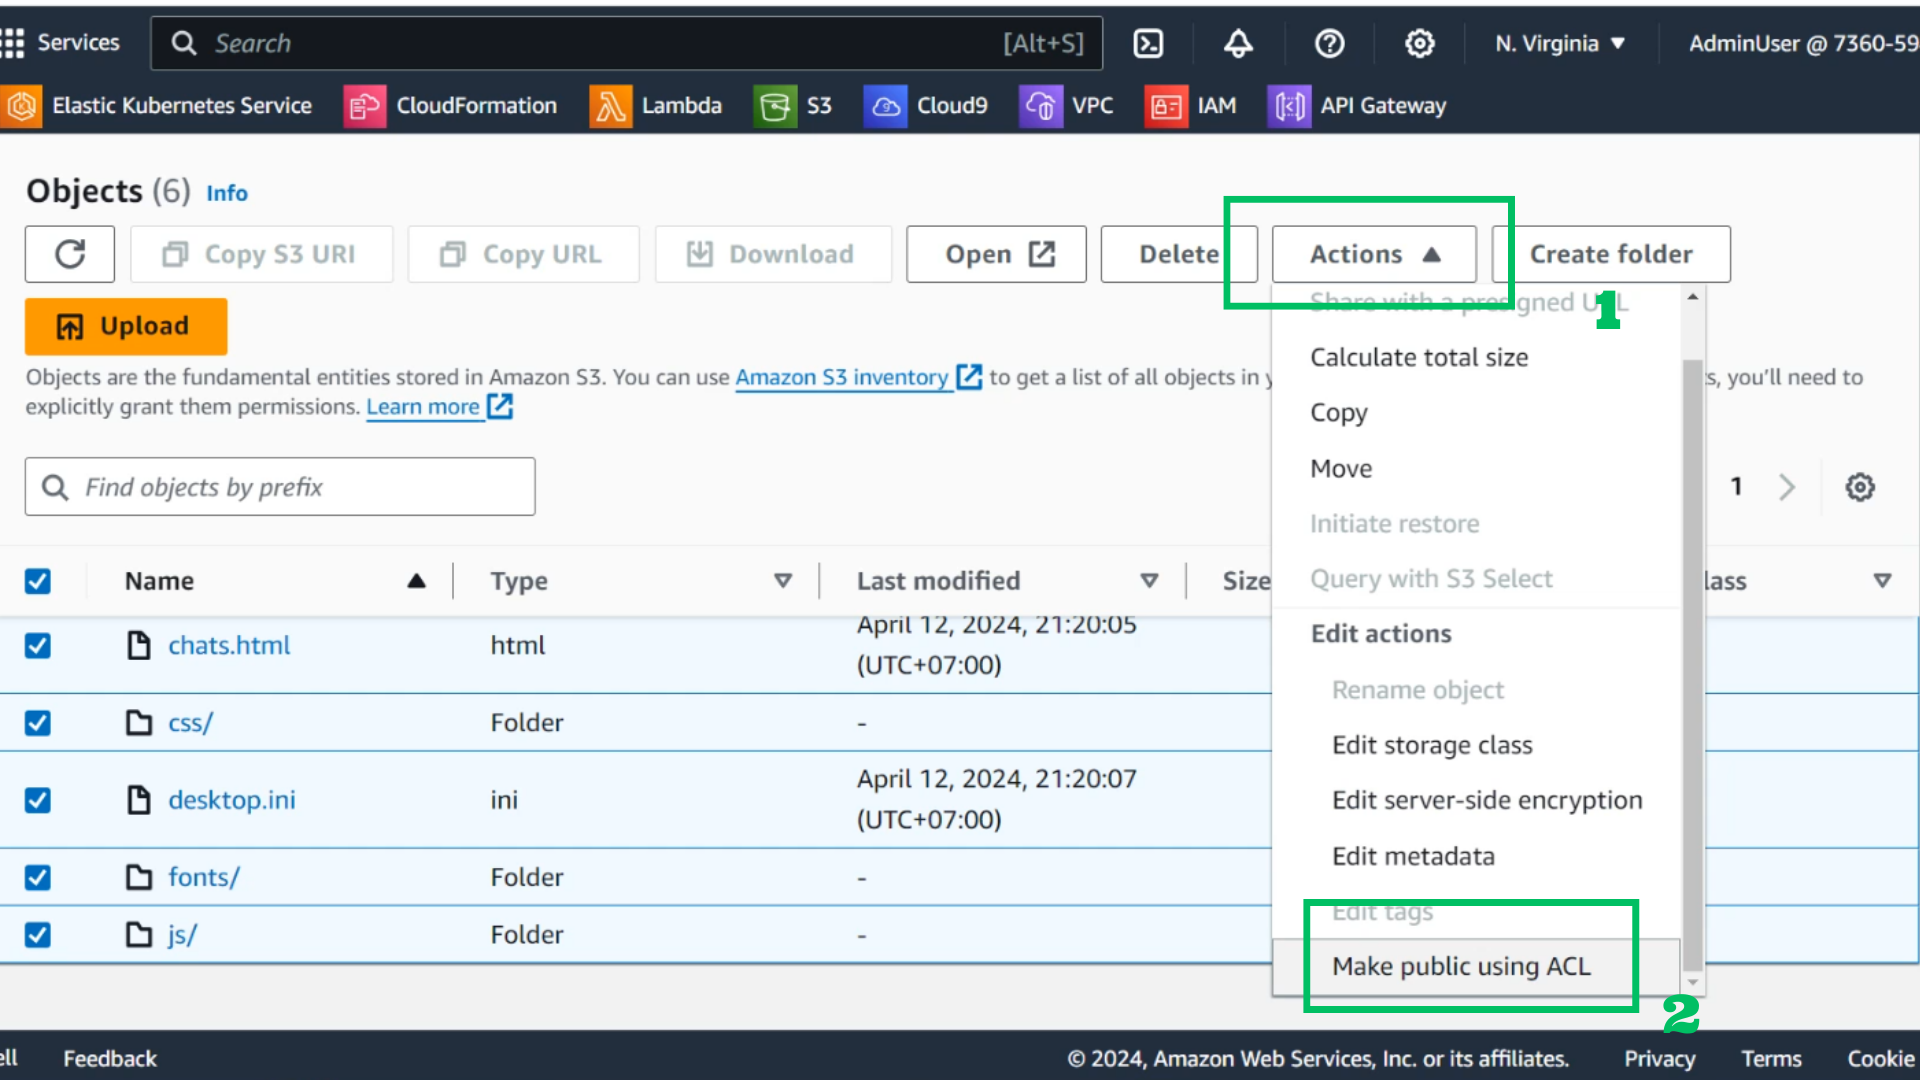
- Choose all downloaded files
- Choose Actions
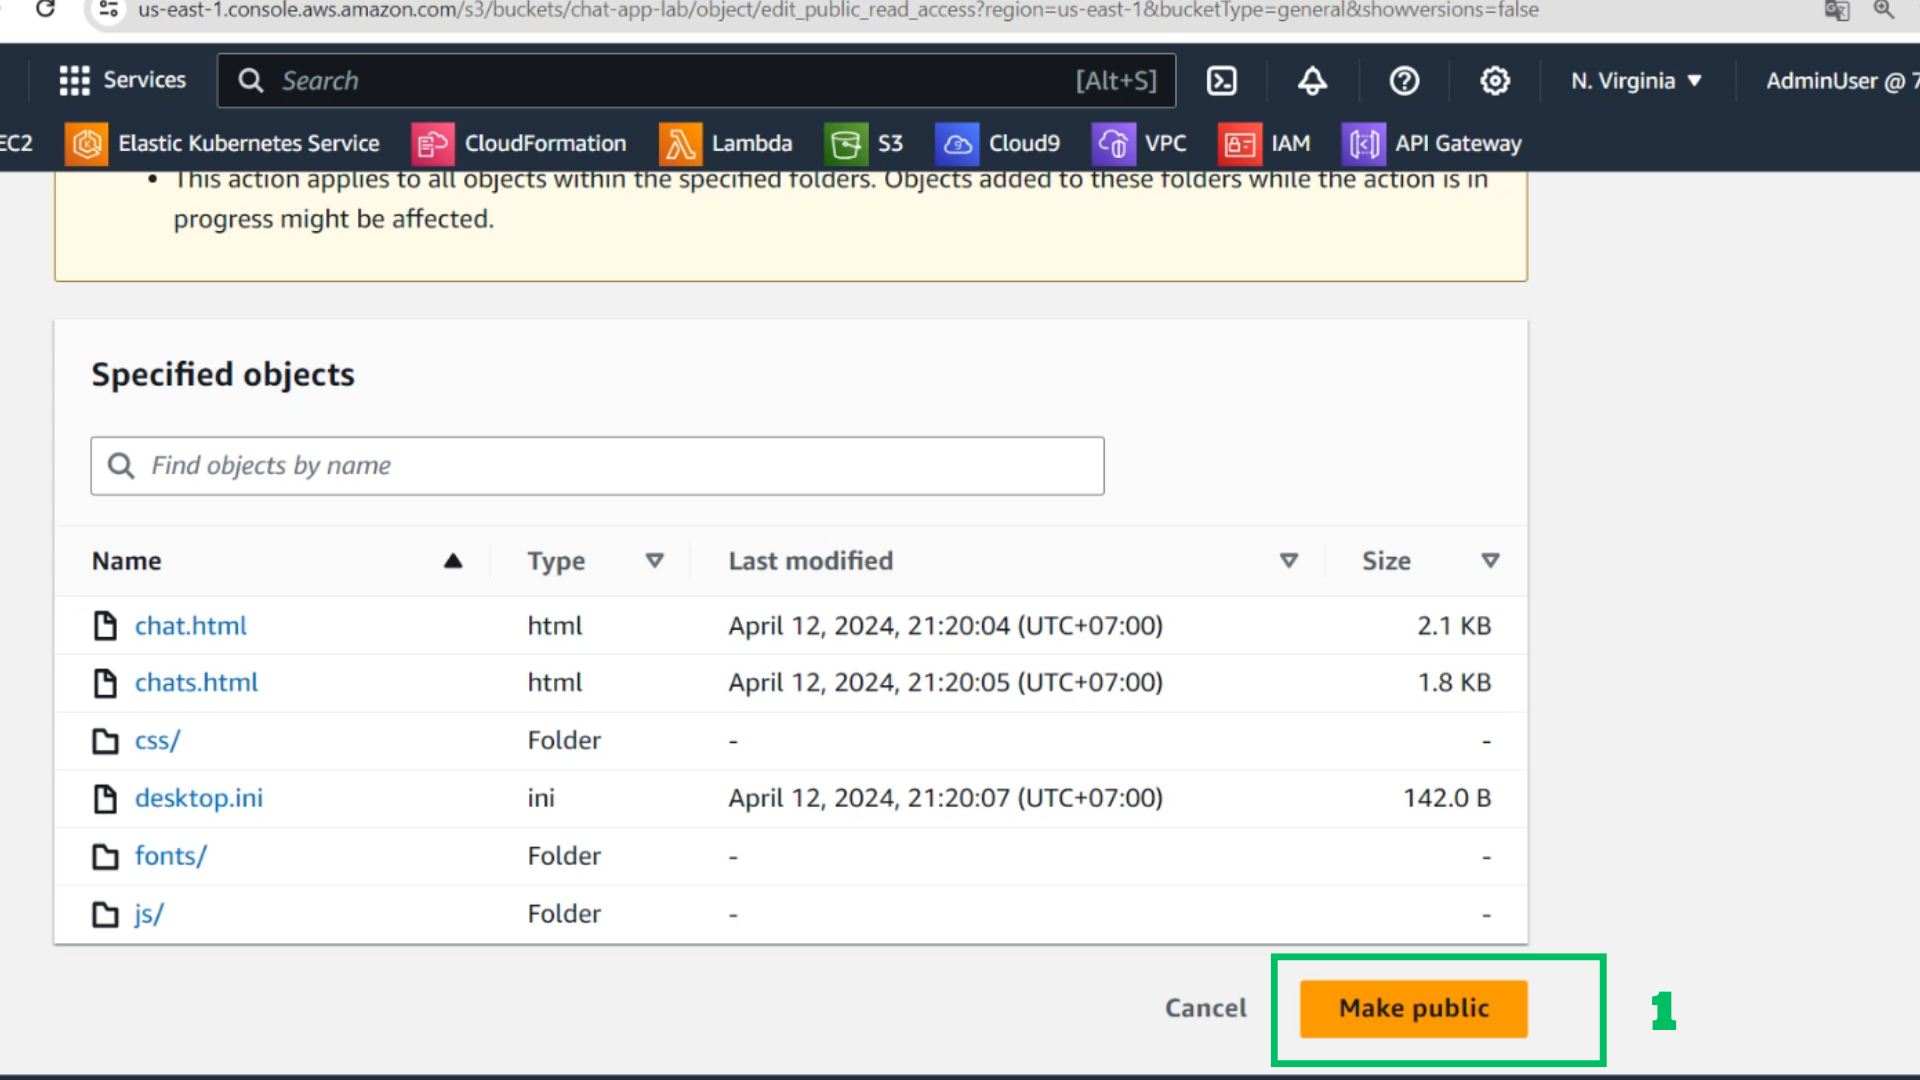
- Choose Make public using ACL
- Choose Make public
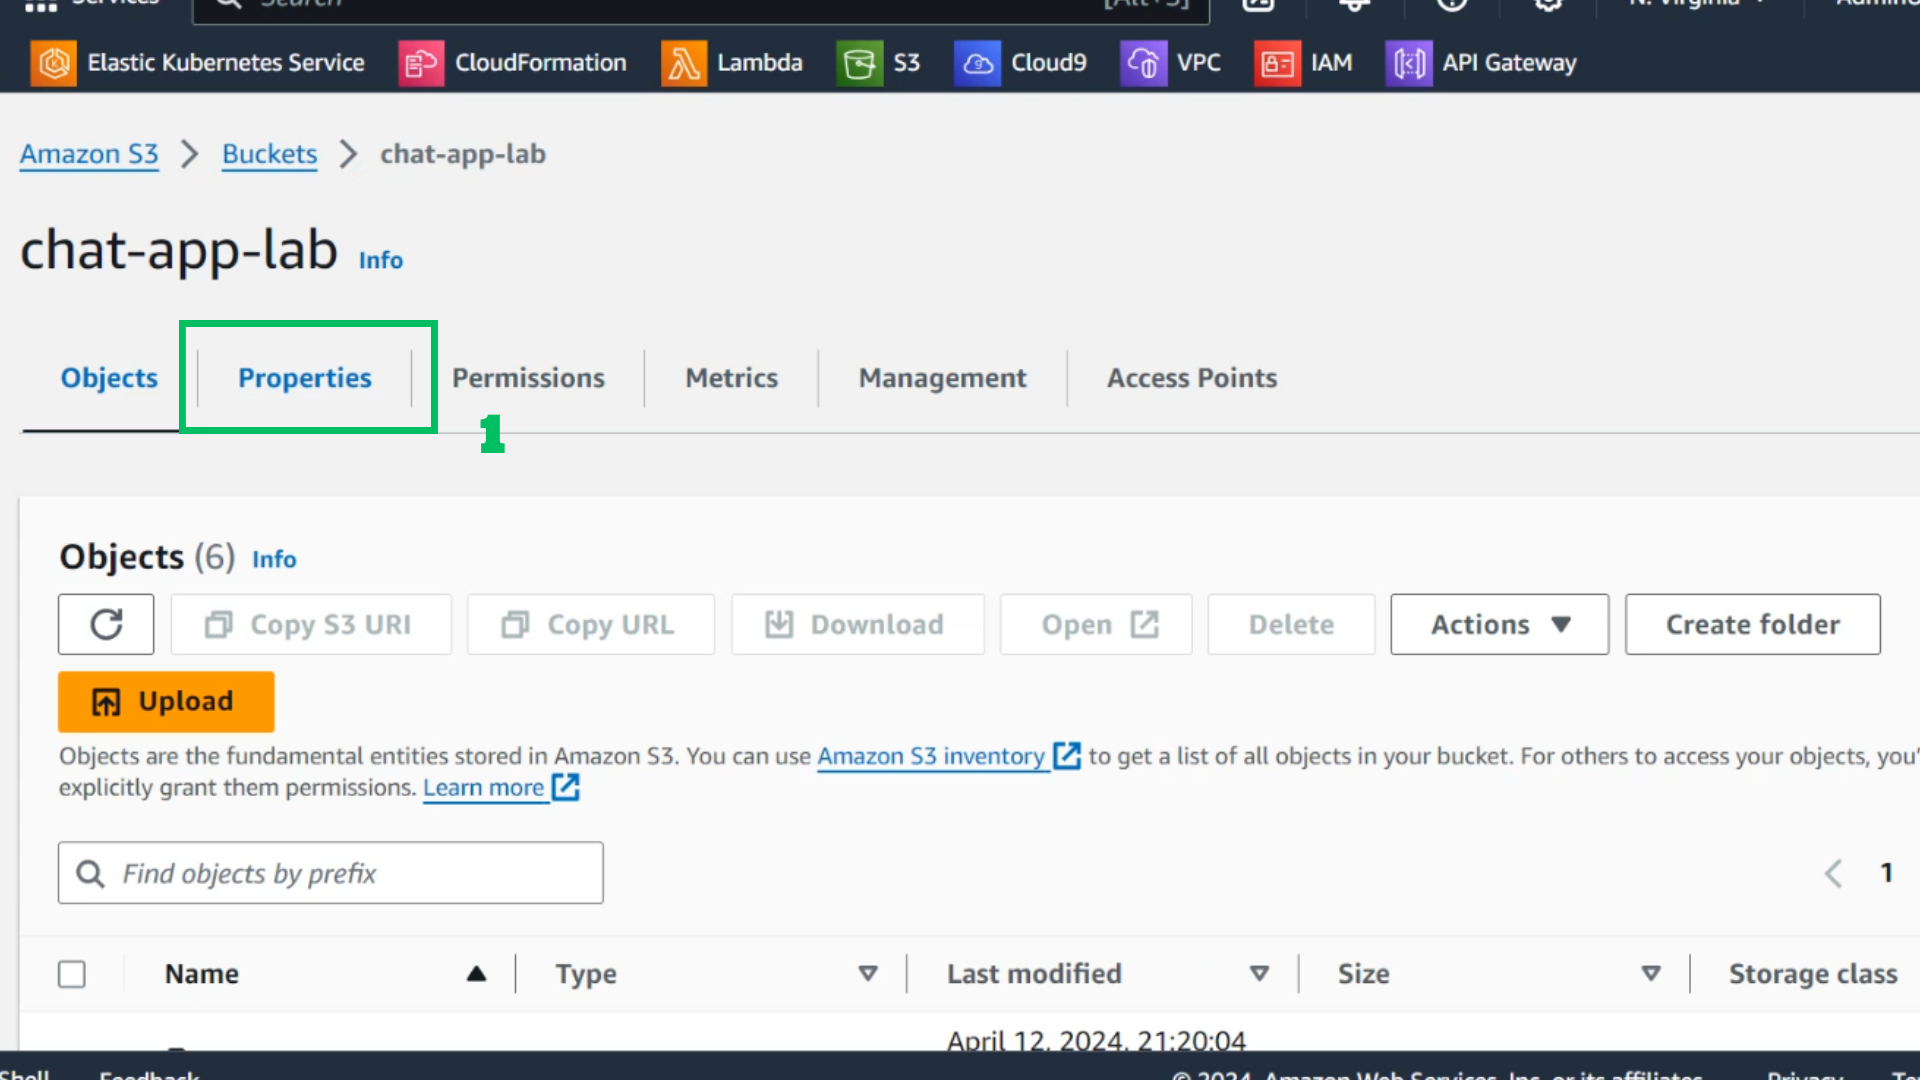
- At the S3 interface
- Choose Properties
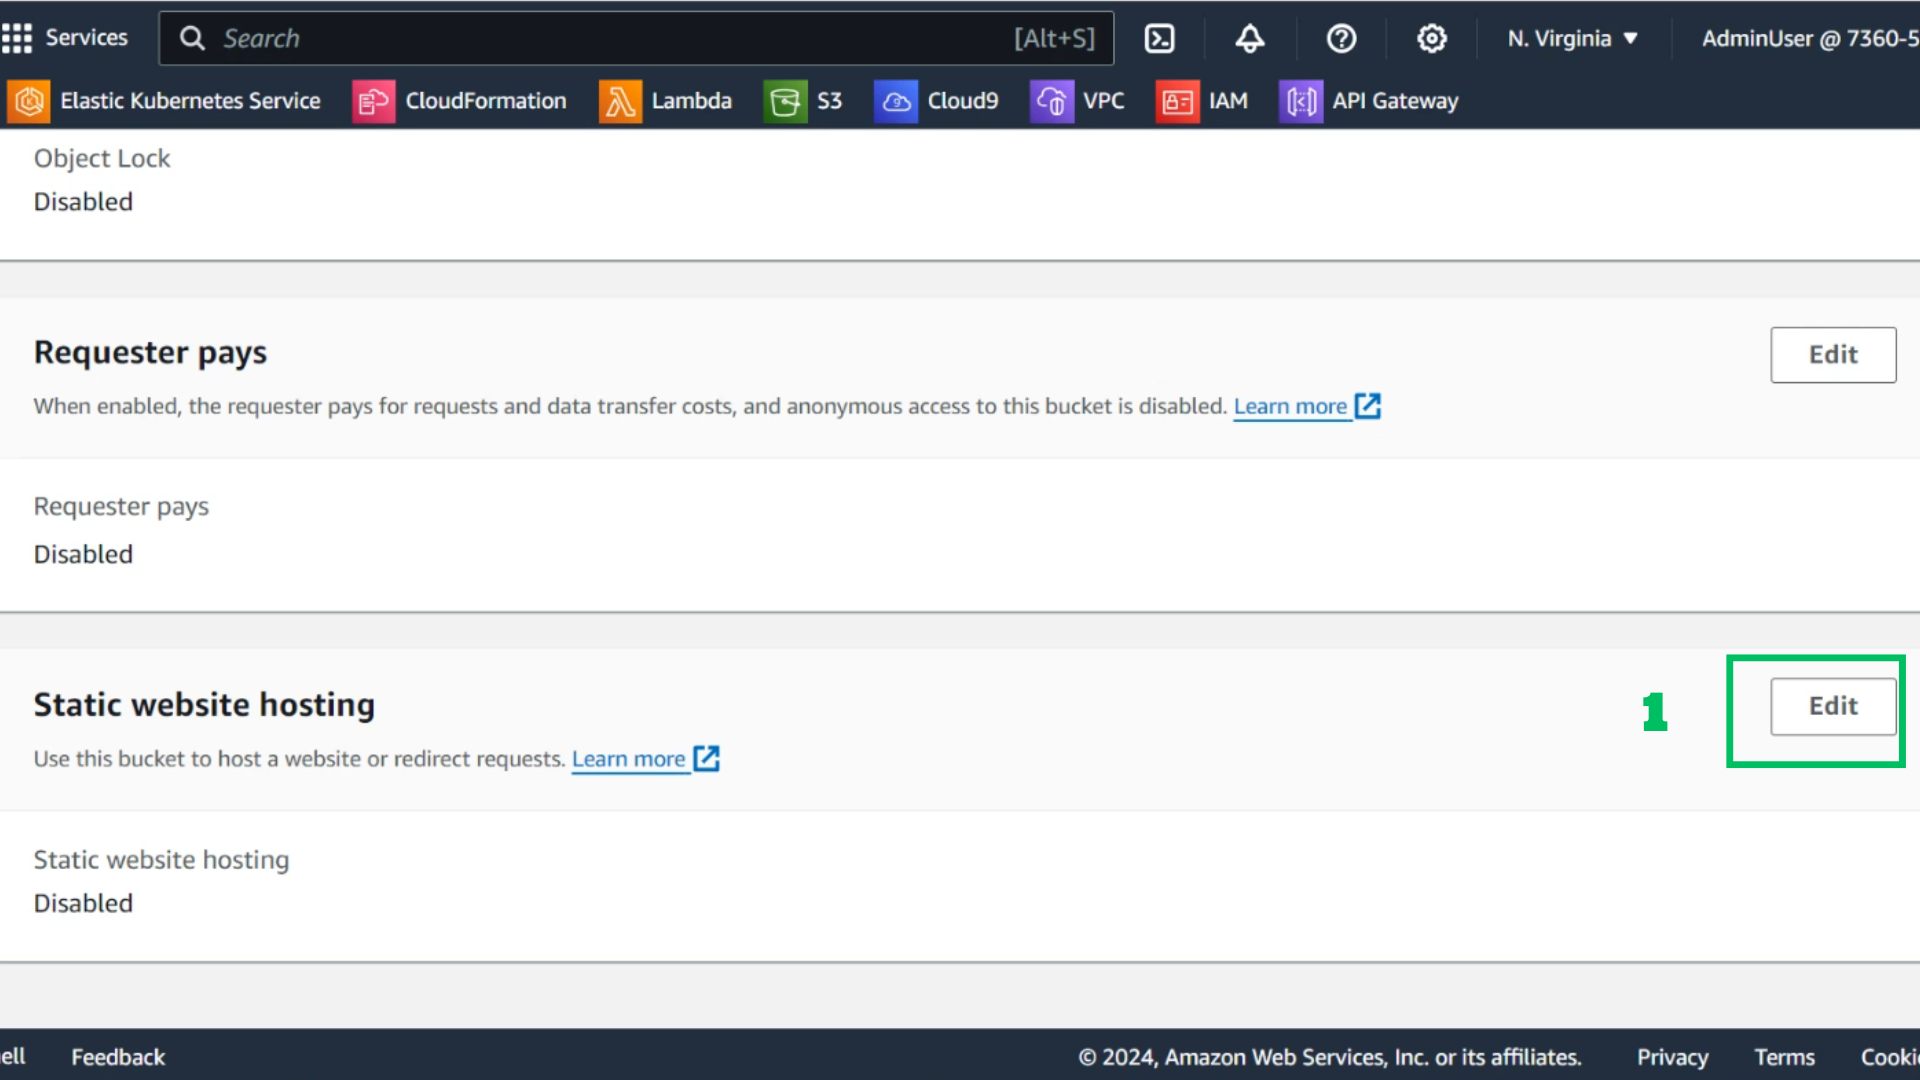
- Scroll down to Static website hosting
- Select Edit
- At the static website interface
- Select enable for static website hosting
- Hosting type : Host a static website

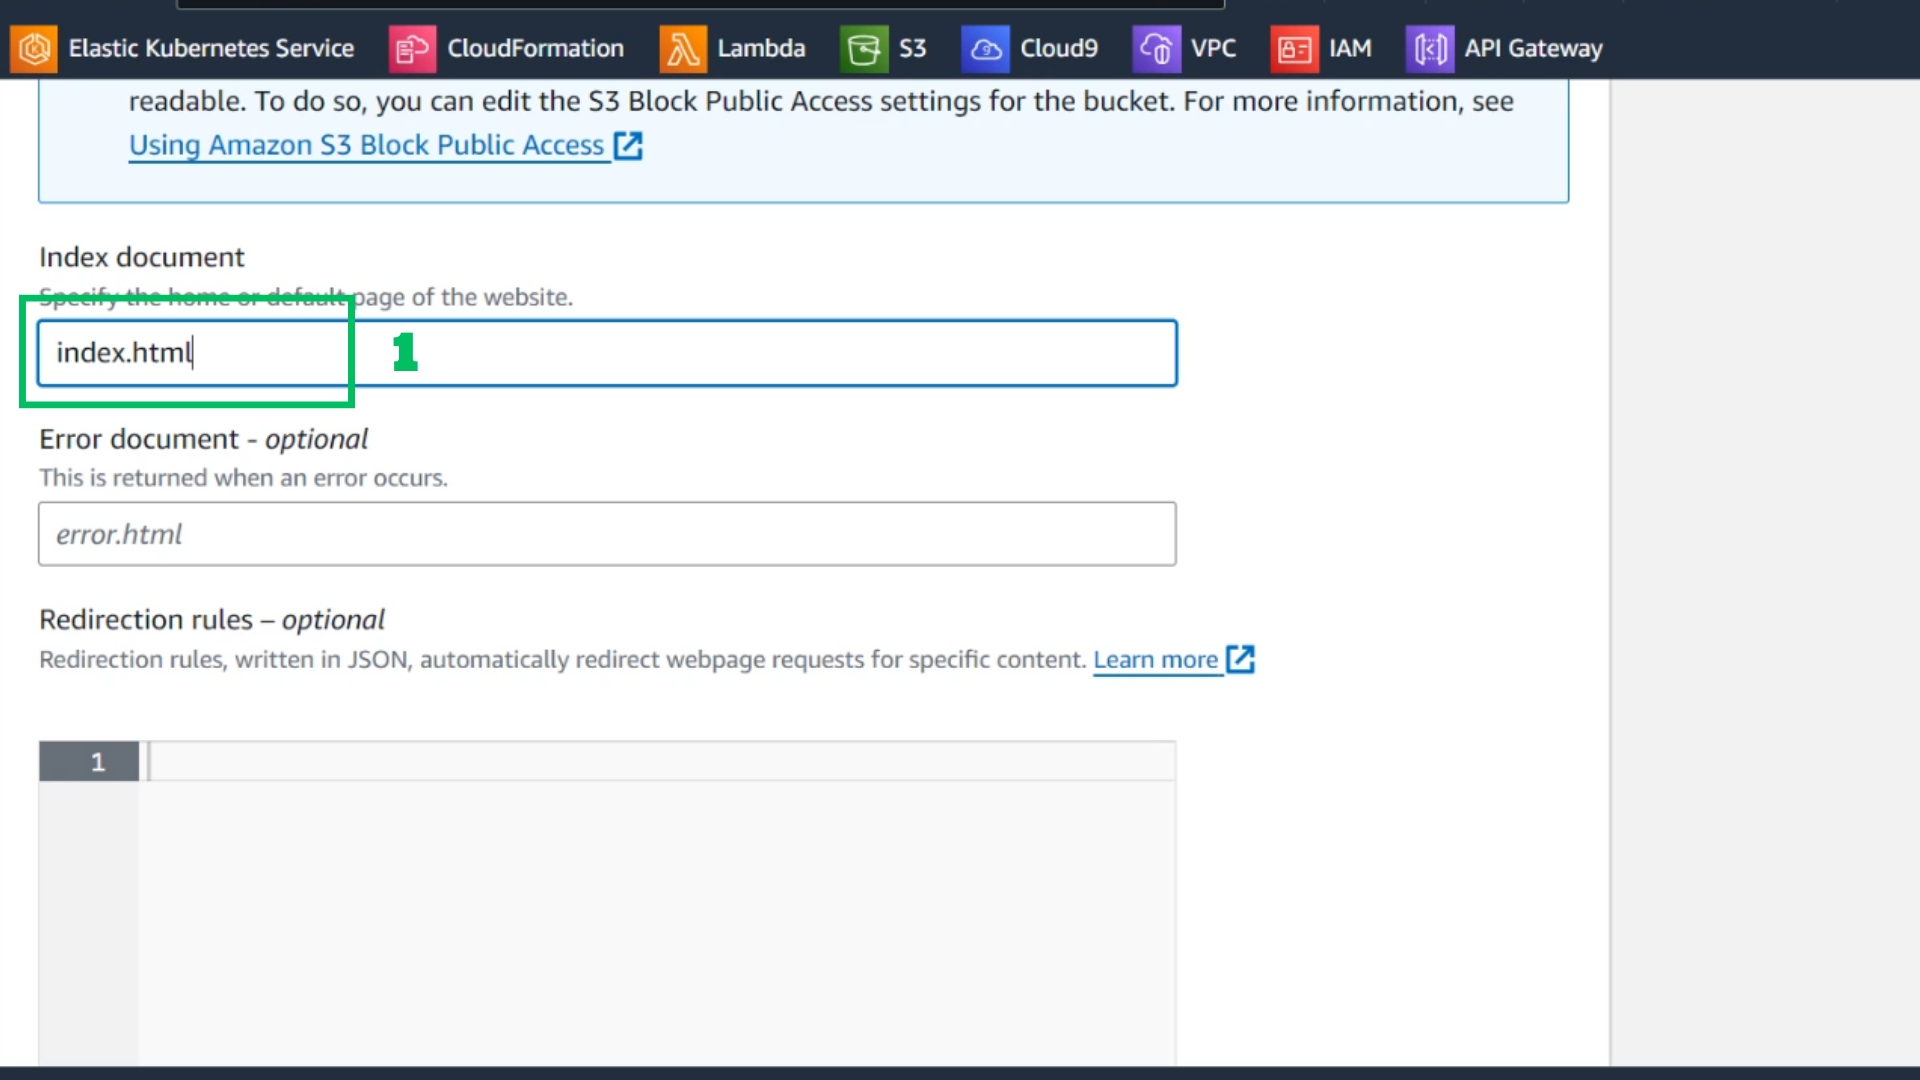
- At Index document
- Fill in: index.html
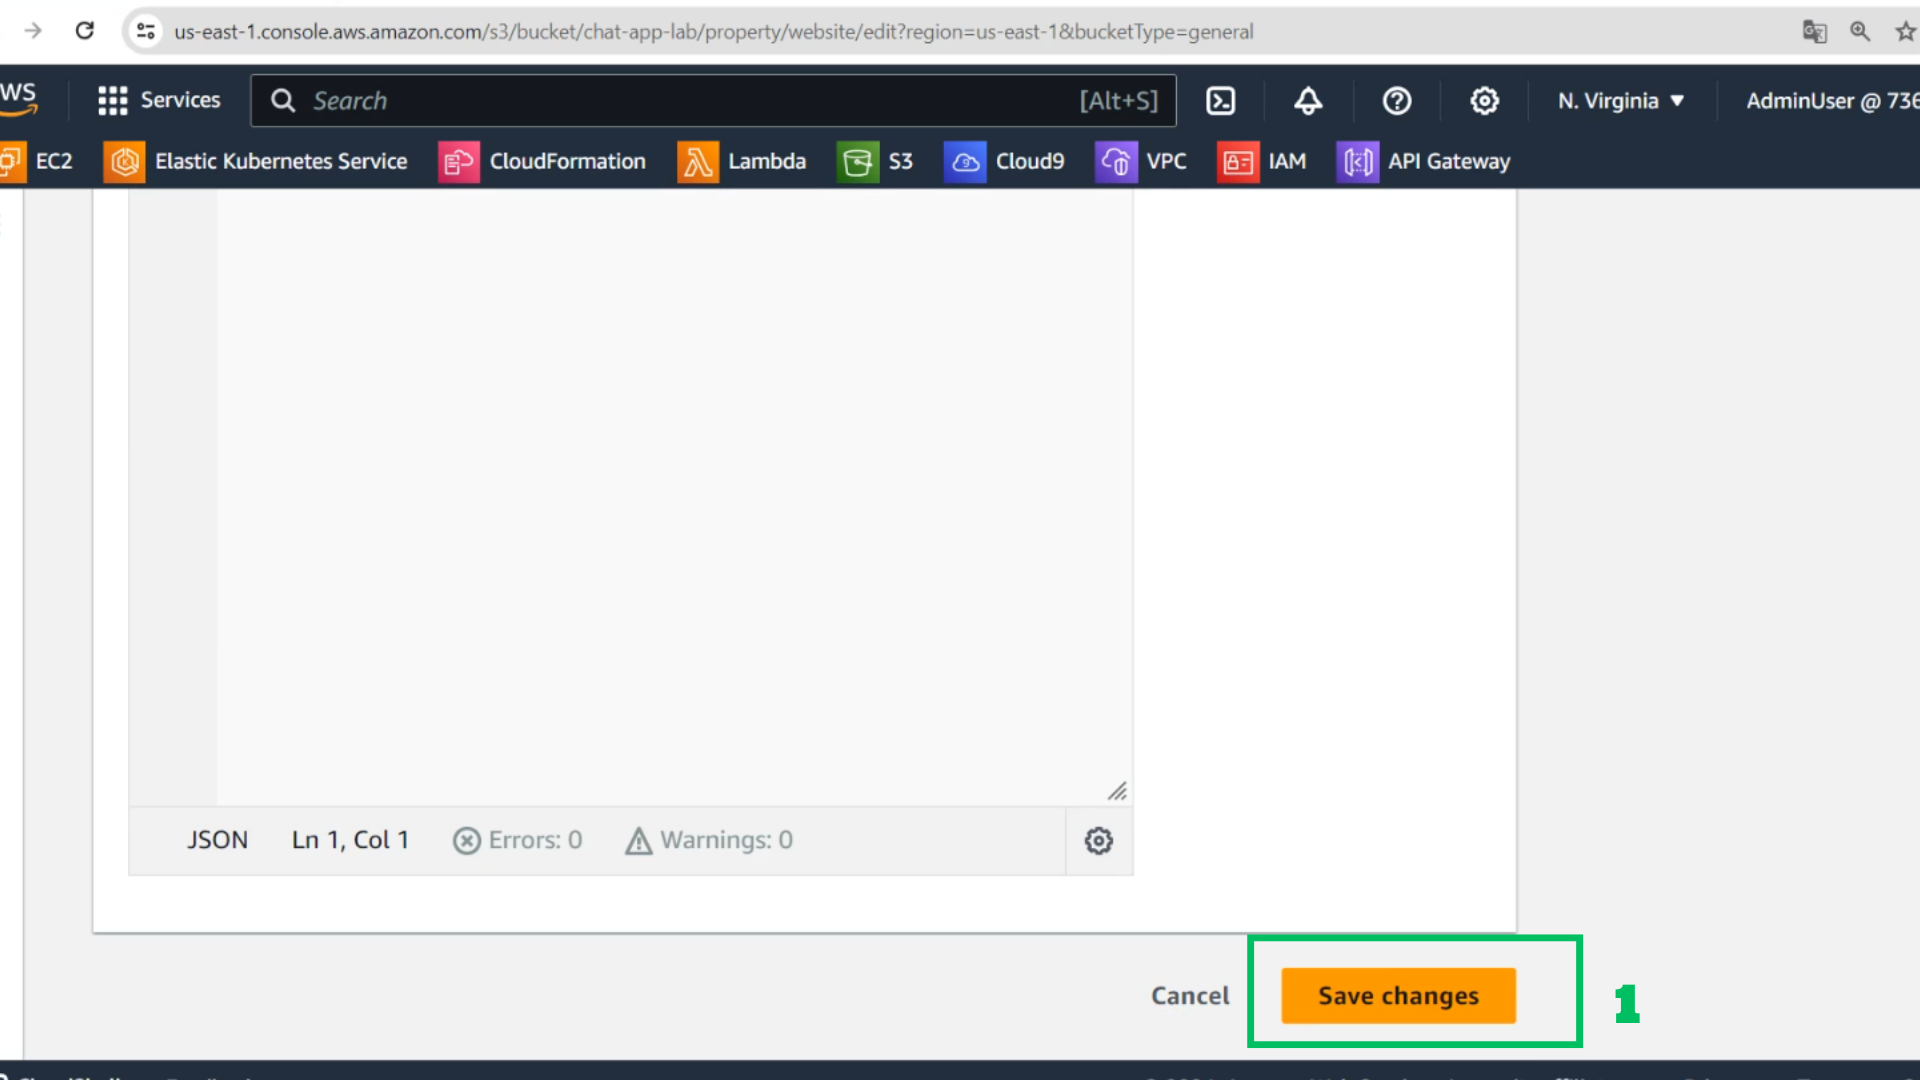
- Choose save changes
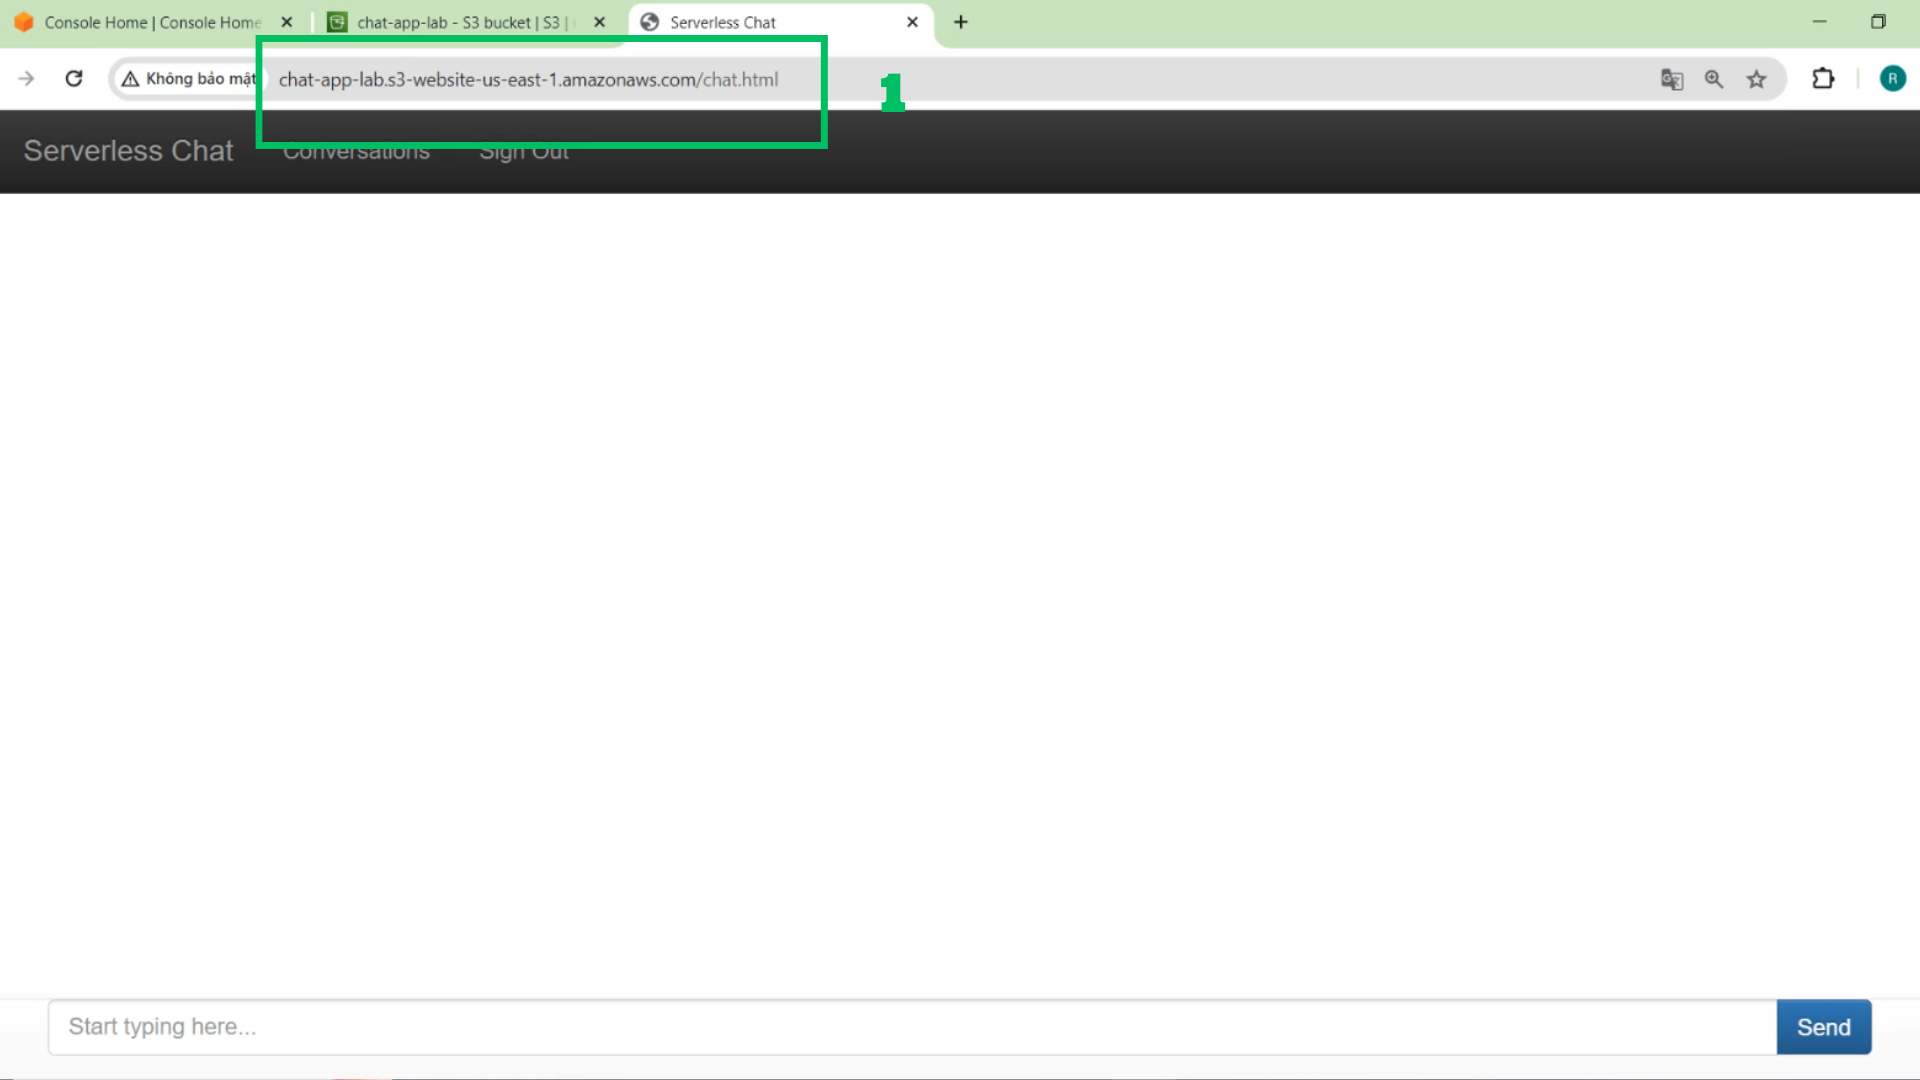
- Copy the website output link
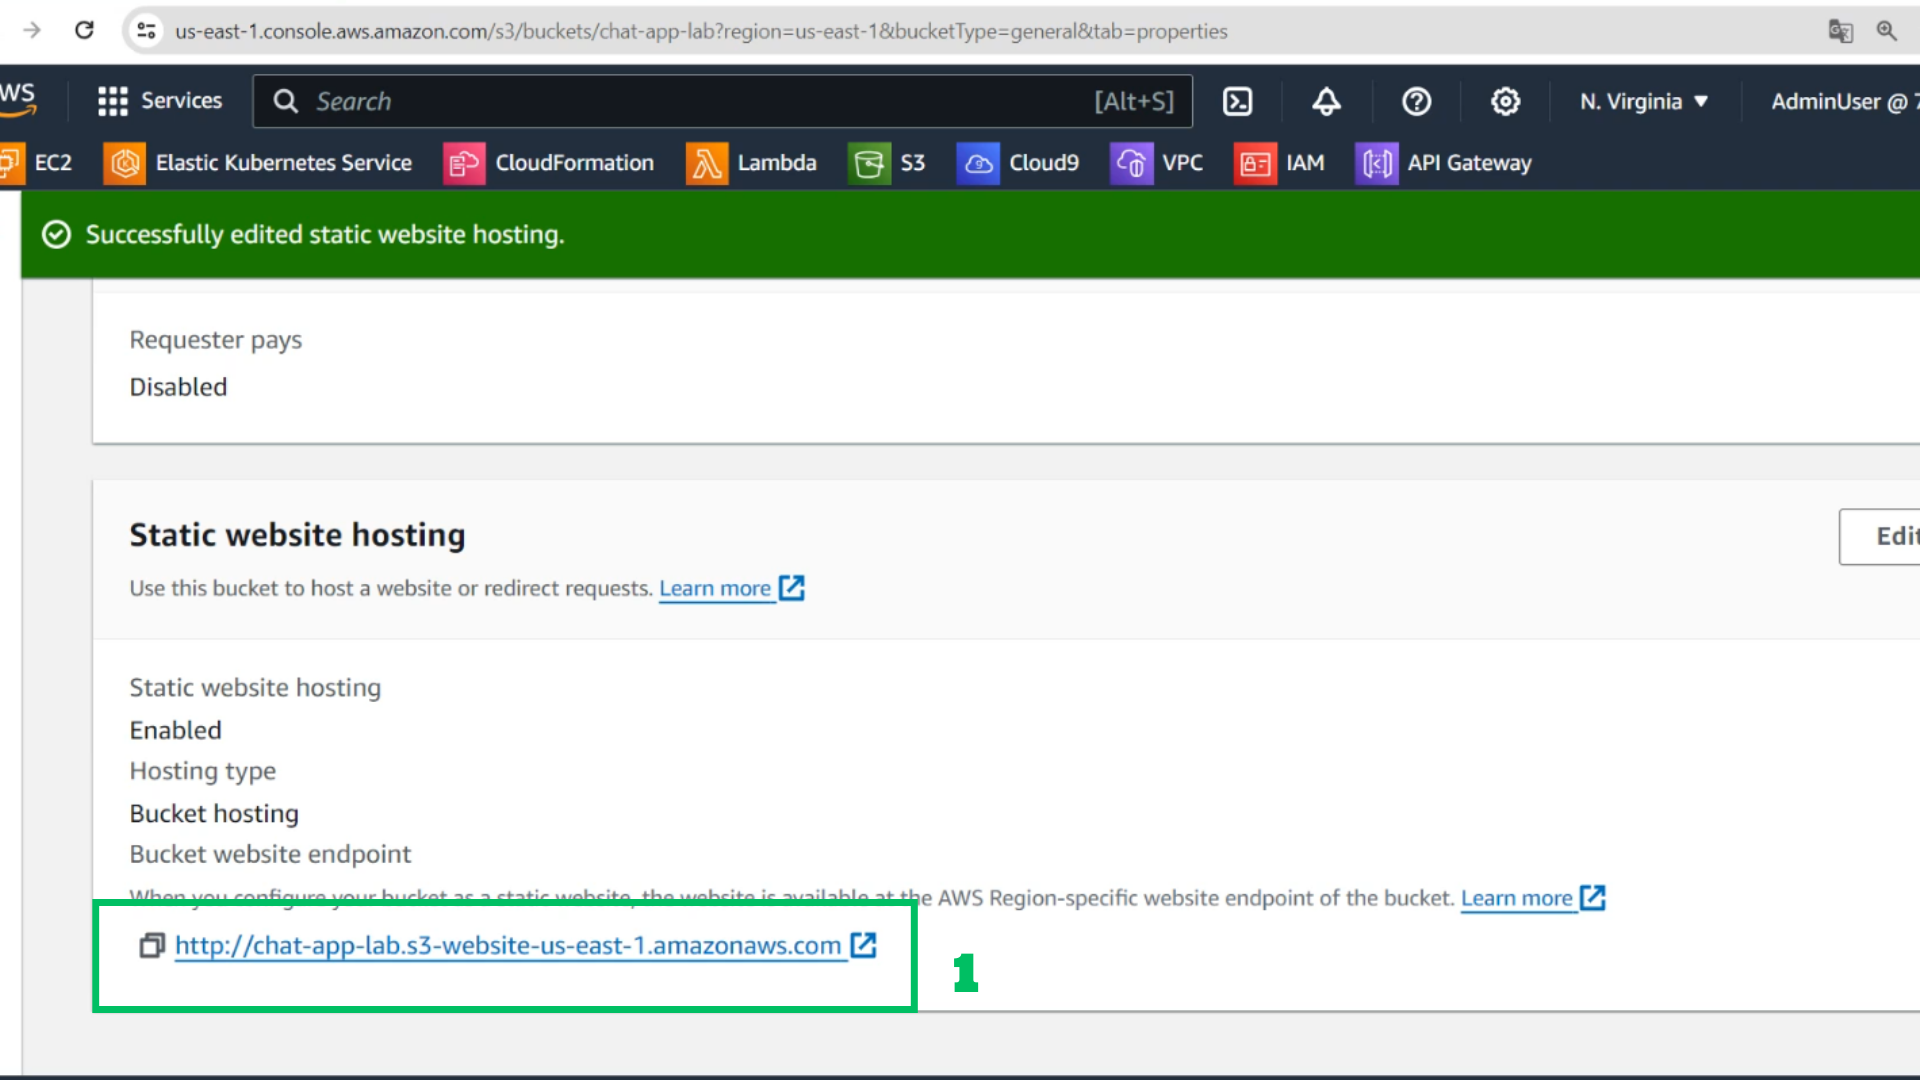
- Access the browser with the copied link